Categories
Snacks & Sides

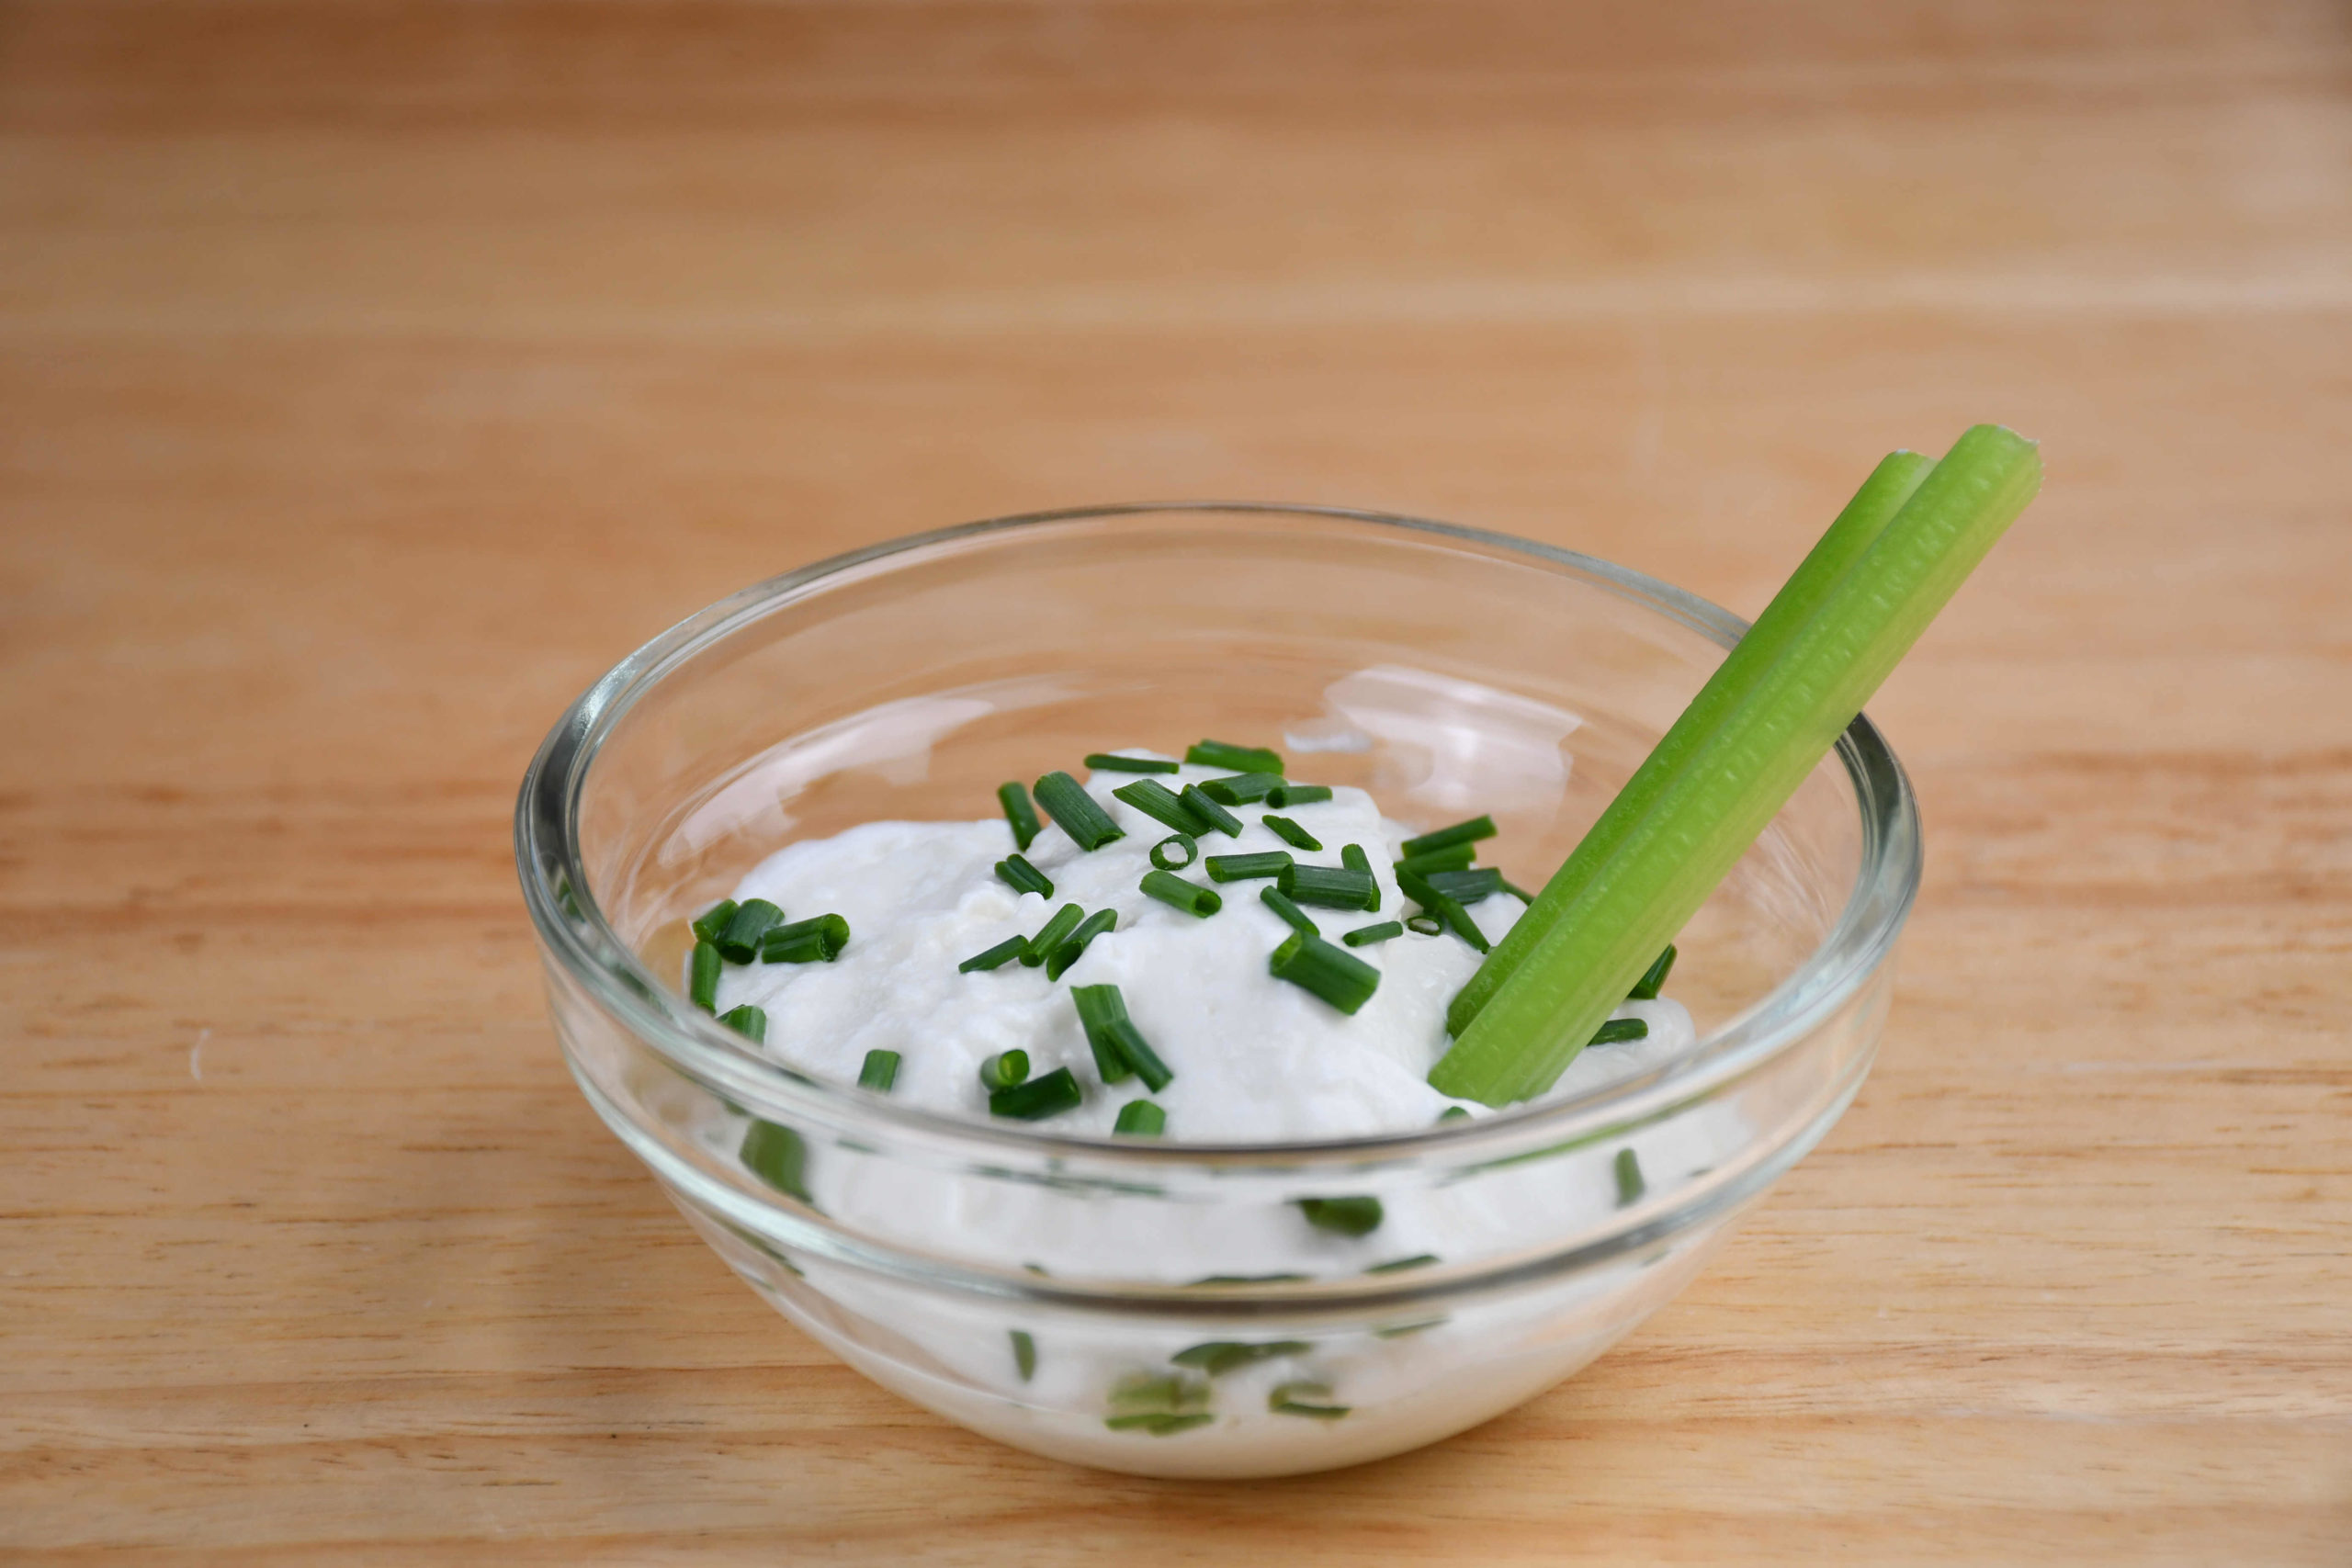
Homemade Sauerkraut

Wanting to make sauerkraut but don’t know how? You are at the right place – roll up your sleeves, get your cabbage and let’s start

Hi Everyone,

For today we have such a tasty & easy recipe and it’s Sauerkraut! Next to cabbage and some salt, get those muscles ready! The process from cabbage to sauerkraut will take a minimum of 2 weeks (to make it sour enough) but can be stored for much longer – as long as it’s in a cold and dark place.

INGREDIENTS:
In this recipe you will need the following ingredients:
– 1 cabbage (but use as many as you want)
– salt (2% of the cabbage weight)
– 1 small carrot
– 1/4 of a red bell pepper
– 2-3 garlic cloves
– 1/2 tbsp of mustard seeds

The traditional Sauerkraut is just made from cabbage and salt – so go ahead if you like it just that way!

PREPARATION:
To start off let’s cut the cabbage in half, take the hearths out and then nicely shred it – by knife, mandolin, shredder, or food processor.
Once done, transfer it into a bowl and weigh the cut cabbage – now you will know how much salt you need.
We got 950g of cabbage, so 2% would be 19g of salt!

950 x 0,02 = 19

Put the salt into the bowl and leave it for 10 minutes.

Now it’s time for the thought part start squeezing the cabbage to the point that it’s not crispy anymore and that a lot of water came out – it will take at least 10 minutes.

Go ahead and cut the carrot, pepper, and garlic and then add them to the cabbage together with the mustard – mix it well together!

Fill your glass container with the cabbage and top it up with the brine that is left and now firmly pack the cabbage mixture into the container – press it together so you have at least 1 inch of water covering the cabbage.
It’s very important that the cabbage mix stays submerged under the brine (so it doesn’t go off) so use a weight to keep it down – in this case, I just used a food bag filled with some water.
Store the sauerkraut in a dark and cold place and release the air from the container 3 times a week (scum will occur on top of the liquid – just remove it).
The fermentation is complete when the bubbling stops – you can then store it in containers in the fridge and use it for up to 3 months.

You can also use a fermenting crock (vessel) that is much easier to use (a very good buy if you are planning to make sauerkraut more often) – the water seal on top allows gasses to escape but prevents anything from coming in!

As mentioned at the beginning of the post, the sauerkraut will be ready for use already in two weeks!

Enjoy!

Cheers,

Vito

For a video tutorial, check the link below:
Categories
Lunch & Dinner

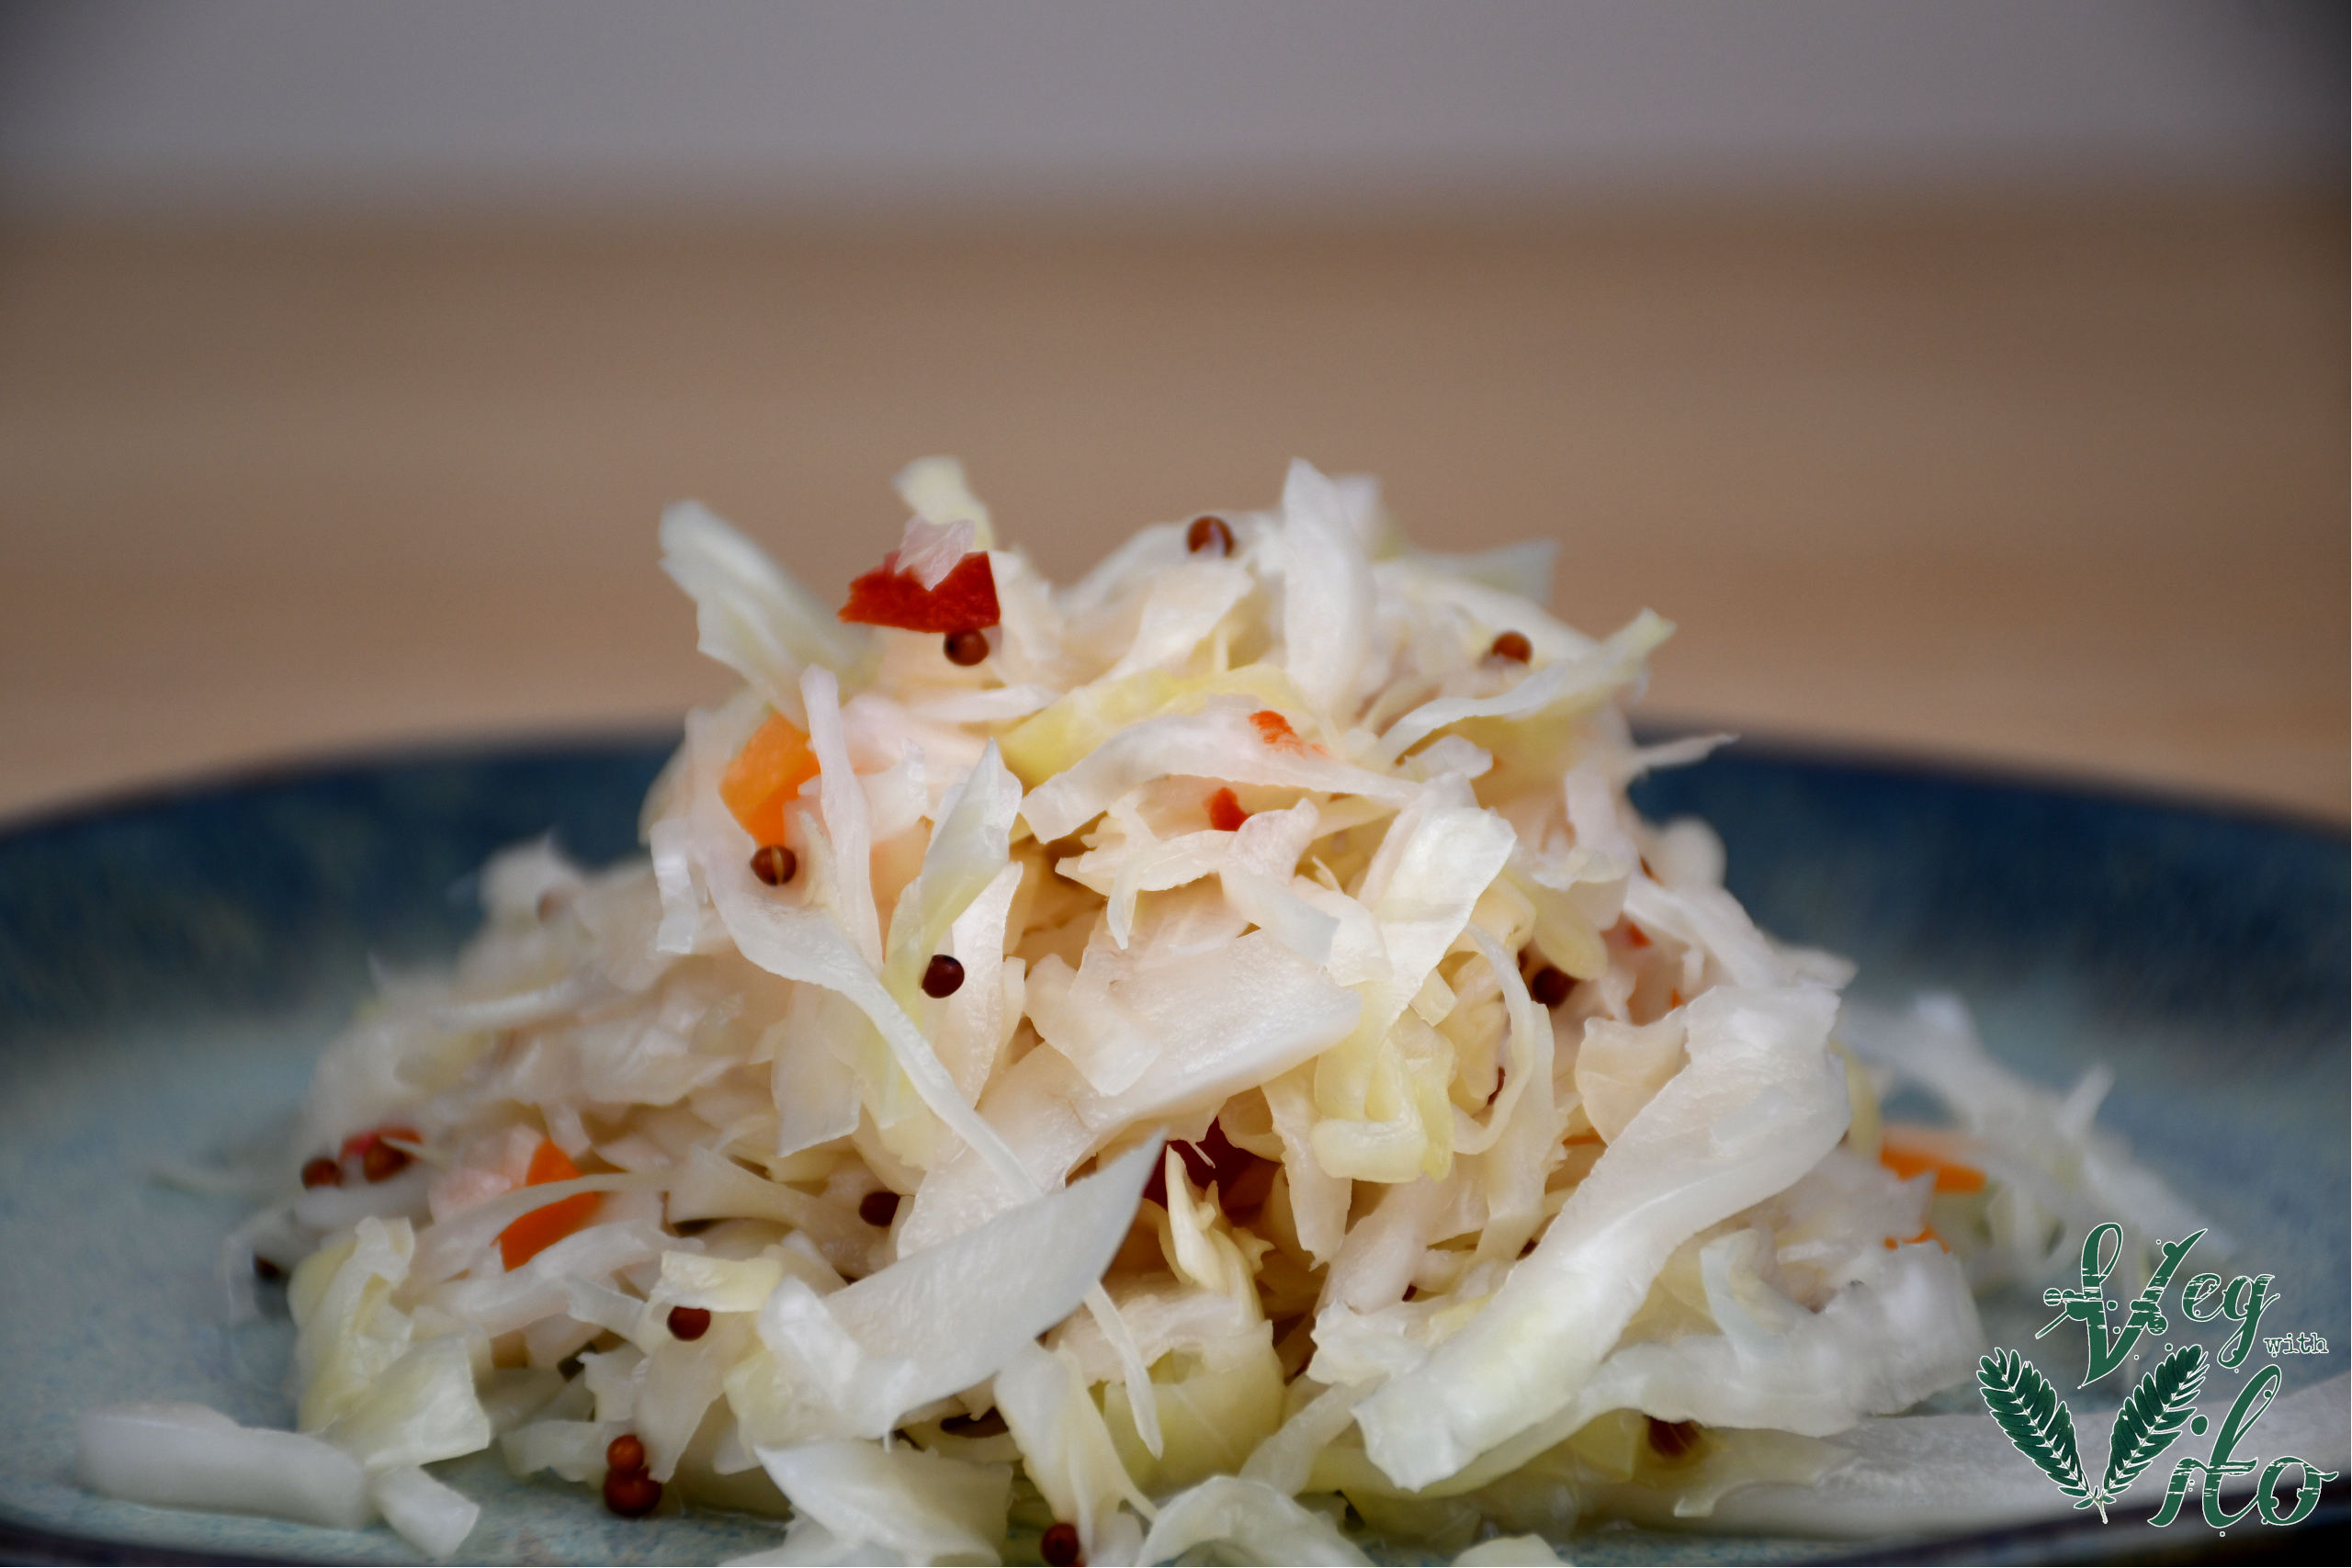
Potato Skins

Looking for some real-deal comfort food? Or are you looking for a nice vegan starter? Check out and enjoy – super easy to follow!!

Hi Everyone,

Welcome back to the blog!

In this post, we are going to make stuffed potato skins and I am very excited to share this recipe with you as it’s sooo yummy!!

To start off find 4 ‘good’ lookin’ potatoes and then go ahead and cut them into half. The next step to do is to take most of the inner part of the potatoes, so the skin becomes nice and crispy – I used an ice cream scooper, but you can use whatever is at hand and does the job!
Wash them well.

If you are not going to use the inner part of the potato today, just place the potatoes into a bowl and cover them with water.

Place the potato skins on a baking tray and spray some oil and sprinkle some salt on both sides – preheat the oven to 200°C (390°F) and first bake them for 15-20 minutes with the skin side facing up.
Take out the potato skins and turn them over – add some vegan butter and once it melts a bit, brush the whole inside with the butter.
Place back into the oven for 6-8 minutes.
Take out again and flip the skins, and brush them with some butter from the tray.
Leave in the oven for another 2-3 min.

Now the rest of the ingredients for the stuffing:
– 3/4 can of coconut milk (just the pure milk itself)
– 1/2 can of mixed beans
– 3-4 tbsp of 100% peanut butter
– 2 tbsp of tomato paste
– 1,5 tsp of salt
– 1,5 tsp of chili flakes
– 1 tbsp of cajun seasoning
– 2 tbsp of nutritional yeast
– 2 tsp of light brown sugar
– 1 tbsp of dried paprika
– 1/2 can mixed beans
– 70g of sweetcorn
+ (just for the topping)
– 80g of mixed salad
– 4-5 spring onions
– 25g of salted peanuts

Go ahead and add the coconut milk to a saucepan and bring to medium heat. Add peanut butter & tomato paste and whisk until it incorporates a bit. Add all the ingredients: salt, chili, cajun seasoning, nutritional yeast, sugar, dried paprika – cook on low heat and wish occasionally for 6-7 minutes. Add beans and sweetcorn, mix it and take it off the hob after 2 minutes.

We are almost done!
Cut the salad and spring onion and mix them together and blend the peanuts just a bit (pulse).

Take the potato skins, fill them nicely up with the sauce and top up with salad, spring onions, and crushed peanuts on top!

Enjoy!

Cheers,

Vito

For a video tutorial, check the link below:
Categories
Desserts Favourites

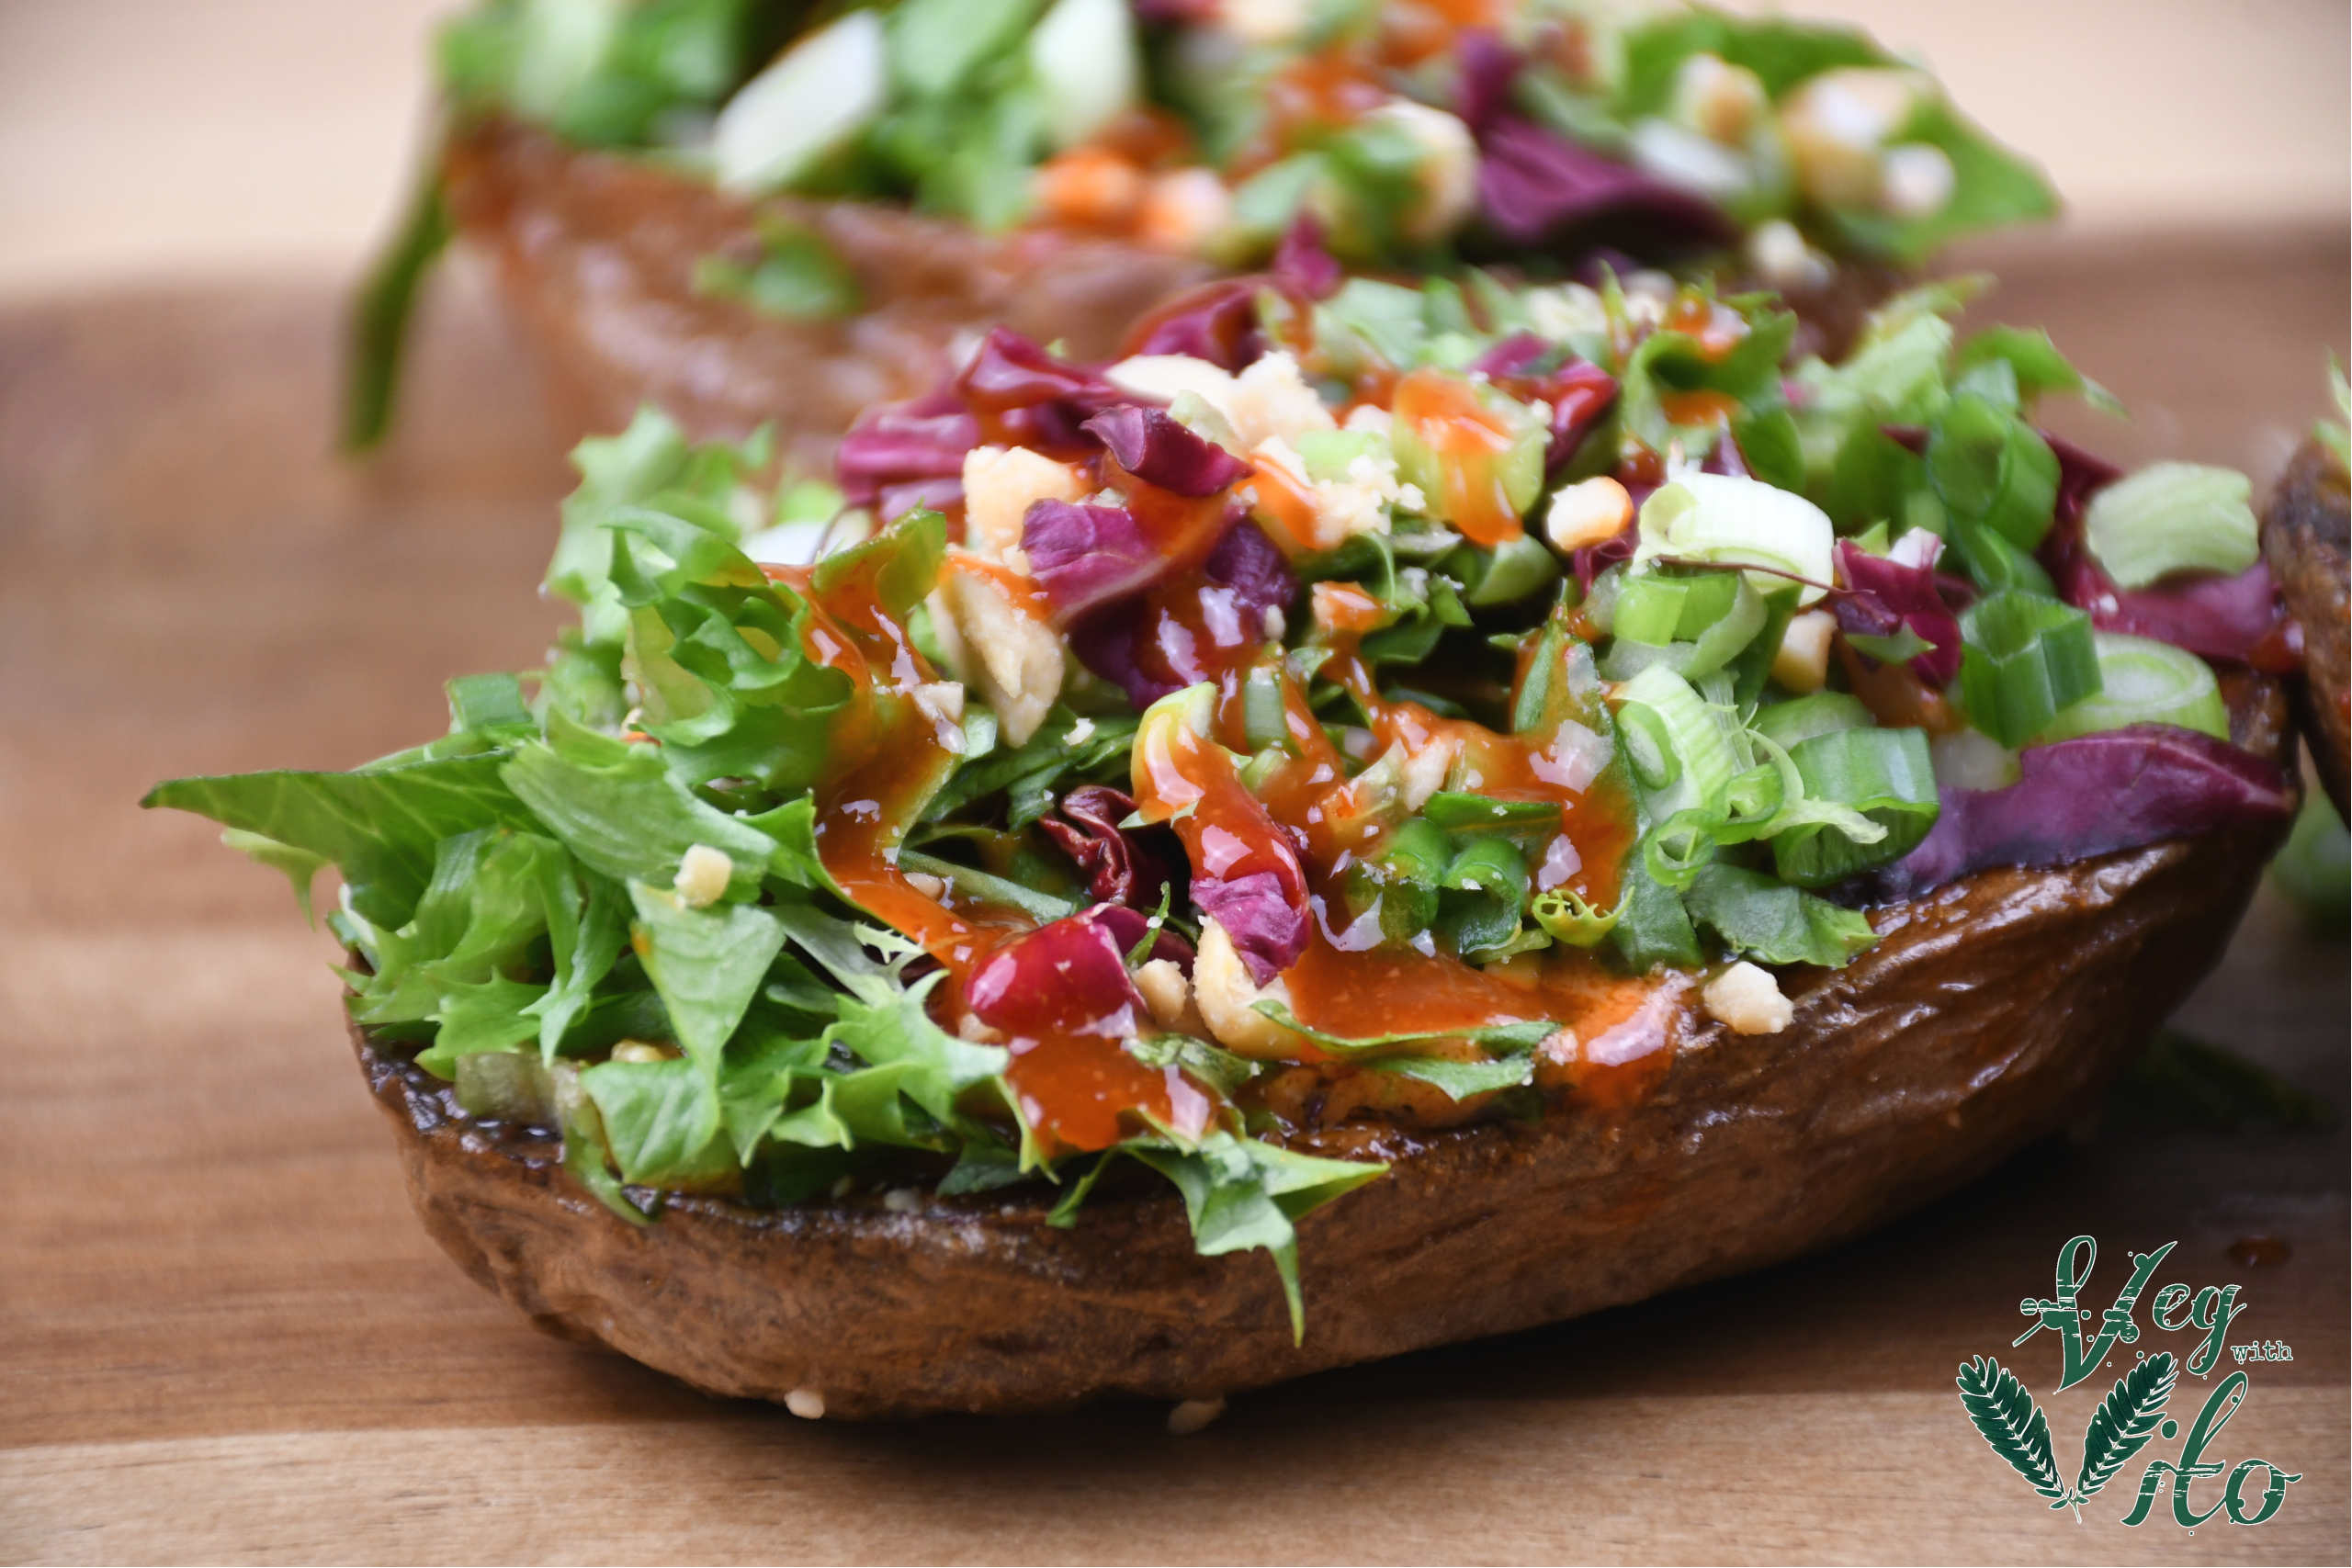
Banana Bread

Looking for a great banana bread recipe as those bananas on the counter have seen better days? Follow along with our recipe, Enjoy

Hi Everyone,

Welcome back to the blog!

In this post I will show you how to make THE BEST Banana Bread with a dark chocolate filling – can it get any better?!
The main ingredient is the bananas, so the riper they are, the sweeter they are – the better they are!

INGREDIENTS:
– 4 ripe bananas
– 2 tbsp of milled chia seeds
– 240g (2 cups) of all-purpose flour (Gluten-Free can be used as well!)
– 2 tsp of baking powder
– 1 tsp of baking soda
– 1/2 cup of light brown sugar
– 1/2 tsp of cinnamon (optional)
– pinch of salt
– 1,5 tbsp lemon juice
– 1 tsp of vanilla extract
– 1/3 cup of melted coconut oil
– 1/3 cup of soy milk (or any other plant-based milk)

PREPARATION:
Go ahead and mash the bananas well and then add the chia seed to it and mix well – leave aside and grab another bowl.
Fill the bowl with flour, baking soda & powder, sugar, cinnamon, and a pinch of salt – mix all well together.
Melt some coconut oil on very low heat and then add to the mixture, also add the rest of the liquid ingredients – mix all well together.

Pour the mixture into a cake/bread thin that you previously lined with some parchment paper.
Preheat your oven to 170°C (350°F).

Now, let’s get the chocolate filling ready:
– 75g of dark chocolate
– 4-5 tbsp of vegan butter
– 1/4 cup of sugar

Melt your chocolate, butter & sugar on low heat, once you get a nice liquid substance, take a piping bag, or make one out of parchment paper as I did 🙂
Fill the middle of the banana wanna be bread and then just cover the chocolate with the mixture from the sides (use a spoon).

Optional topping:
– 1 banana for the topping (optional)
– 1/3 cup of chocolate chips
– a handful of crushed walnuts
– sprinkle some light brown sugar on top

Cut the banana just in half or into smaller slices and then put them on top, then sprinkle some chocolate chips. Crush some walnuts in your hands and add them together with some sugar to the topping.

You are ready to bake it – bake for 50-60 minutes at 170°C (350°F).

Enjoy!

Cheers,

Vito

For a video tutorial, check the link below:
Categories
Lunch & Dinner

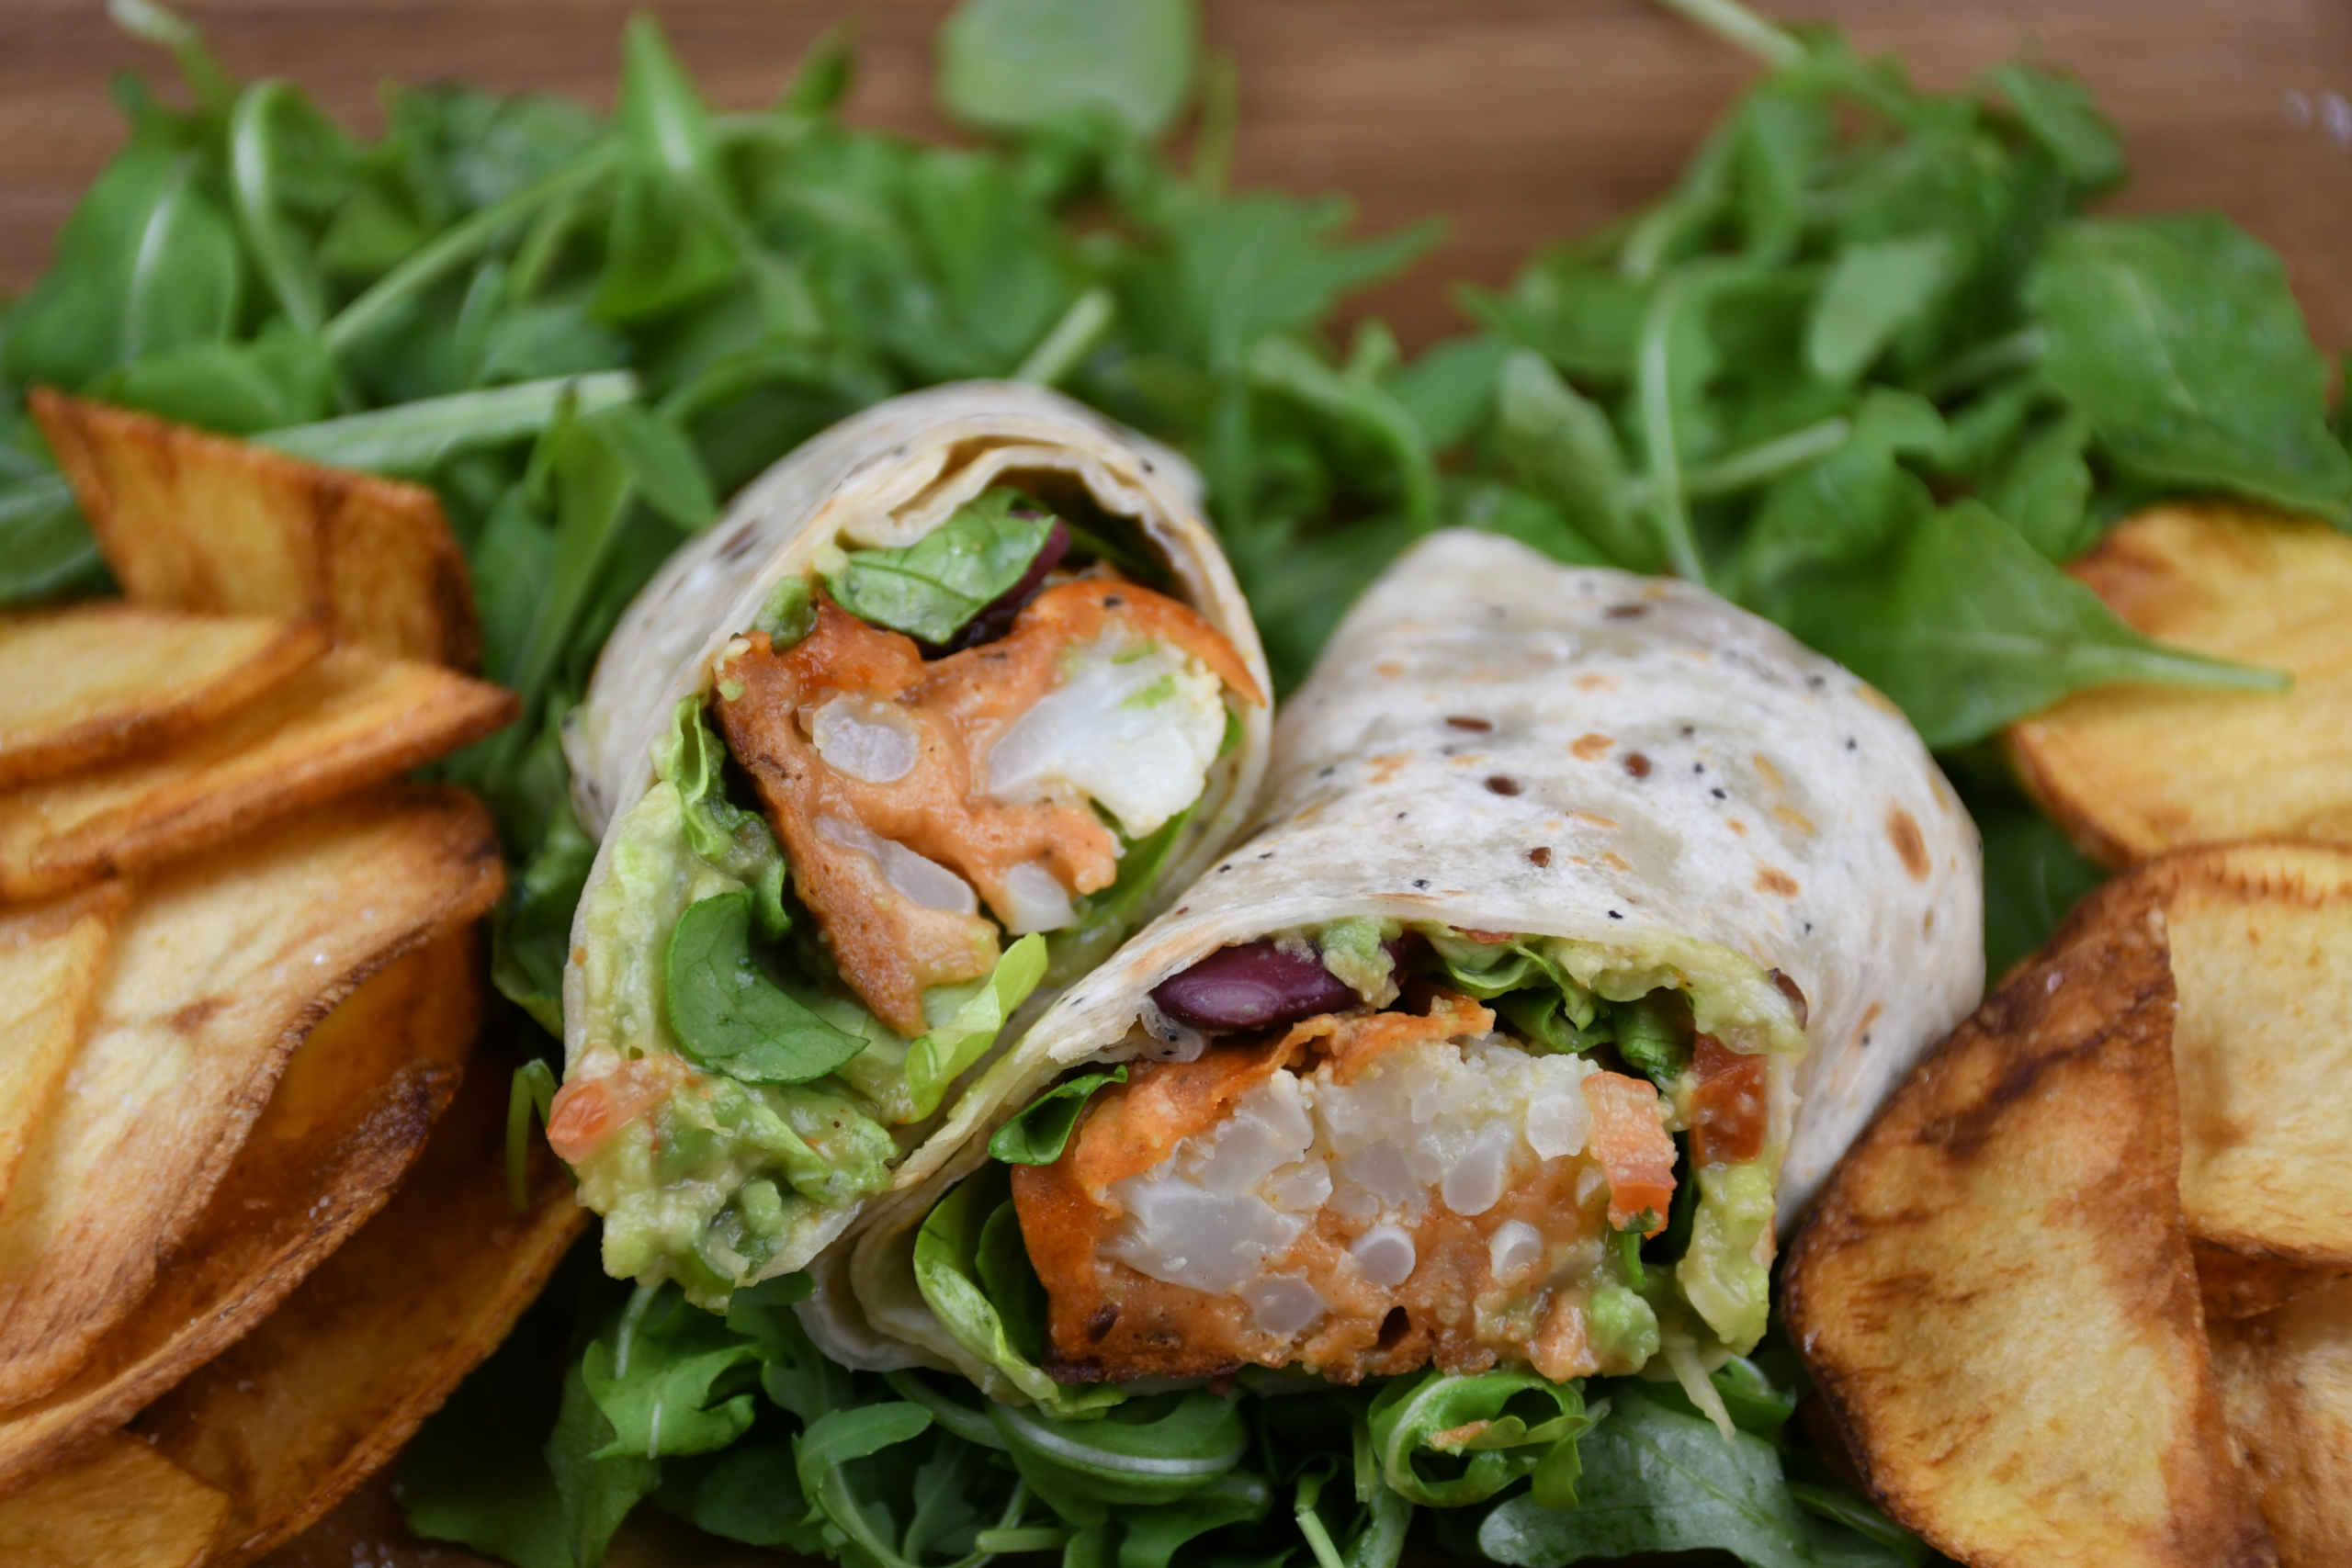
Buffalo Cauliflower Wraps

Have no idea what to fill your lunch box with? Check out our new recipe, and make the buffalo cauliflower wrap for yourself, cheers!

Hi Everyone,

Welcome back to the blog!

In this post, I will show you how to make a Buffalo Cauliflower Wrap! A sweet and spicy taste that is surely on the very top of my comfort food list. For the filling, we will also use guacamole and the recipe for that you can find on my Youtube channel if you click on the LINK.

If you would like to serve some absolutely stunning homemade chips/crisps you can find a video on my Youtube channel if you click on the LINK.

INGREDIENTS:
For the Buffalo Cauliflower batter recipe, next to a few florets of cauliflower & some hot sauce (1/4 cup) it requires the following ingredients:
– 3/4 cup of all-purpose flour
– 1/4 cup of corn starch
– 1,5 tsp of salt
– 1,5 tsp of chili flakes
– 1 tbsp of cajun seasoning
– 1 tbsp of dried paprika
– 1 tbsp of garlic powder
– 1 tbsp of onion powder
– 1 cup of soy milk (or any other plant-based milk)
– 1 tbsp of lemon juice
– 1 tbsp of maple syrup

PREPARATION:
Go ahead and put all the dry ingredients into a bowl a mix it together. Then you can add the liquid components and whisk until you get a nice batter.
Cut the cauliflower florets smaller and than salt them; roll them into all-purpose flour; dip them into the batter; put them on a baking tray

Bake them in the oven 180°C (360°F) FAN option for 20 minutes – while brushing them with hot sauce halfway!

Done with the cauliflower, let’s get the wraps ready!

We filled our wraps with the following ingredients:
– gem lettuce
– red kidney beans & sweet corn
– homemade guacamole (link to the recipe video is above)
– buffalo cauliflower

To start off, we always quickly heat up the wraps in a pan (10 seconds each side) so they roll more easily.

Once on the table, we will put the ingredients in the middle of the wrap (don’t overdo it). Fold the sides to the middle and then the bottom (the closest side to you) over the filling – now you can get it firmly together by pulling the filling to yourself! Roll it and cut through the middle and you are done!

Thank you and enjoy!

Cheers,

Vito

For a video tutorial, check the link below:
Categories
Lunch & Dinner

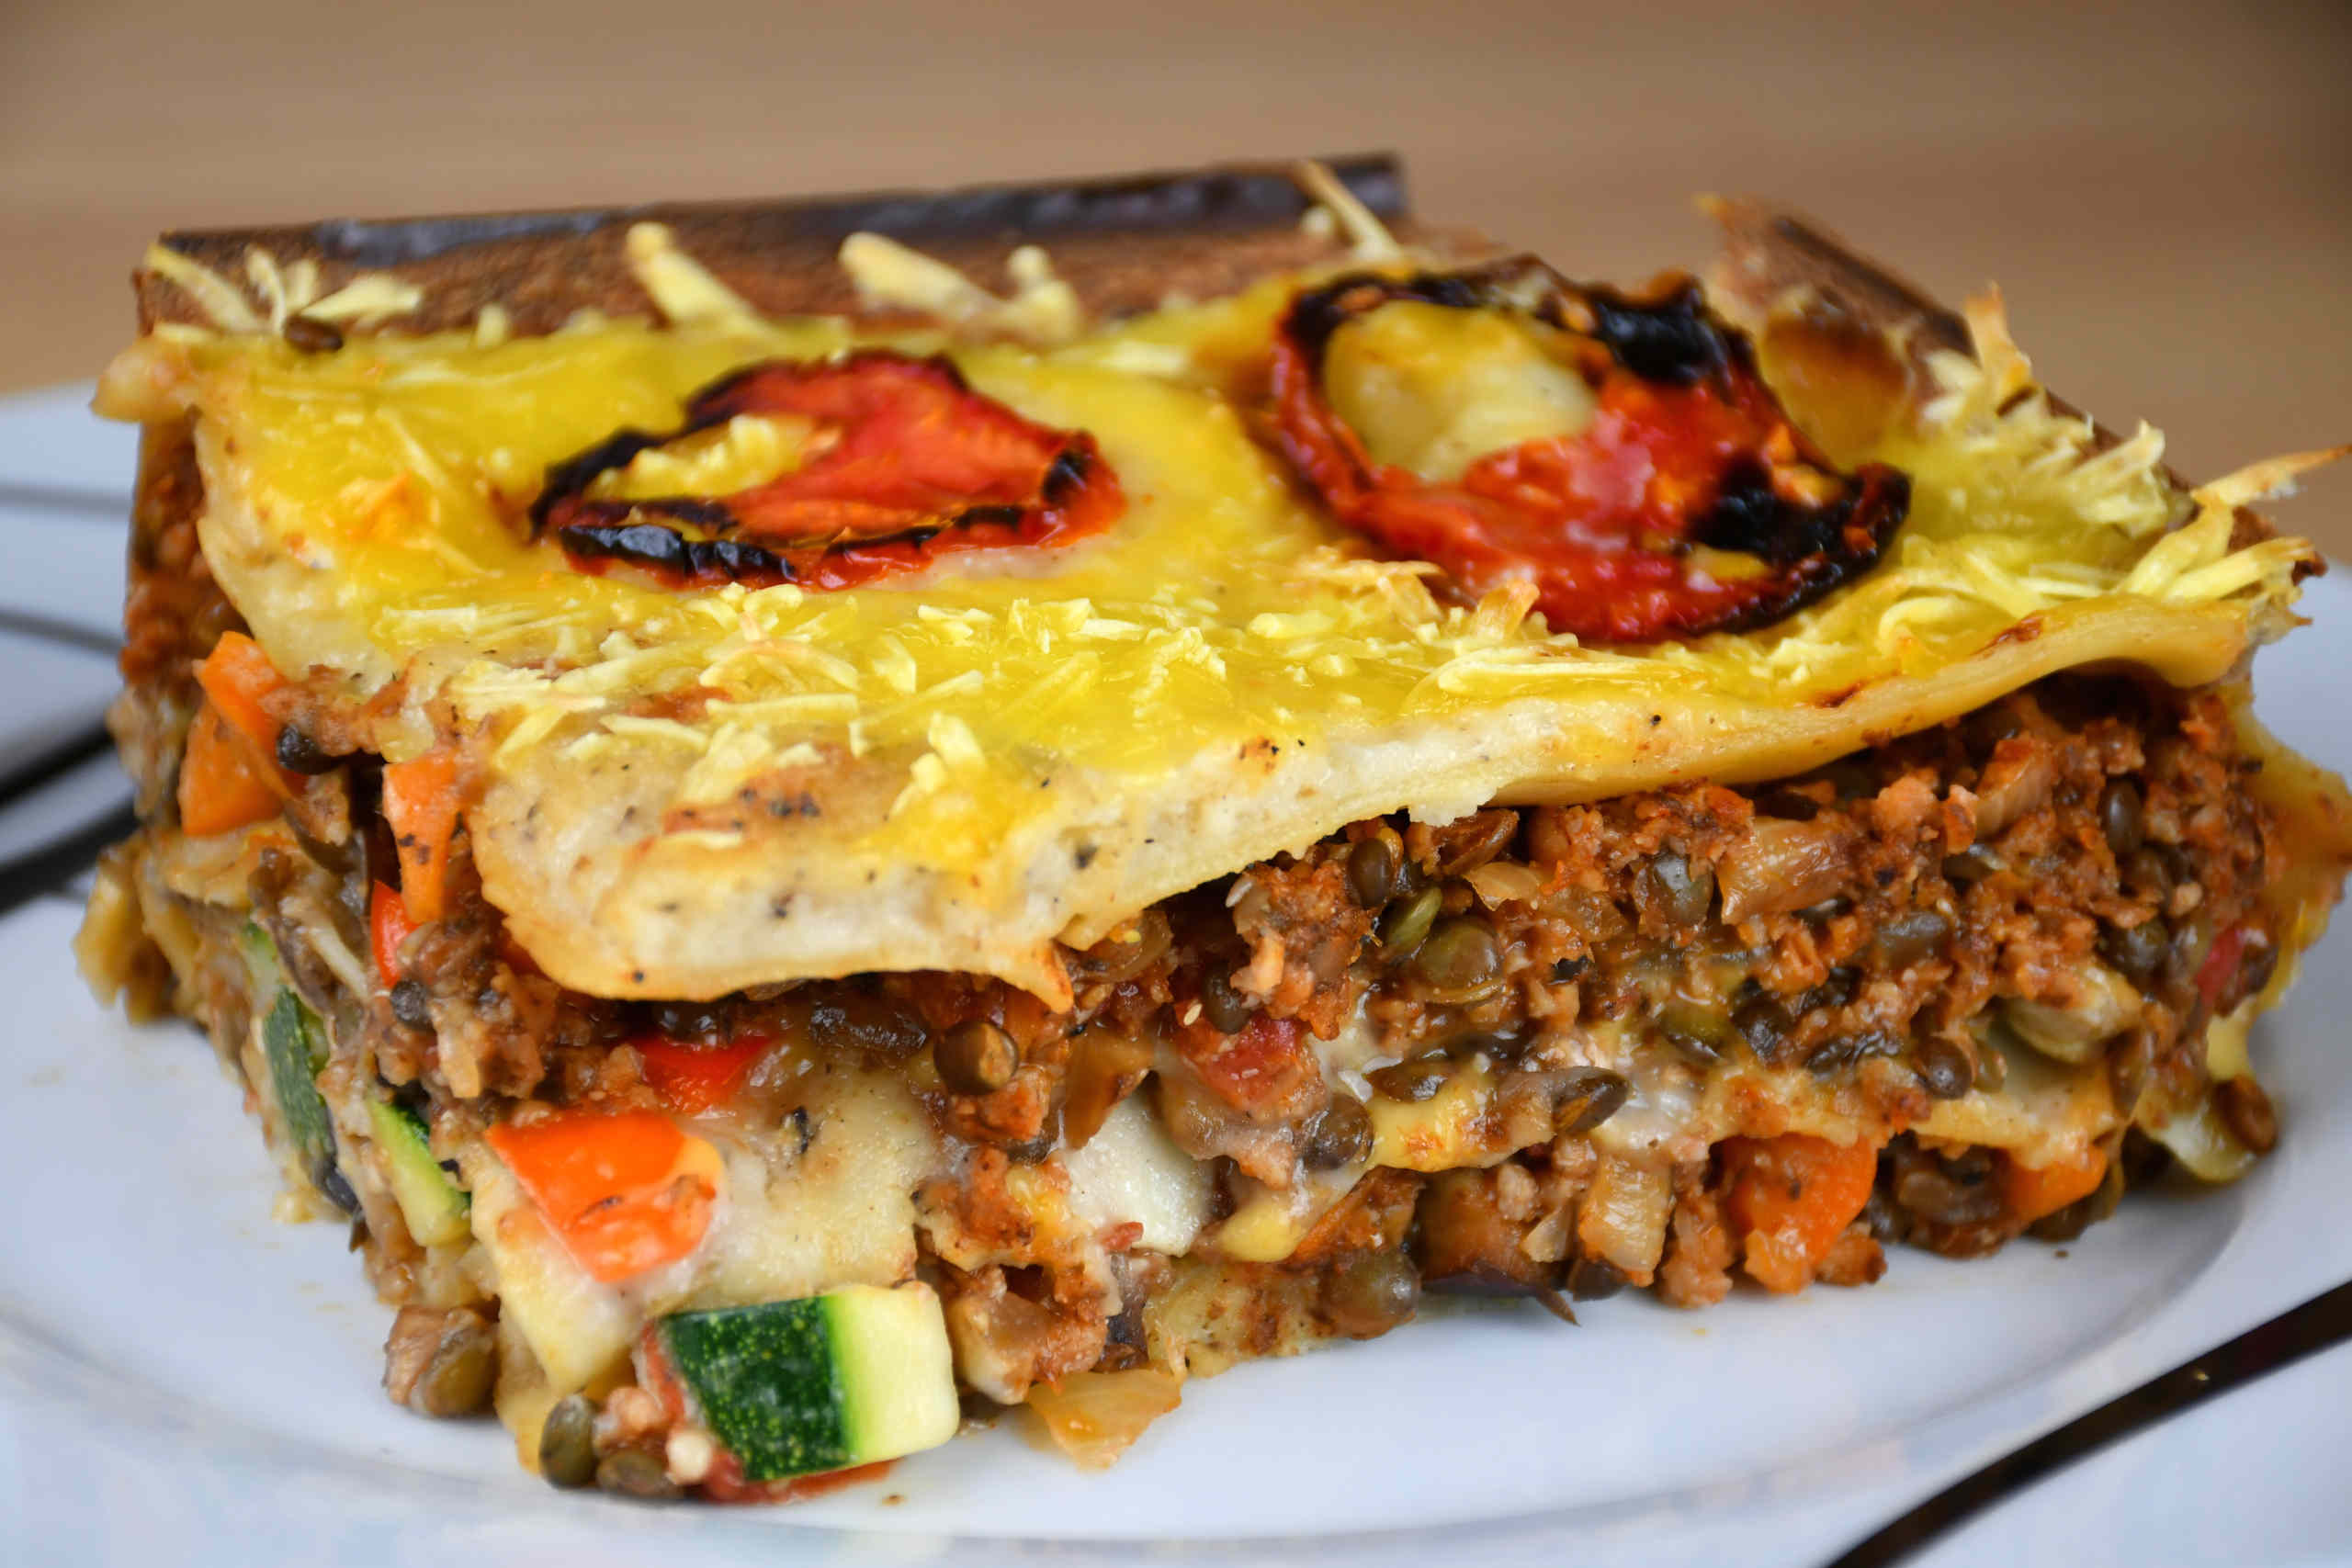
Vegetable Lasagna

Looking for an easy to follow plant-based lasagne recipe?? You are at the right place, check out our new recipe and follow along!!!

Hi Everyone,

Welcome back for another portion of veg!

As I have seen a lot of requests for vegan lasagna, I decided to make a delicious recipe and it will take you about 75 minutes to prepare it – and it can easily feed 5 hungry mouths 🙂

We will start with the ‘meat’ base and you will need the following ingredients:
– 100g of black beluga lentils
– 100g of red lentils (or 200g of any lentils that you have)
– 100g of soy mince
– 3 medium-sized onions
– 2 medium-sized carrots
– 1 can of chopped tomatoes
– 3 tsp of salt
– 2,5 tsp of pepper
– 2 tsp of chili flakes
– 2,5 tbsp of nutritional yeast
– 1 tbsp of maple syrup
– 1 tbsp of dried paprika
– 5 tbsp of milled chia seeds

Start off with cooking the lentils in cold water on medium heat – once boiling, cook for 15 minutes.
In the meantime, you can chop the onions and carrots in small pieces – also soak the soy mince for 5 minutes in some water and then try to squeeze as much water as possible out of it.

Preheat a pan on high heat with some oil and then saute the onions and carrots for 6-7 minutes.

Now, lower the heat to medium and add all the ingredients to it – stir it well and let it cook for another 5 minutes.

You are done with the base!

You will need the following vegetables:
– 250g of mushrooms
– 1 zucchini
– 1 eggplant
– 1 sweet pepper
– 3 medium-sized tomatoes

Chop all the vegetables: mushrooms & tomatoes in slices and the rest in little cubes. Keep the tomatoes on one side (as you will need them for the lasagna topping) and place the rest of the vegetables into a bowl, sprinkle with some salt, and mix it together.

Before you start off with putting the lasagna together you still need bechamel, and you will need the following for it:
– 100 ml of sunflower oil
– 125g of regular flour
– 700 ml of soy milk (or any other plant-based milk)
– 2 tsp of salt
– 2 tsp of pepper
– 2/3 tsp of nutmeg

Preheat the pan on high heat and add the oil first and then the flour – stir until combined and then lower down the heat to low and add the rest of the ingredients – it’s very important to stir continuously for about 4-5 minutes.

It’s time to get excited, as it’s time to put it all together!!

You will still need:
– 1 pack of lasagna sheets
– 1 pack of shredded vegan cheese

To start off, spread some bechamel on the bottom of the baking tray, and then you can lay down your first layer of lasagna sheets (so they won’t move).
Follow up with another layer of bechamel, then spread some vegetables and follow up with a layer (half of the mixture) of the ‘meat’ base.
Now you can fill up the sides of the lasagna with lasagna sheets and then put a new layer of sheets on top.
The second layer will consist of bechamel, cheese, vegetables, and then the rest of the ‘meat’ base.
Finish off with another layer of lasagna sheets, bechamel, cheese, and tomatoes on top!

Preheat the oven on FAN 180°C (360°F) – and then bake the lasagna for 45-50 minutes.

Once done, you are ready to serve it!

Cheers,

Vito

For a video tutorial, check the link below:
Categories
Desserts Favourites

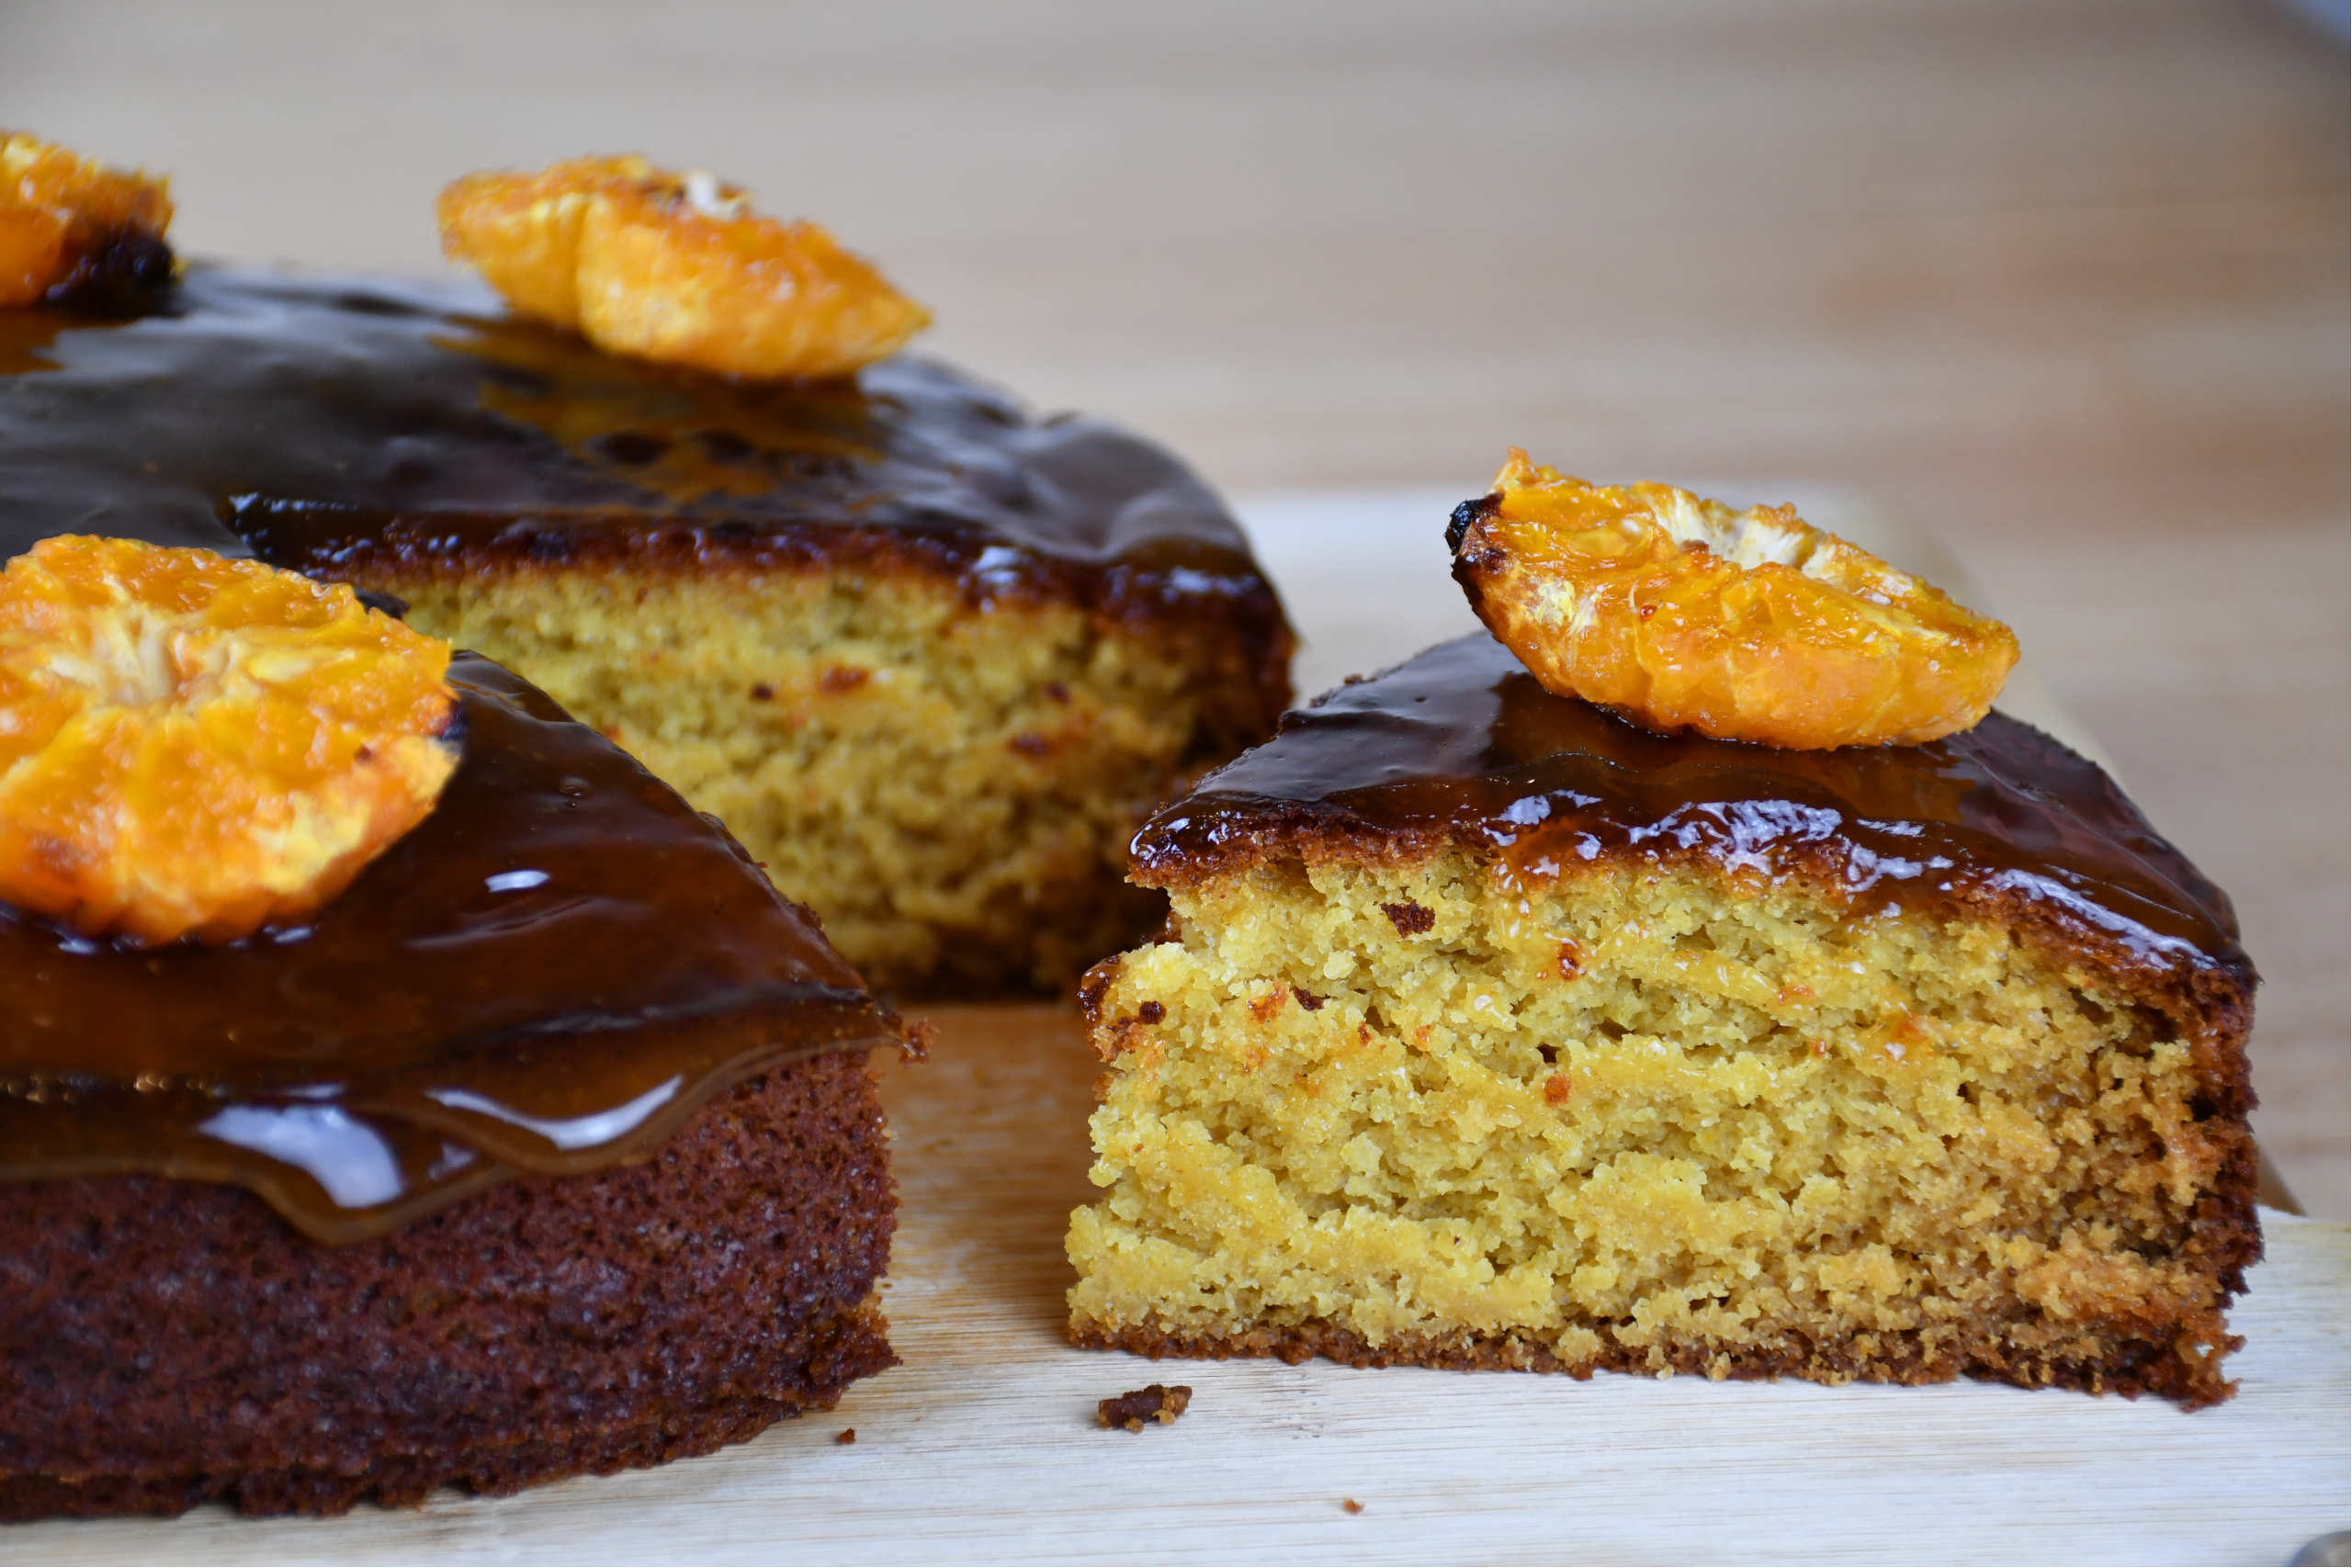
Orange Cake

Craving for a mild but jet a dessert that will knock you off your feet!? It’s easy, check out our new recipe and make it yourself!

Hi Everyone,

I am so excited to share this vegan orange cake recipe, that is sooo delicious!

We will start off with the wet mix and you will need the following ingredients for that:
– 3 oranges (2 orange zests & 3/4 cup of orange juice)
– 1/2 cup of desiccated coconut
– 1/2 cup of soy milk
– 1 tbsp of lemon juice
– 80ml of olive oil
– 2 tbsp of agave syrup
– 1 tsp of vanilla extract

Get all your ingredients into a food processor and blend for 30 seconds, so the desiccated coconut gets nicely blended in.

For your dry components you will need the following ingredients:
– 2 cups of regular flour (optional 2 extra tablespoons can be added)
– 1,5 tbsp of baking powder
– 1 tbsp of baking soda
– 10 tbsp of light brown sugar

Sift the flour and add the rest of the ingredients into a bowl and whisk it so it mixes all evenly. now you can add the dry component and mix it together, but be careful, don’t overmix it as your cake won’t bake properly.

Preheat the oven to 180°C (360°F) and put the cake on the middle rack and bake it for 25 minutes.

In the meantime, you can make the glazing, and you will only need:
– 1/2 cup of orange juice
– 8 tbsp of sugar
– 1,5 tbsp of corn starch
– 1/2 tsp of vanilla extract

Put the orange juice and sugar into a saucepan and cook it on medium heat. Boil it for 5 minutes and then add 2 tbsp of water to the corn starch, mix it and then add to the saucepan. Cook it for another 5 minutes and let it cool down a bit.

Once your cake is done let it cool down and then you are ready to pour the glazing over the cake!

You can optionally serve it with some caramelized mandarines, just cut 6 of them in half and place them in a baking tray – put some sugar on top – and bake it in the oven for 25 minutes at 180°C (360°F).

You are ready to serve it, Enjoy!!

Vito

For a video tutorial, check the link below:
Categories
Lunch & Dinner

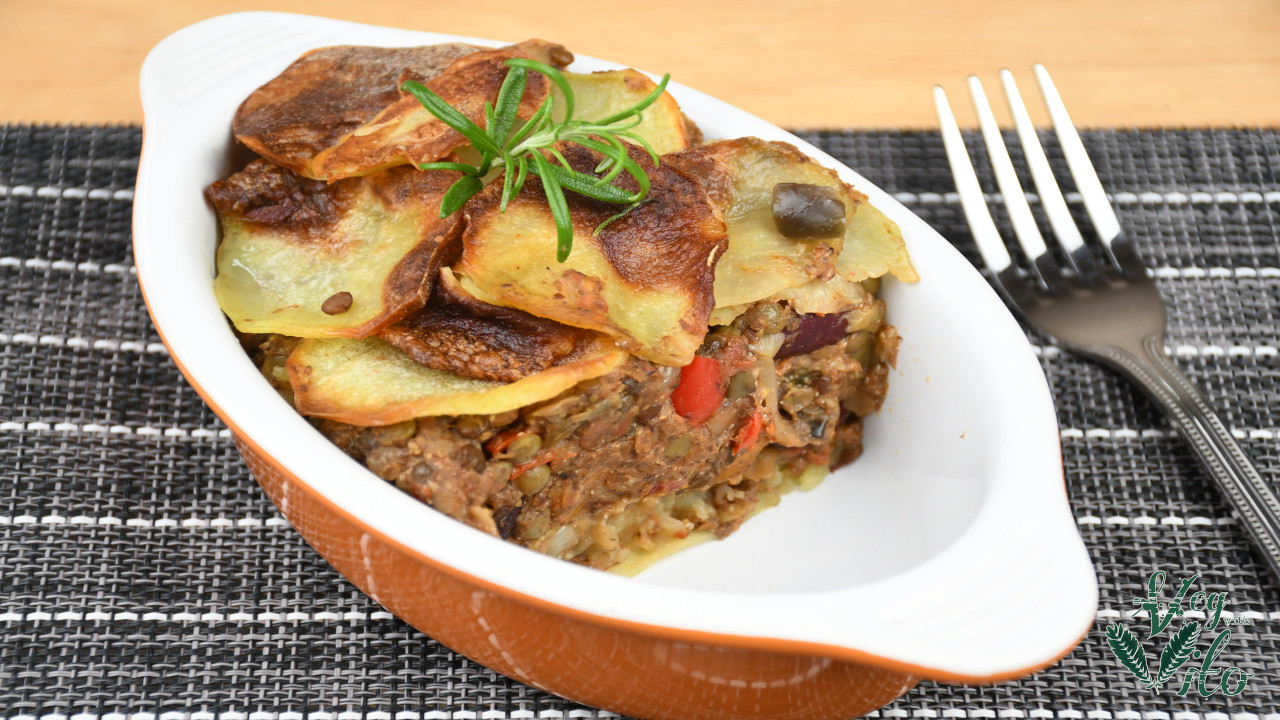
Mixed Lentil Pie

Are you looking for a new Sunday lunch recipe for the whole family?? Bingo! Check out our new recipe that is packed with protein!!

Hi Everyone,

In this post, I am showing you how to make a mixed lentil pie, that everyone at your Sunday lunch table will love and is also packed with protein!

INGREDIENTS:
To start off, you will need the following vegetables:
– 2 medium-sized onions
– 3 medium-sized carrots
– 2 celery stick
– 1 sweet pepper
– 1 eggplant
– 8 medium-sized potatoes

The lentils that are used in the recipe (but you can do any lentils – approx. 300g):
– 70g of black beluga lentils
– 70g of lentils verts
– 70g of red lentils
– 70g of green lentils

The rest of the ingredients:
– 1 can of red kidney beans
– 1 can of chopped tomatoes
– 2,5 tsp of salt
– 2 tsp of pepper
– 2 tsp of chili flakes
– 2 tbsp of nutritional yeast
– 6 tbsp of milled chia seeds
– 1 tbsp of maple syrup

PREPARATION:
Go ahead and start cooking your lentils in cold water on low heat (once it starts boiling cook for another 15-20 minutes). Then, chop all the vegetables into smaller pieces, except the potatoes that have to be cut into thin slices.
Now you can heat up some oil in a pan (high heat) and add all the vegetables (not the potatoes) and saute them for 5-7 minutes and then add the rest of the ingredients (including lentils), stir it well, and cook on low heat for another 5 minutes.
Once the mixture is taken off the hob, spray some oil on the bottom of the baking tray and then put a layer of potatoes in – put some salt and oil on top and make your second layer, including a layer on the sides of the baking tray. Now it’s time to put the mixture in and then finish it off with the rest of the potatoes.
Preheat your oven to 180°C (360°F) on the fan option and bake it for 45-50 minutes.

You are ready to serve it, enjoy!

Vito

For a video tutorial, check the link below:
Categories
Lunch & Dinner

Vegetable Soup With Semolina Dumplings

Looking for a simple and delicious veg soup recipe?? You are at the right place! Check out our new recipe and make it for yourself!

Hi Everyone,

In this post I will show you how to make a super easy and healthy vegetable soup, that will be served with semolina dumplings.

INGREDIENTS:
– 2 medium-sized onions
– 3 medium-sized carrots
– 3 medium-sized parsnips
– 4 celery sticks
– 4 small potatoes
– 1 eggplant
– 2 vegetable stock cubes

PREPARATION:
To start off, chop all your vegetables: fine chop onion carrots, and the rest in cubes. Saute the onions and carrots for a few minutes on high heat and then add the rest of the vegetables to the pot – mix them up and top up with cold water.
Cook the soup on low heat for an hour and a half – add the vegetable stock cubes a few minutes prior to taking it off the hob.

In the meantime let’s prepare the semolina dumplings, the ingredients that you will need are:
– 100g of wheat semolina
– 1,5 tsp of egg replacer
– 1,5 tsp of salt
– 1,5 tsp of pepper
– 1,5 tbsp of nutritional yeast
– 1 tbsp of olive oil

Wisk the egg replacer in a bowl with 3,5 tbsp of water, and after that add the rest of the ingredients and make a dough out of it. Once done, make little dumplings and then cook them in water for 45 minutes.

When your soup is cooked, separate in another pot 1/3 of it and add into the 1/3 of soup the following ingredients:
– 1,5 tsp of salt
– 1,5 tsp of pepper
– 1,5 tbsp of olive oil
– 1,5 tbsp of vegan butter

Now go ahead and blend it – serve it with the dumplings and some fresh parsley & soy cream (this serves 3).

I usually freeze the rest of the soup for another day 🙂

Enjoy!

Vito

For a video tutorial, check the link below:

Categories
Snacks & Sides

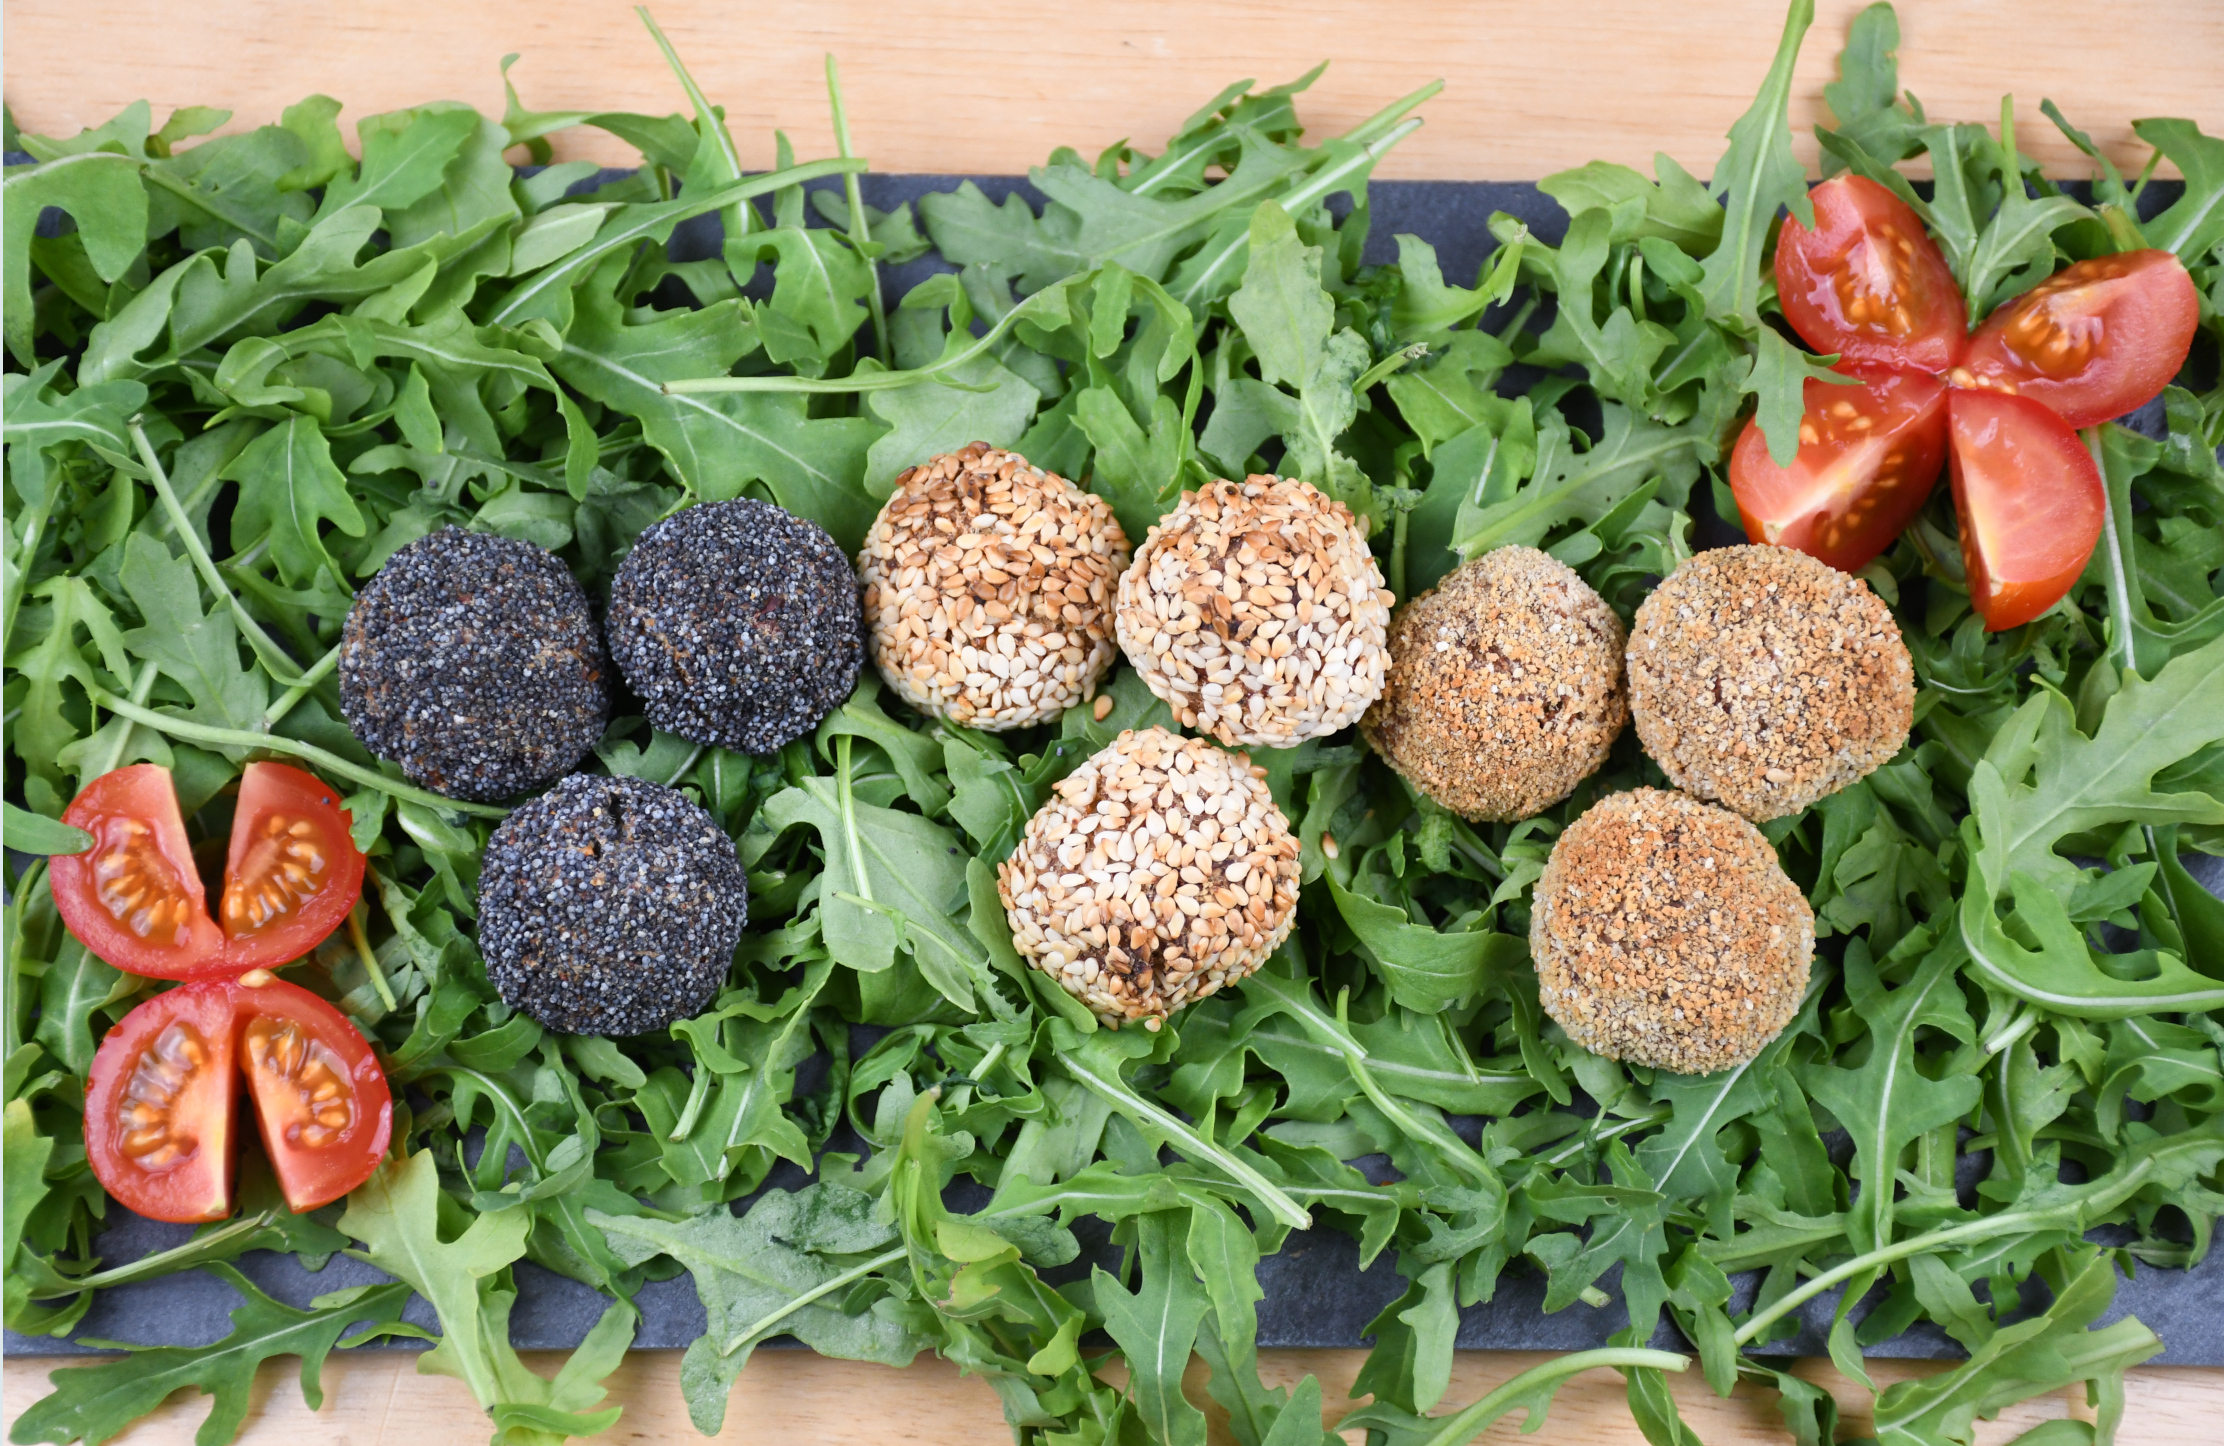
Cauliflower Snacks

Are you looking for a nice vegan snack for any occasion? Make yourself these nice cauliflower snacks in delicious coatings! Enjoy!

Hi Everyone,

In this video, I will show you how to make great cauliflower nuggets, that is a great snack for any occasion 🙂 You can bake or fry them, that is totally up to you (but I liked the healthier option of baking).

INGREDIENTS:
– 1 small cauliflower (approx. 700g)
– 1,5 tsp of salt
– 1/2 tsp of black salt
– 1,5 tsp of pepper
– 1,5 tbsp of nutritional yeast
– 1,5 tbsp of olive oil
– 1,5 tsp of egg replacer (with 50ml of water)
– 100g of regular flour (or gram flour if you want a gluten-free recipe)
– 3 coatings are used: Poppy seeds, sesame seeds, and bread crumbs

PREPARATION:

To start this recipe off, shred your cauliflower on the small-hole side of the box grater – once done, add the regular salt to it so the cauliflower can release its water!
In the meantime, prepare the egg replacer by adding 50ml of water to the powder and then give it a good whisk.
Now you can take a thin cloth (if you have it), or just a strainer and squeeze as much water as possible out of it!
Once done, add the cauliflower to the egg replacer along with the rest of the ingredients (except flour) and give it a good mix – now you can add flour and make a nice dough.
Your next step is to form small ball nuggets and then roll them into your favorite coating 🙂

In case you are baking them, place them on a baking tray with some baking paper, and preheat your oven to 180°C (360°F) – bake them for 15-20 minutes.

In case of frying them, just keep in mind not to heat up the oil too much, as they are fairly quickly done!

You are ready to serve it, Enjoy!!

Vito

For a video tutorial, check the link below:
Categories
Snacks & Sides

Vegan Mayonnaise

Do you like sauces but couldn’t find any replacement for mayo? Make yourself this easy and delicious vegan mayo in only 5 minutes!

Hi Everyone!

Today I am showing you a quick, easy, and cheap way to make homemade vegan mayonnaise – made in less than 5 minutes!

The ‘secret’ ingredient is black salt that you can find in most Asian stores – it gives a very similar taste to eggs (also known as Kala namak or Himalayan black salt – that gets this taste and flavor mostly because of sulfur).

INGREDIENTS:

– 100ml of soy milk

– 1/2 tsp of regular salt

– 1/2 tsp of black salt

– 1 tbsp of lemon juice

– 1 tbsp of Apple cider vinegar

– 1,5 tsp of dijon mustard

– few drops of agave syrup

– 200ml of sunflower oil

PREPARATION:

First place all of the ingredients except the oil in a bowl, and quickly blend it (hand-held blender), keep the blender on the bottom and add the oil – start blending and keep it on the bottom for around 20 seconds while it emulsifies – than you can start going up and down with the blender to finish the mayo off!

You can also flavor it up later but I wouldn’t mix anything liquidy as it won’t bind!

You are ready to serve it, Enjoy!!


For a video tutorial, check the link  below: