Categories
Desserts

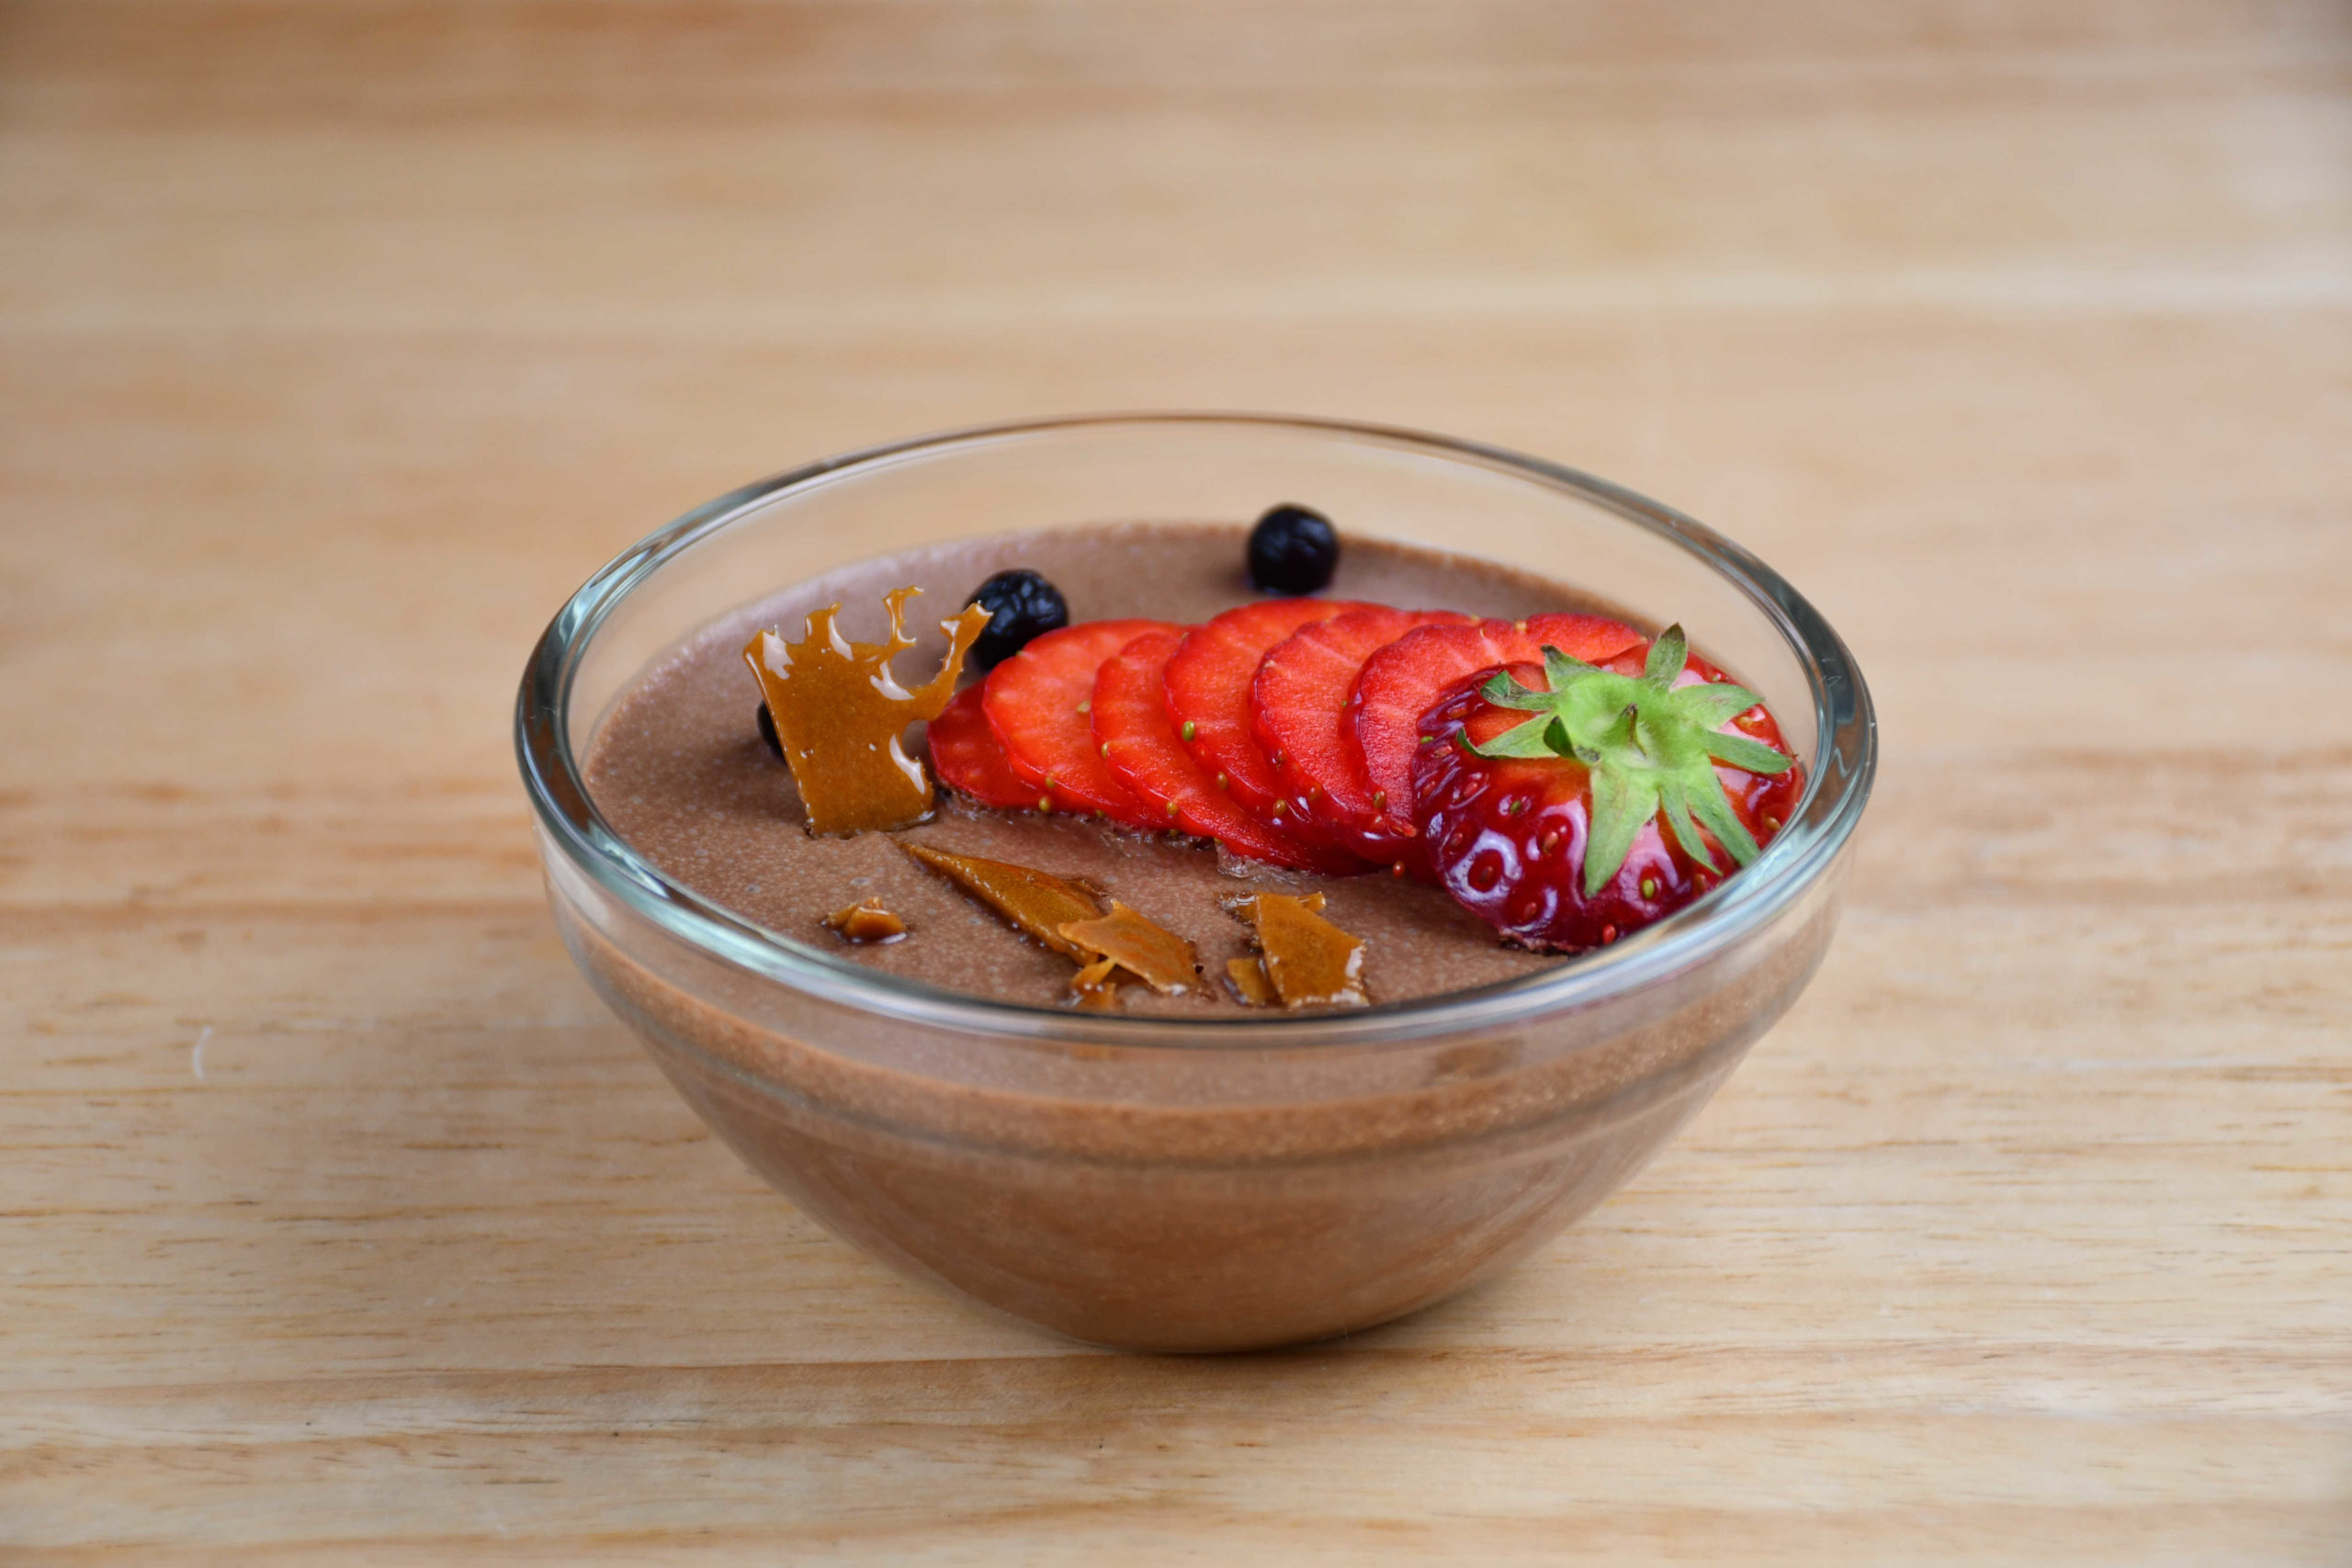
Semolina Pudding

Are you ready for a dessert that will bring back childhood memories and is super easy to prepare? Try out this delicious recipe!!!

Hi Everyone,

Welcome back to my blog!

In this post, I will show you a very easy dessert to make and I bet that to some of you it will bring back childhood memories – and it takes only 15 minutes to prepare 🙂
We will make semolina pudding that can be eaten hot (if you really can’t wait) or cold.

INGREDIENTS:
– 110g of wheat semolina (10 tbsp)
– 6 tbsp of sugar
– 500ml of soy milk (but use any plant-based milk you like!)
– 60g of dark chocolate
– 50g of Brazil nuts
– 1,5 tbsp of agave syrup
– 1 tsp of vanilla extract

PREPARATION:
To start off, pour the soy milk into a saucepan and heat it up on low heat – in the meanwhile, you can also start melting your chocolate (in a bowl above some boiling water).

Mix semolina and sugar into a bowl with 200ml of water – once the milk starts boiling you can add the semolina mix to it – whisk continuously!

Once it starts thickening, you can blend up the brazil nuts (or any other) and add them to the semolina, along with the agave syrup and vanilla extract.

Take the mixture off the hob and pour it into a baking tray or a mold of your preference – pour the dark chocolate on top and just mix it gently on top.

Now, the decision is up to you if you want to cool it down or consume it right away!

Enjoy!

Vito

For a video tutorial, check the link below:
Categories
Desserts

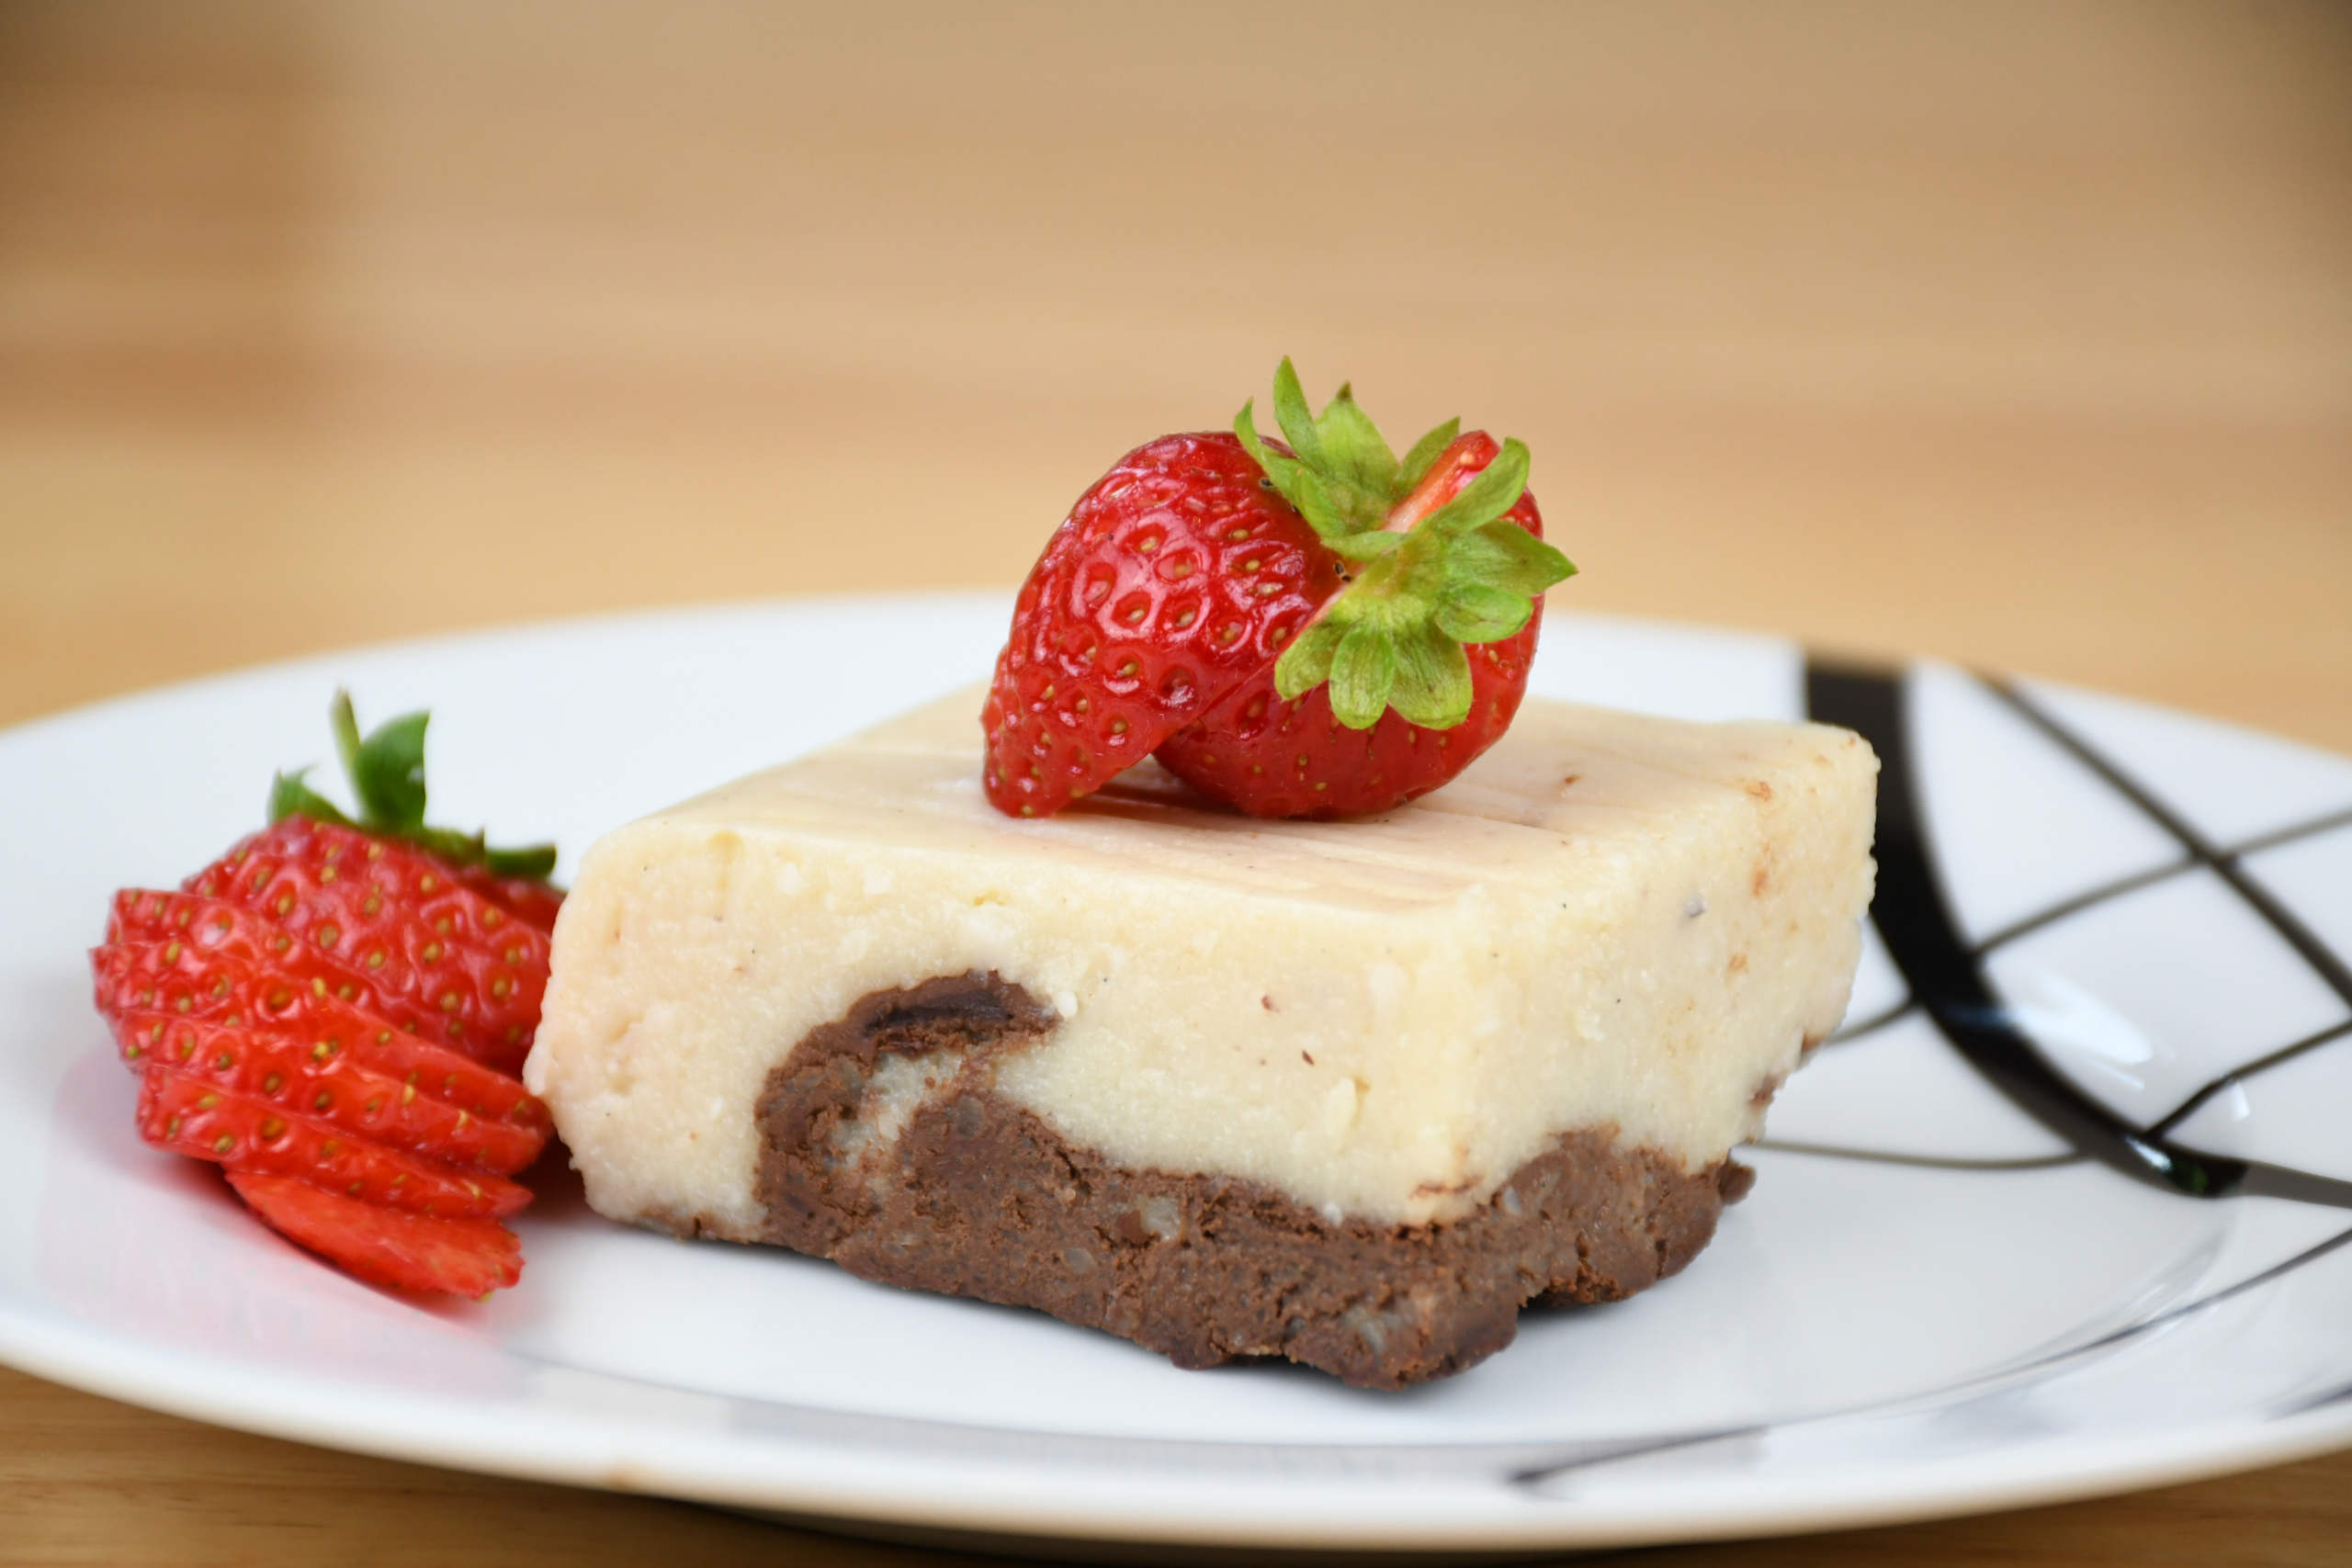
Strawberry Pie

Want a Strawberry Pie recipe that is super easy to make? You are in the right place, and my suggestion is to make 2 right away! 😉

Hi Everyone,

In this post, I will show you a super-easy way to make a delicious strawberry pie!

The ingredients that you will need for the crust are:
– 350g of flour
– 130g of sugar
– 1 tbsp of baking powder
– 1 lemon zest
– pinch of salt
– 130ml of almond milk
– 100ml of sunflower oil
– 1 tsp of vanilla extract

Place the dry components into a bowl (flour, sugar, baking powder) and also add the zest to it. Whisk it until it all mixes well.
Now add the rest of the ingredients and then knead the dough!
Once done, wrap it up in some cling film and leave it in the fridge for at least 2 hours.

Once you take it out of the fridge, roll out the dough and place it into a baking tray that you have buttered up with some vegan butter – cut off the parts that are sticking out and it’s time to bake it in a preheated oven for 20 minutes on a 180°C (360°F).

Now let’s make the filling to finish it off:
– 300g of strawberries (+ extra 300-400g just to cut up and place on the pie)
– 100g of light brown sugar
– 2 tbsp of agave syrup
– 1 tsp of vanilla extract
– 1,5 tbsp of lemon juice
– 4-5 tbsp of corn starch

Place all ingredients (except the corn starch) into a blender and blend it. Now, place it into a saucepan and cook it on medium heat – once boiling, mix the corn starch with some water and add it to the saucepan. Stir it for a couple of minutes and take it off the hob.

You will just need another 300-400g of strawberries, that you will cut into bigger pieces and mix in some lemon juice so they stay fresh.

Once the pie is baked, let it rest for half an hour to cool down, and then add the strawberries and filling (it should be warm) to it and you are ready to let it cool down fully in the fridge for a couple of hours before you serve it!

Cheers,

Vito

For a video tutorial, check the link below:
Categories
Desserts Favourites

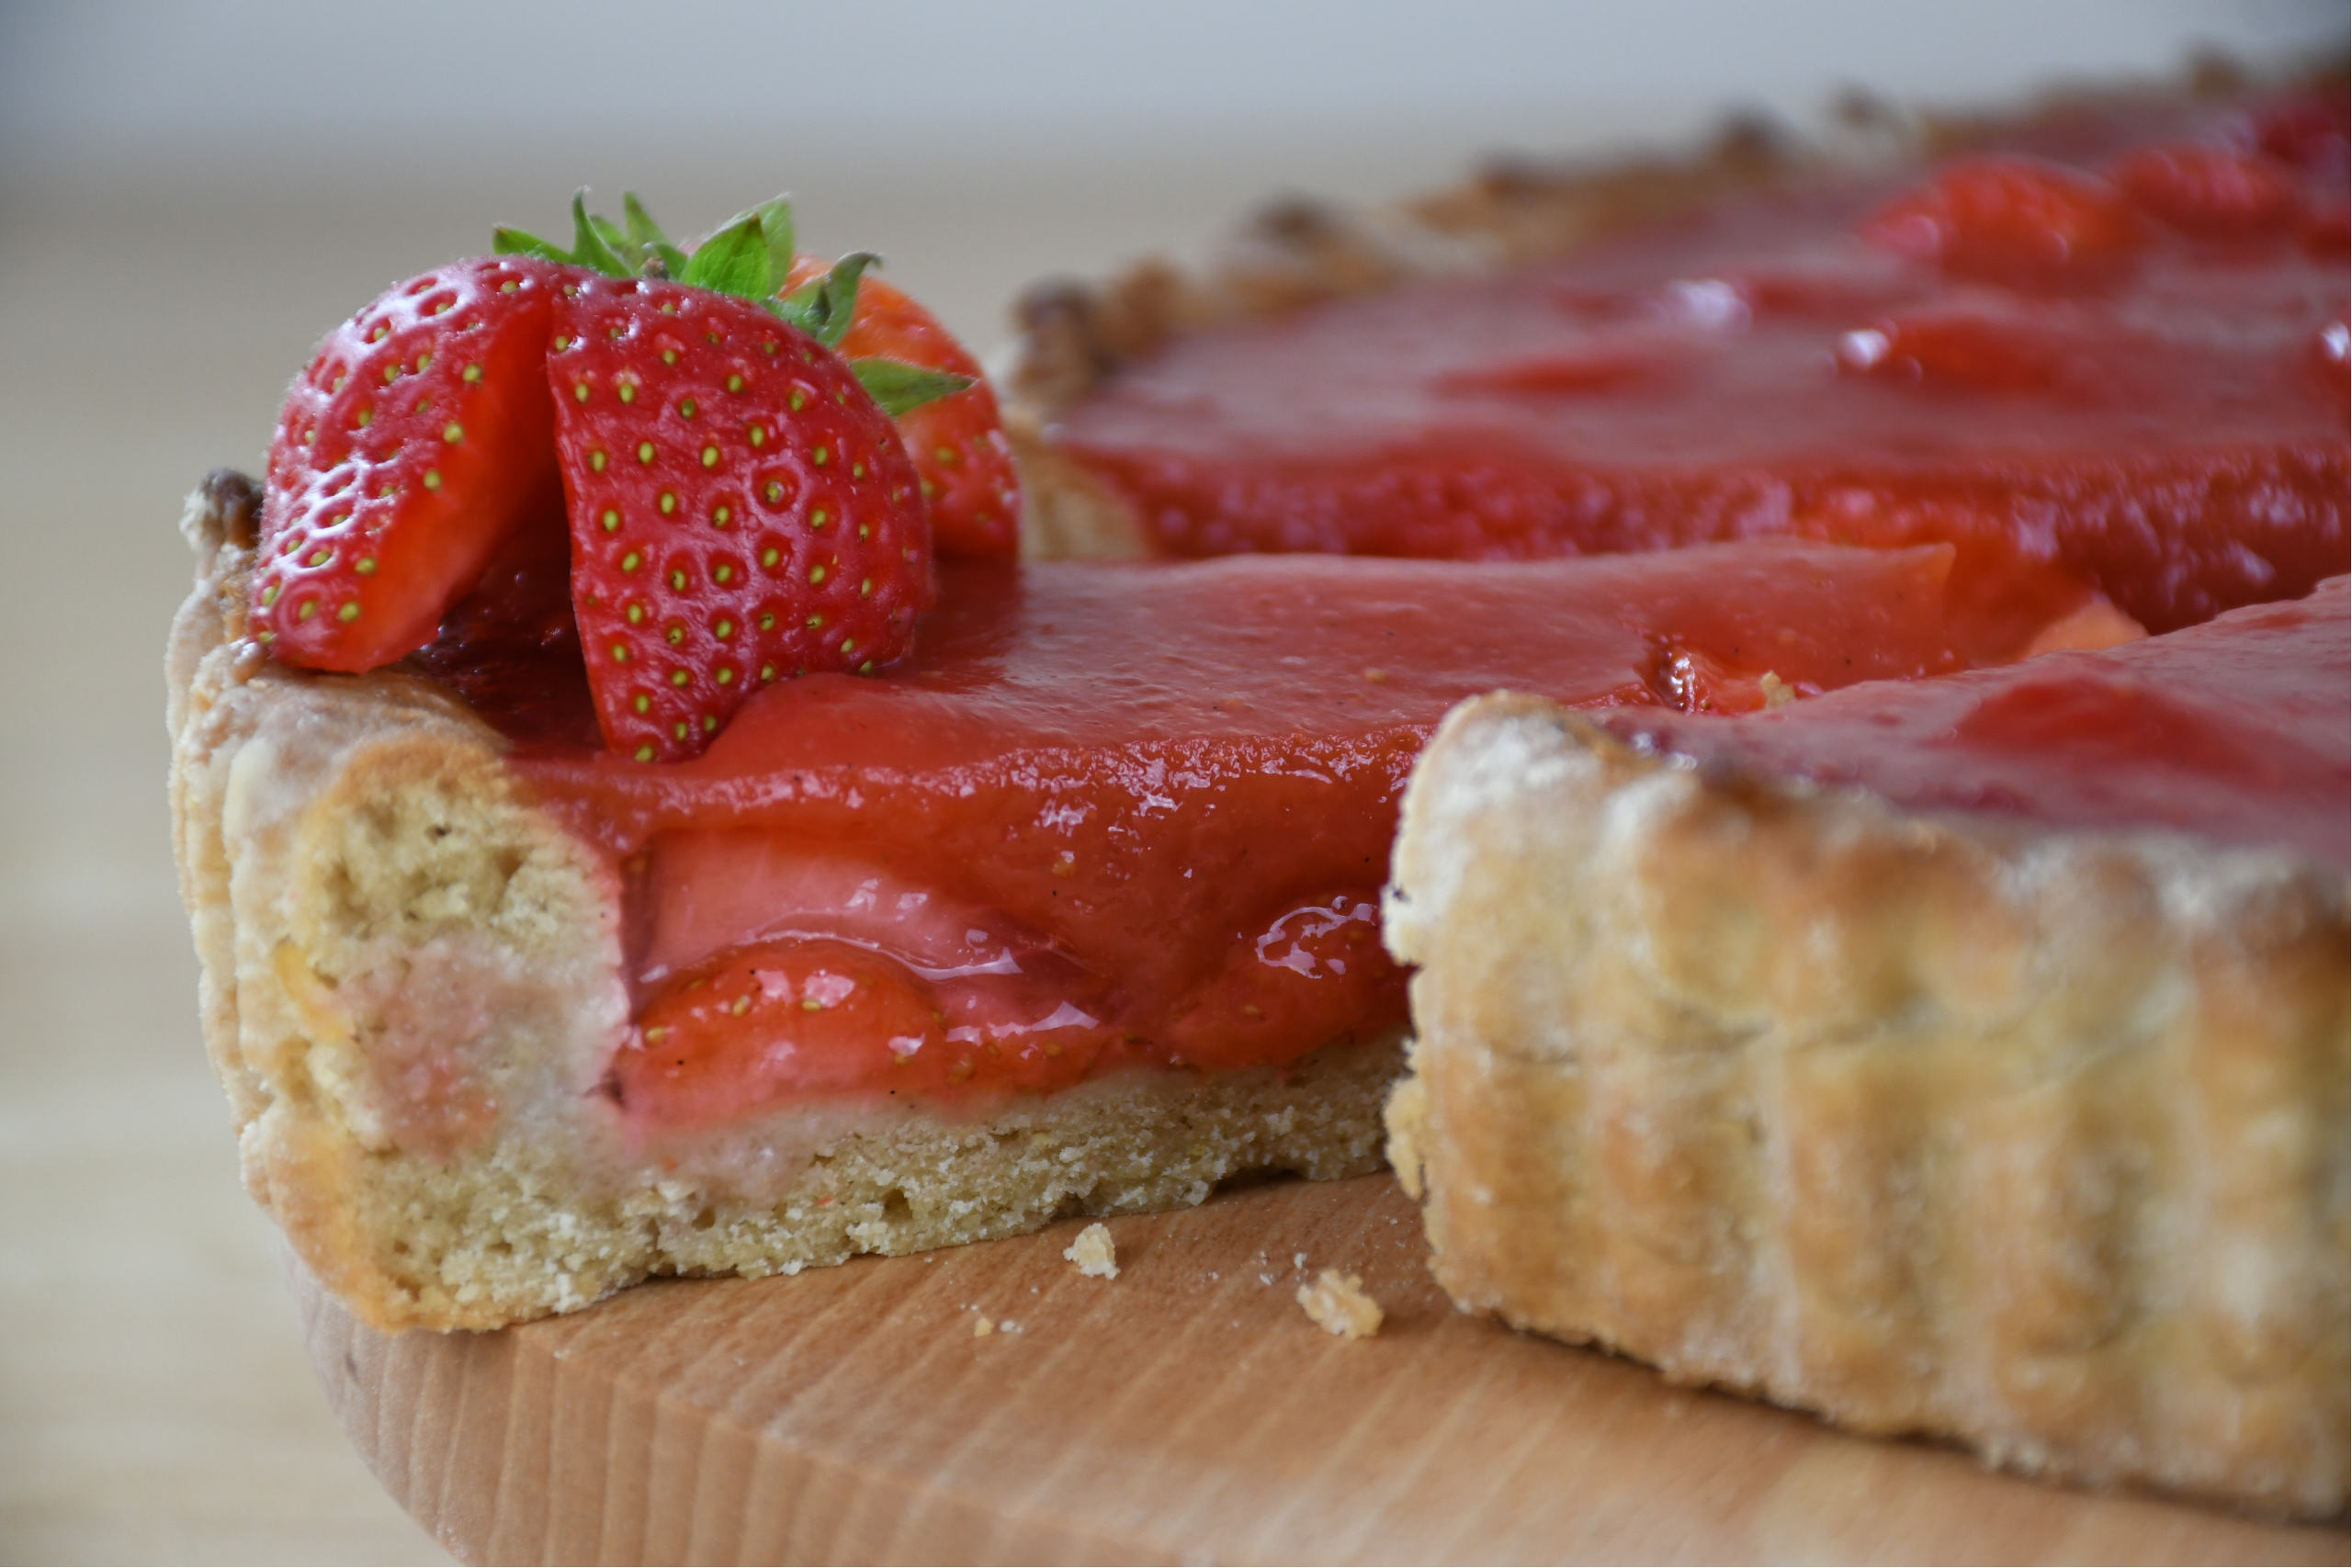
Orange Cake

Craving for a mild but jet a dessert that will knock you off your feet!? It’s easy, check out our new recipe and make it yourself!

Hi Everyone,

I am so excited to share this vegan orange cake recipe, that is sooo delicious!

We will start off with the wet mix and you will need the following ingredients for that:
– 3 oranges (2 orange zests & 3/4 cup of orange juice)
– 1/2 cup of desiccated coconut
– 1/2 cup of soy milk
– 1 tbsp of lemon juice
– 80ml of olive oil
– 2 tbsp of agave syrup
– 1 tsp of vanilla extract

Get all your ingredients into a food processor and blend for 30 seconds, so the desiccated coconut gets nicely blended in.

For your dry components you will need the following ingredients:
– 2 cups of regular flour (optional 2 extra tablespoons can be added)
– 1,5 tbsp of baking powder
– 1 tbsp of baking soda
– 10 tbsp of light brown sugar

Sift the flour and add the rest of the ingredients into a bowl and whisk it so it mixes all evenly. now you can add the dry component and mix it together, but be careful, don’t overmix it as your cake won’t bake properly.

Preheat the oven to 180°C (360°F) and put the cake on the middle rack and bake it for 25 minutes.

In the meantime, you can make the glazing, and you will only need:
– 1/2 cup of orange juice
– 8 tbsp of sugar
– 1,5 tbsp of corn starch
– 1/2 tsp of vanilla extract

Put the orange juice and sugar into a saucepan and cook it on medium heat. Boil it for 5 minutes and then add 2 tbsp of water to the corn starch, mix it and then add to the saucepan. Cook it for another 5 minutes and let it cool down a bit.

Once your cake is done let it cool down and then you are ready to pour the glazing over the cake!

You can optionally serve it with some caramelized mandarines, just cut 6 of them in half and place them in a baking tray – put some sugar on top – and bake it in the oven for 25 minutes at 180°C (360°F).

You are ready to serve it, Enjoy!!

Vito

For a video tutorial, check the link below:
Categories
Desserts Favourites

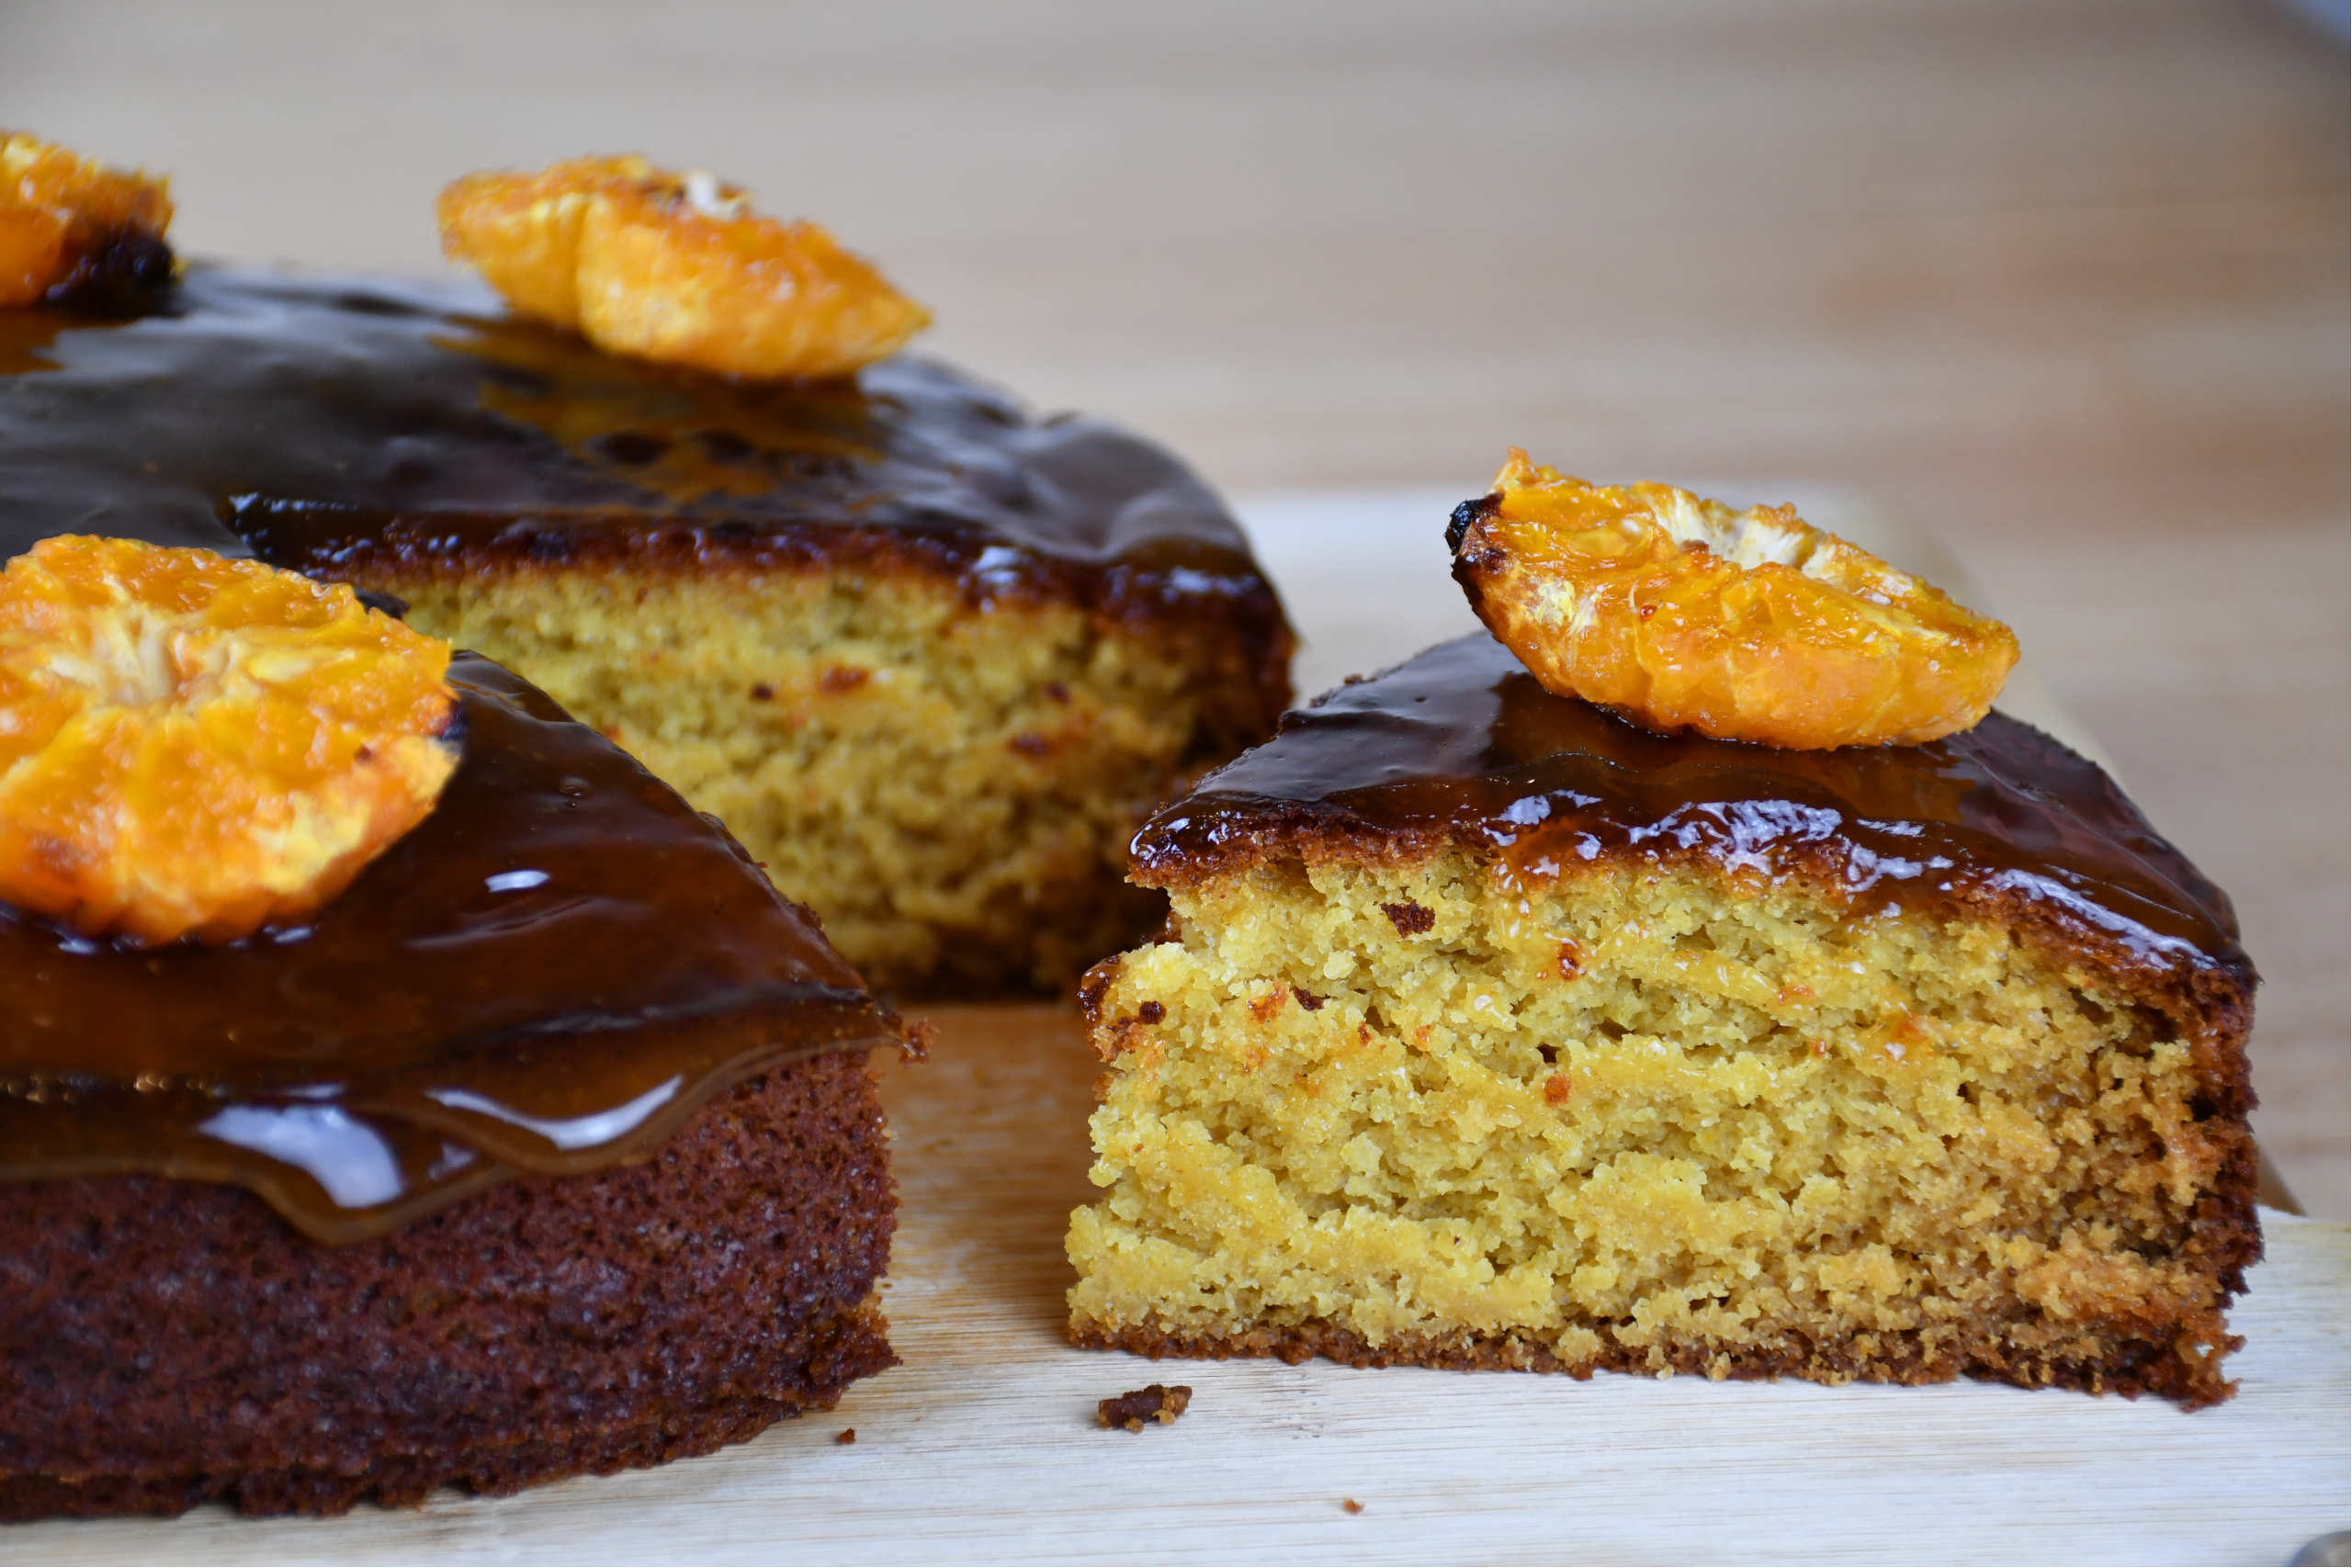
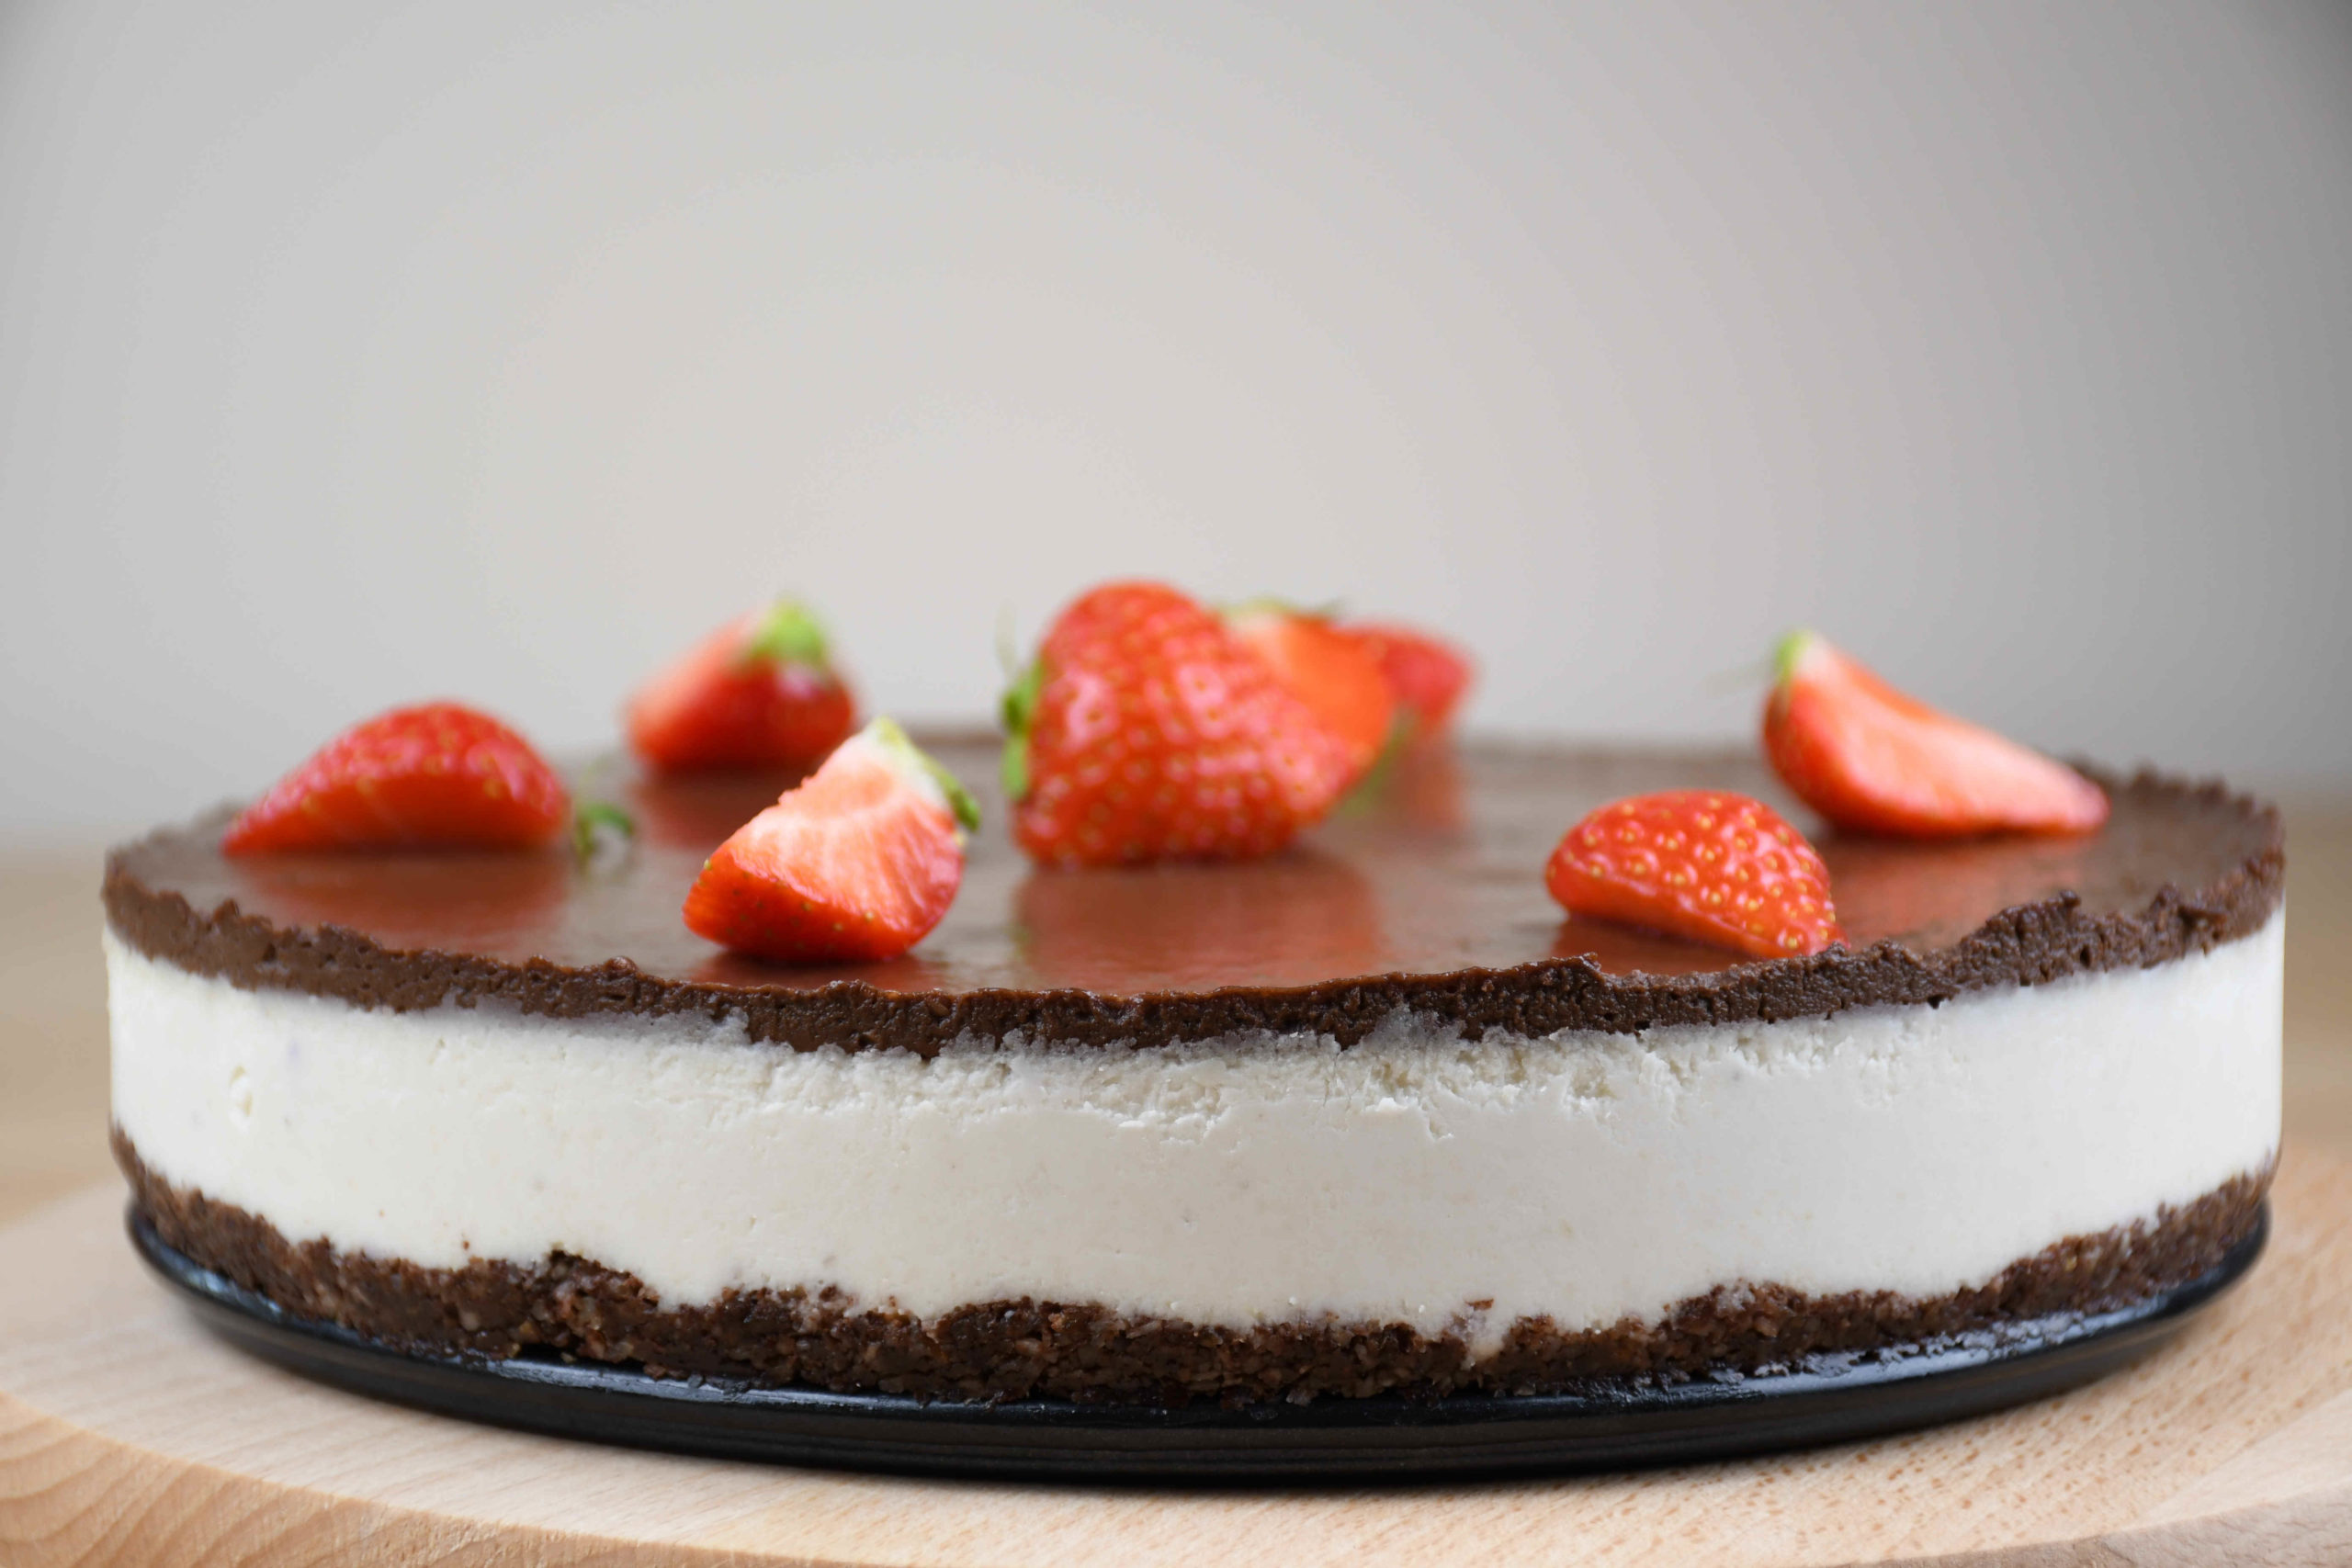
Vegan Cheesecake

Hi Everyone,

In this post I am showing you how to make vegan cheesecake, that is topped up with chocolate and there is gonna be a lot of nuts (so that means a great source of protein also).


To start off, soak 250g of cashews in water overnight and leave a can of coconut milk in the fridge!

The preparation will be in 3 stages: base, filling, and topping. This requires patience, but it’s sooo worth it 🙂

NOTE: you will need a springform cake tin!


Let’s start off with the base, the ingredients that you will need:
– 70g of walnuts
– 70g of brazil nuts
– 50g of desiccated coconut
– 80g of dried dates
– 2 tbsp of cocoa powder

As dried dates are not sticky, soak them in some hot water for a few minutes!

Add the nuts together with the desiccated coconut into your blender and press the button – once you are happy with the result it’s time to add the dried dates (without water) and cocoa powder – blend it once more!

Now, take the springform cake tin and cut out a piece of baking paper to lay it on the bottom of the tin. Take your base mixture and press it firmly on the bottom of the tin – base is done! Leave it in the freezer while you are making the filling.


The ingredients needed for the filling:
– 250g of cashews (soaked in water overnight – otherwise it’s gonna be tough for your blender to make a smooth mixture)
– 1 can of coconut milk chilled in the fridge (for this part you will use up 2/3 of the best/fatty part of the milk – the rest will be used for the topping)
– 5 tbsp of maple syrup
– 3 tbsp of agave syrup
– 3 tbsp of lime juice
– 1 tsp of vanilla extract
– 1/2 a cup of coconut oil (liquid)

To start off, make some liquid coconut oil – fill a pan and just melt it on really low heat.

Fill the blender with the cashews, 2/3 can of coconut milk, maple & agave syrup, vanilla extract, and lime juice – blend it very well together (to make it as smooth as possible). Now, go ahead and add the coconut oil and blend it once more – take the mixture and pour it into the springform cake tin and then leave it in the freezer for about 5 hours. For extra color you can add blueberries to it and mix them into the filling


The ingredients for the chocolate topping:
– the rest of the coconut milk
– 5 tbsp of brown sugar
– 60g of dark chocolate
– 3 tbsp of vegan butter
– 1 tsp of vanilla extract

Pour the rest of the coconut milk into a saucepan and heat it up. Now, add the brown sugar to it and simmer for about 20 minutes on low heat (whisk occasionally) to get a thicker consistency. Then add the chocolate, butter, and vanilla extract and let it all bind together – now pour it on top of the cake and leave it for another 30 minutes in the freezer.

Leave it for an hour in the fridge before serving – optionally decorate with strawberries.


Enjoy!

Vito

For a video tutorial, check the link below:
Categories
Desserts Favourites

Vegan Mousse

Curious how to make an irresistible dessert? Well, you are in the right place to learn how to make a plant-based chocolate mousse!


Hi Everyone,

Today it’s time to cover up a famous recipe in a vegan way and it is Chocolate Mousse – a dessert for any occasion!

To start off, get some Aquafaba chilled in the fridge (liquid from a can of chickpeas)!

INGREDIENTS:
– 1 can of chickpeas (aquafaba) – chilled (this is a must)
– 100g of dark chocolate (should be at least 70%)
– 200ml of canned coconut milk (try to scoop out the thicker parts)
– 1 tsp of vanilla extract
– 1 tsp of strawberry extract
– 1 tbsp of agave syrup
– 3 tbsp of sugar
– 1/2 orange (zest)

PREPARATION:

To start off drain the liquid from the chickpeas (it has to be chilled!) and place it into a bowl, add the sugar, and whisk it until you get a thick ‘eggwhite’ – don’t worry, you can’t over whisk it!
Now you can melt the chocolate in a bowl on a saucepan filled with some water – medium heat on the stove.
It’s time for mixing – a lot!
Once the chocolate is melted use another bowl where you will put about 1/3 of the aquafaba and add all the chocolate to it – whisk until the chocolate nicely incorporates.
Now you can add coconut milk and keep up the good work – once you get a proper mixture add the rest of the ingredients: vanilla & strawberry extract, agave syrup, and orange zest – you know what to do now.. 🙂
Now you can start adding the rest of the aquafaba and keep mixing it.
You are probably a bit tired, but don’t give up as the only thing that is left now is to fill up the glasses with the mixture, cover it up with some cling film and let it stay in the fridge overnight (it will take at least 8 hours to get a proper texture).
Once ready you can add some fresh strawberries to it and some homemade caramel!

Enjoy!!


For a video tutorial, check the link below: