Categories
Snacks & Sides

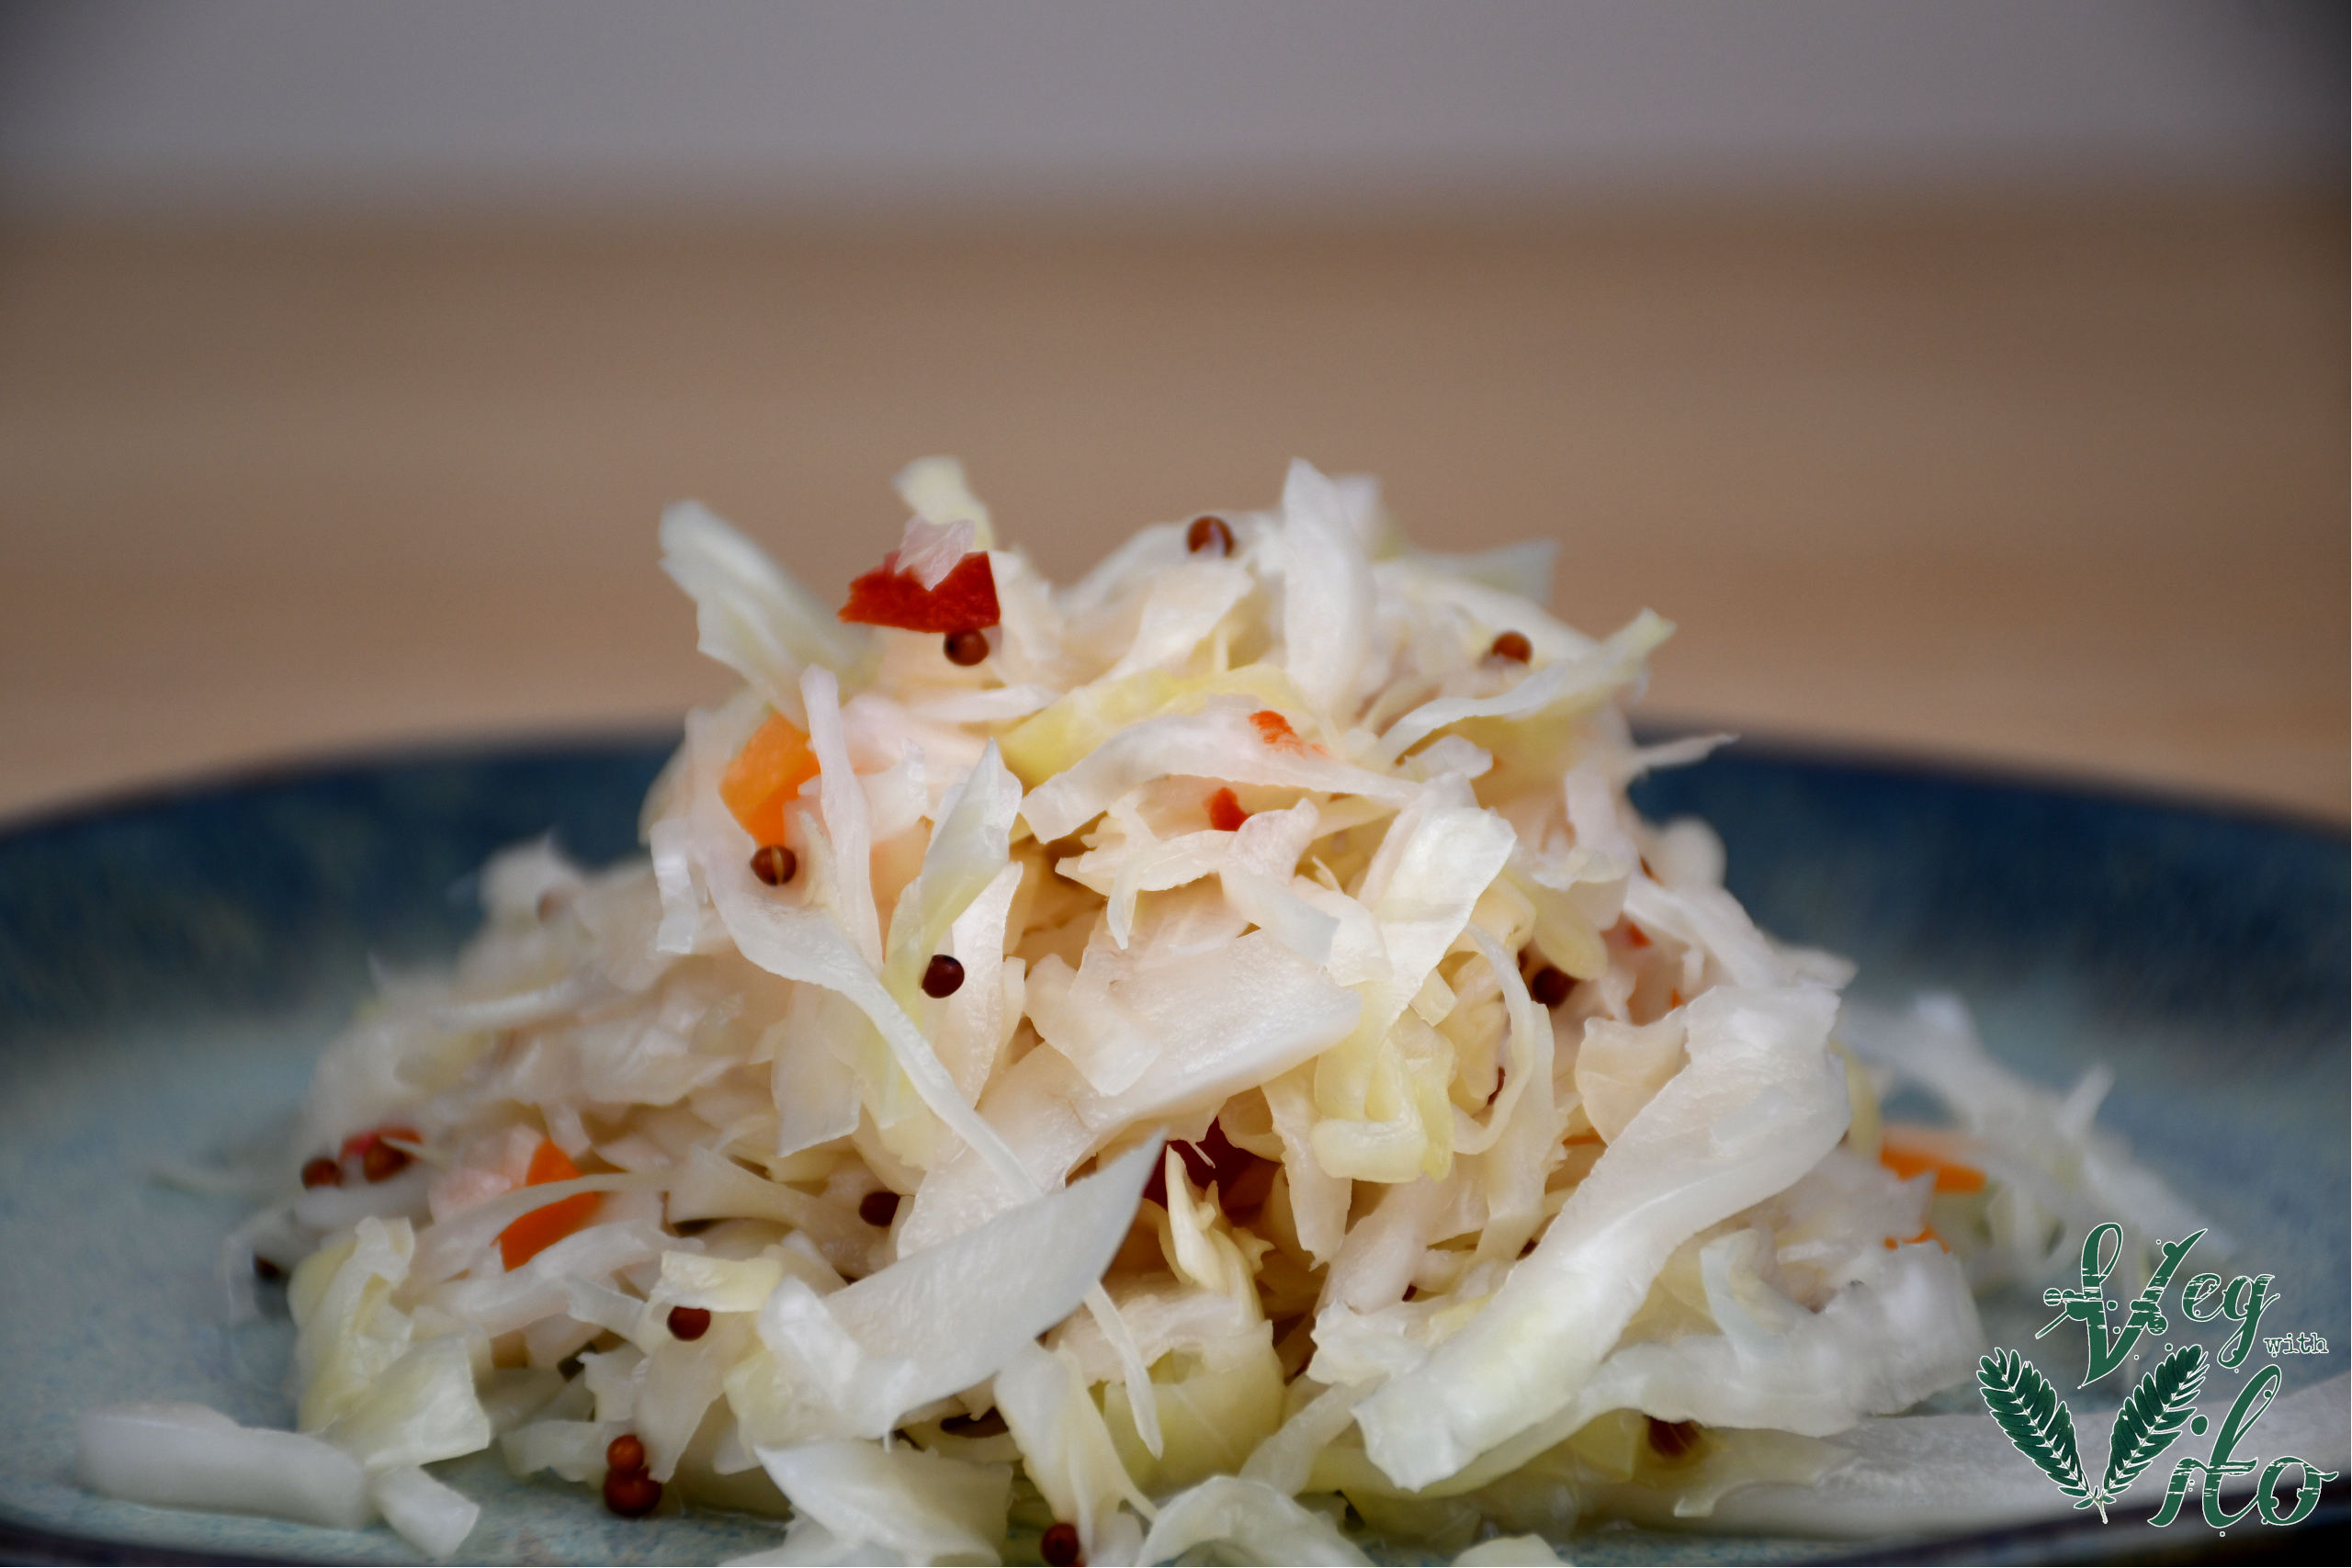
Homemade Sauerkraut

Wanting to make sauerkraut but don’t know how? You are at the right place – roll up your sleeves, get your cabbage and let’s start

Hi Everyone,

For today we have such a tasty & easy recipe and it’s Sauerkraut! Next to cabbage and some salt, get those muscles ready! The process from cabbage to sauerkraut will take a minimum of 2 weeks (to make it sour enough) but can be stored for much longer – as long as it’s in a cold and dark place.

INGREDIENTS:
In this recipe you will need the following ingredients:
– 1 cabbage (but use as many as you want)
– salt (2% of the cabbage weight)
– 1 small carrot
– 1/4 of a red bell pepper
– 2-3 garlic cloves
– 1/2 tbsp of mustard seeds

The traditional Sauerkraut is just made from cabbage and salt – so go ahead if you like it just that way!

PREPARATION:
To start off let’s cut the cabbage in half, take the hearths out and then nicely shred it – by knife, mandolin, shredder, or food processor.
Once done, transfer it into a bowl and weigh the cut cabbage – now you will know how much salt you need.
We got 950g of cabbage, so 2% would be 19g of salt!

950 x 0,02 = 19

Put the salt into the bowl and leave it for 10 minutes.

Now it’s time for the thought part start squeezing the cabbage to the point that it’s not crispy anymore and that a lot of water came out – it will take at least 10 minutes.

Go ahead and cut the carrot, pepper, and garlic and then add them to the cabbage together with the mustard – mix it well together!

Fill your glass container with the cabbage and top it up with the brine that is left and now firmly pack the cabbage mixture into the container – press it together so you have at least 1 inch of water covering the cabbage.
It’s very important that the cabbage mix stays submerged under the brine (so it doesn’t go off) so use a weight to keep it down – in this case, I just used a food bag filled with some water.
Store the sauerkraut in a dark and cold place and release the air from the container 3 times a week (scum will occur on top of the liquid – just remove it).
The fermentation is complete when the bubbling stops – you can then store it in containers in the fridge and use it for up to 3 months.

You can also use a fermenting crock (vessel) that is much easier to use (a very good buy if you are planning to make sauerkraut more often) – the water seal on top allows gasses to escape but prevents anything from coming in!

As mentioned at the beginning of the post, the sauerkraut will be ready for use already in two weeks!

Enjoy!

Cheers,

Vito

For a video tutorial, check the link below:
Categories
Favourites Lunch & Dinner

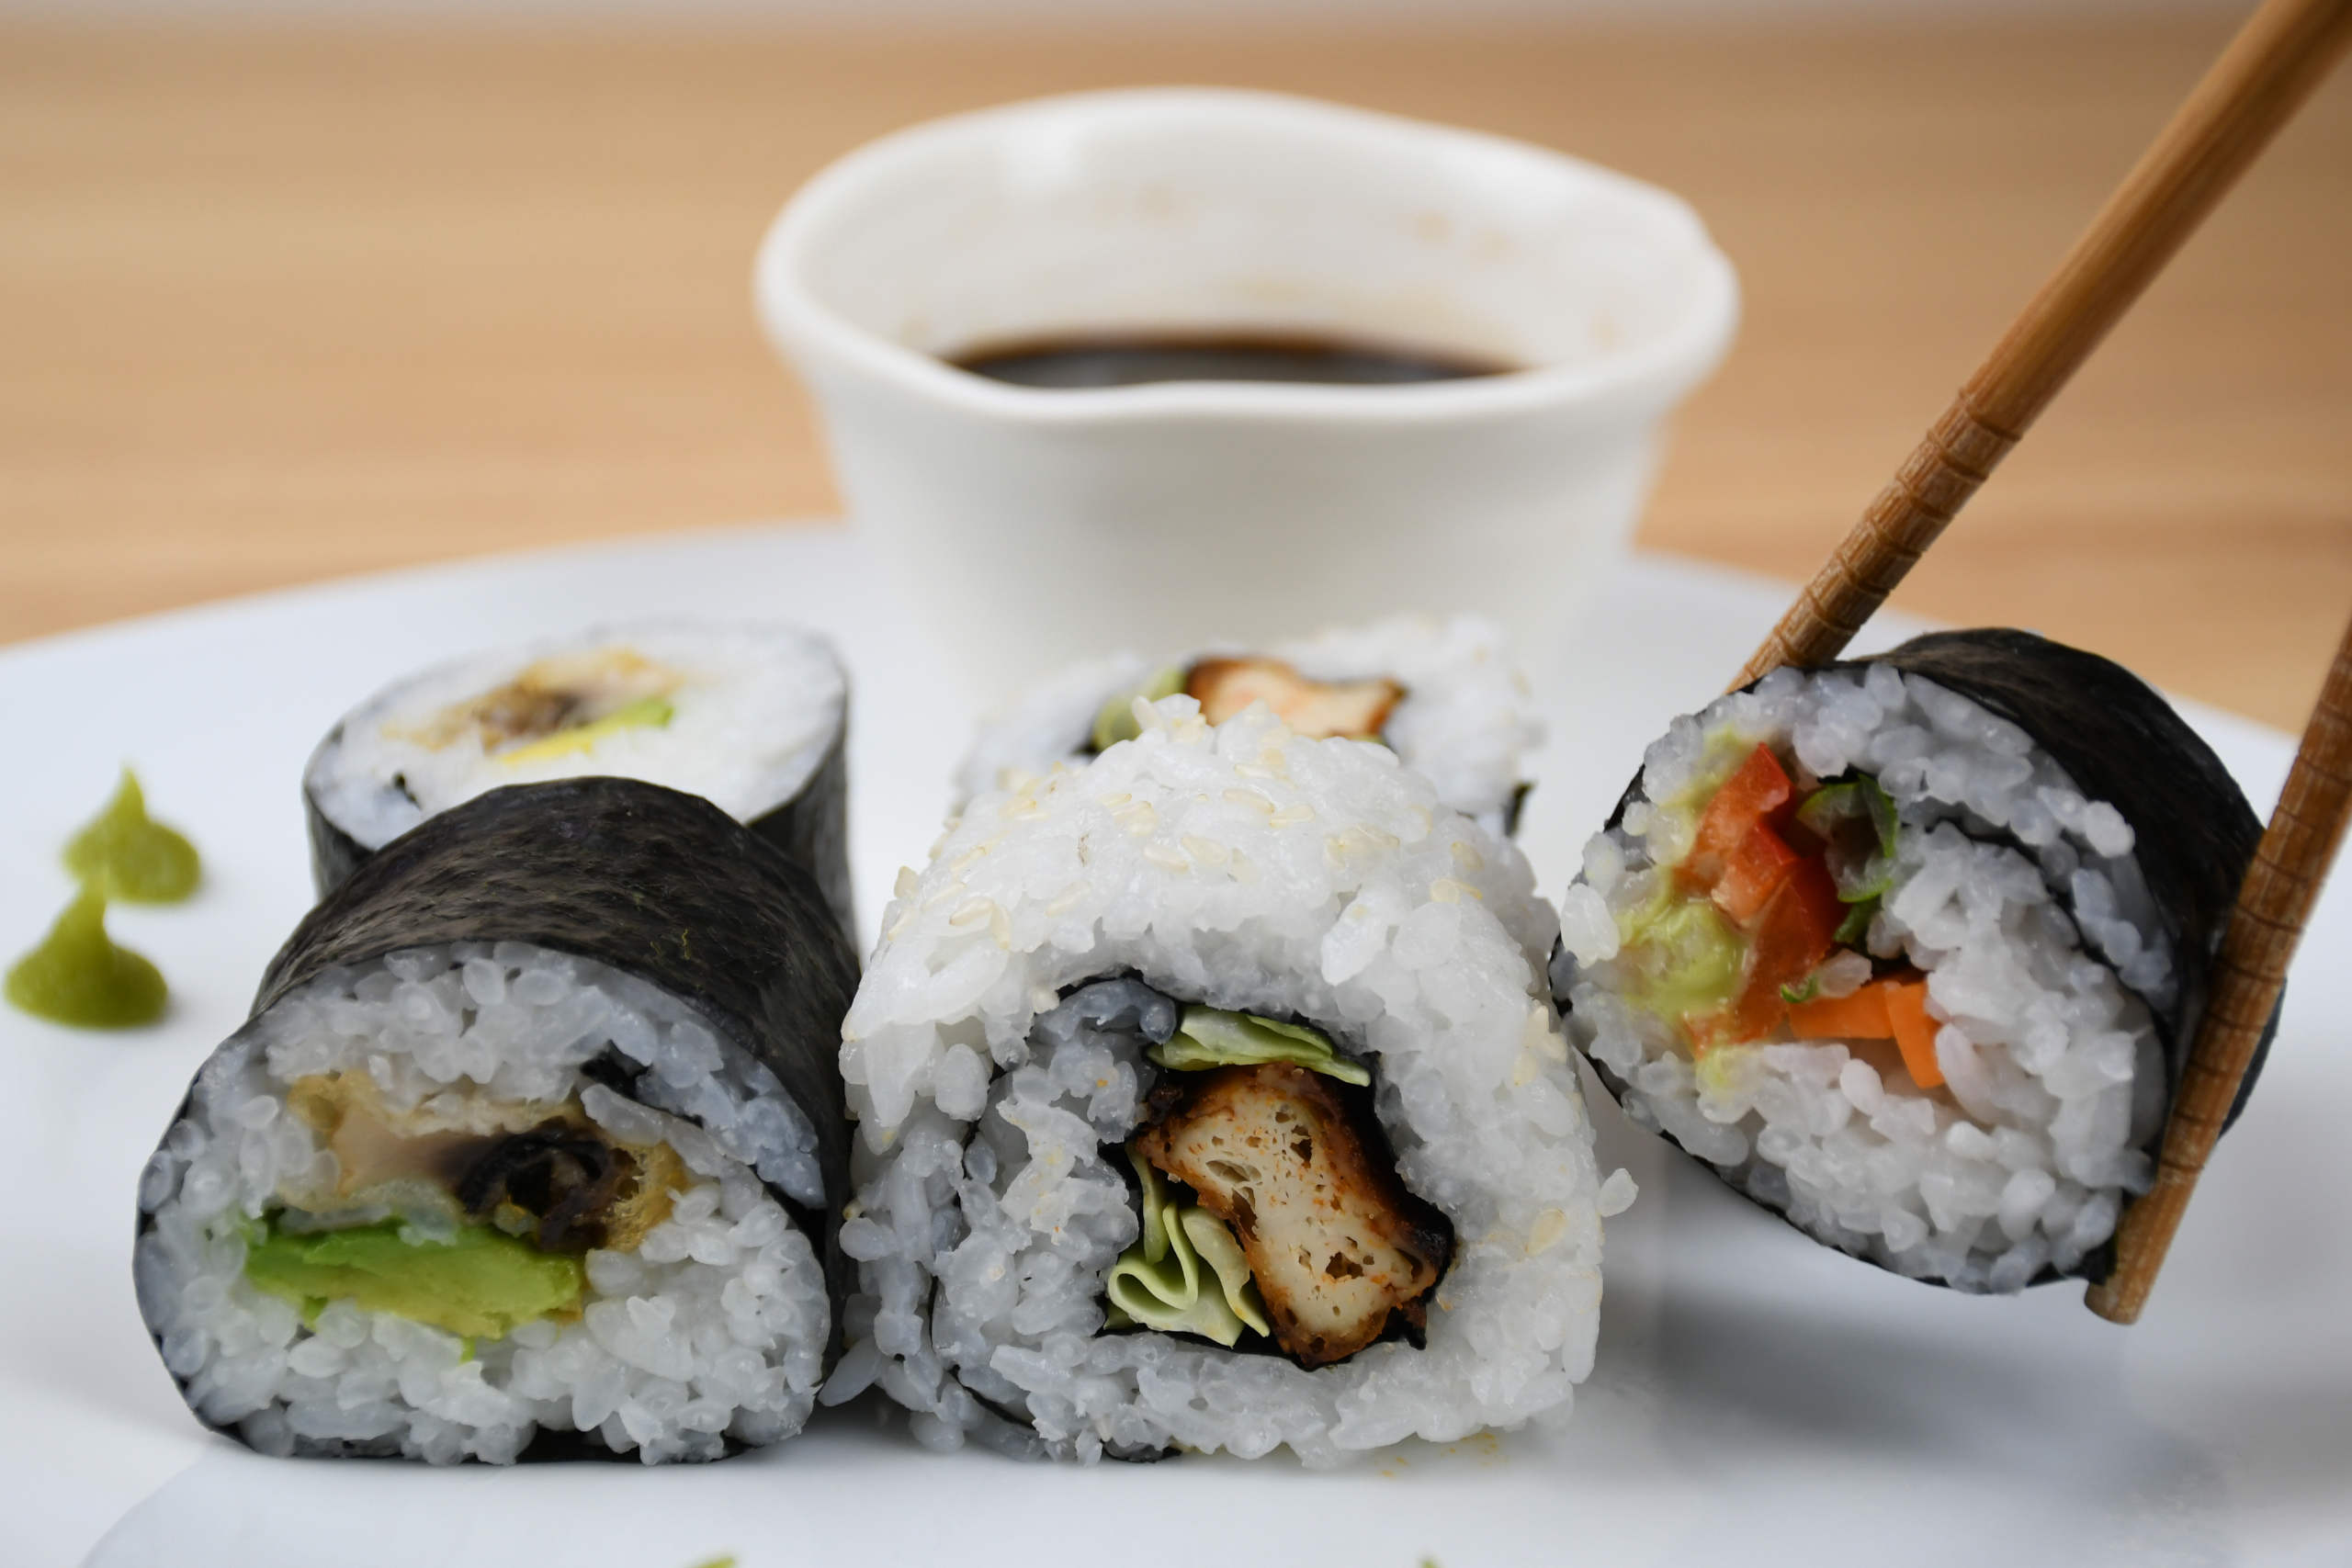
Vegan Sushi

Want to learn how to make sushi? Don’t worry, you are in the right place, it’s easy! Get your sushi mat out and let’s get started!

Hi Everyone,

Welcome back to the blog!!

In this post, I will show you how to make vegan sushi and I hope you are as excited as me to try this out, if this will be your first – or if you want to find out for some new fillings.

To start off you will need:
– 2 cups of sushi rice (short grain rice)
– 5-6 Nori seaweed sheets (also called SushiNori)
– 130 ml of sushi dressing (or make a mixture of rice vinegar, salt, and sugar)

Put the rice into a bowl and wash it gently in cold water 2-3 times (you will see the water becoming much clearer), then drain the water and put the rice into a pot/pan and top it up with only 2 cups of water.
Start off with cooking it on high fire and once it starts boiling, lower down the heat (very low) and put a lid on top and cook for another 10 min.
Once done, spread the rice into a large shallow dish so it can cool down.
In the meantime, use half of the sushi dressing and gently mix it with a spatula (cut and fold technique).
Let it sit for about 5 min and then do the same with the rest of the dressing – once done, cover it with a kitchen towel again and now we are ready to get the fillings ready!

We will make 3 fillings:
1. Carrots, spring onion, and sweet paprika & wasabi
2. Spicy tofu, cabbage & sesame seeds (Californian roll)
3. Tempura mushrooms & avocado

DON’T forget your sushi mat – I usually wrap it in cling film so it doesn’t get too messy!
The easiest way to see how to roll the sushi is to check out the video below!

1. Carrots, spring onion, and sweet paprika & wasabi + how to roll the sushi
For the first one to get also warmed up, it’s really easy, just cut all the vegetable julienne cut.
Take your sushi mat and lay down a sushi nori sheet (shiny side down) and take about a cup worth of rice (maybe a bit more) and lay it on the sheet (wet your hands for every time you need to handle the rice, as it is very sticky). Spread it onto the sheet but leave about 1-1,5 inches of seaweed not covered with rice (the side that you are furthest away from). Now you are ready to put the filling (don’t put too much!). Take the mat side that is facing you and start rolling!
Once done, cut the sushi first in half and then 3 pieces out of every half.
1st one done, 2 more to go!

2. Spicy tofu, cabbage & sesame seeds (Californian roll)
First, you will need a small bit of firm tofu (press it to take out as much water as possible – cut into small cubes.
Use the following ingredients to marinate:
– 1 tbsp of sunflower oil
– 1 tbsp of sesame oil
– 1 tsp of salt
– 1 tsp of pepper
– 1 tsp of chili flakes
– a bit of lemon juice
– 1,5 tsp of maple syrup
– 1 tbsp of tomato paste

Once marinated, bake in the oven for about 20 minutes at 180°C(360F) on the FAN option – turn them over halfway.
You will only need some Jullien cut cabbage and some sesame seeds (Californian roll is made with the seaweed from the inside.

The only difference is to do the following while making the sushi roll is once the rice is evenly spread out on the mat, you can sprinkle some sesame seed on top of it, and then you will turn it over (don’t worry, the rice will stick) and just put the filling after that!
One more to go!

3. Tempura mushrooms & avocado
I have to say that I don’t make tempura very often, but I do LOVE it!
The ingredients for the mushroom tempura:
– 1 cup of very cold water (cool it down with ice and if there is some left, just take it out
– 3/4 cup of all-purpose flour
– 1/4 cup of corn starch
– a bit of salt
– a few mushrooms nicely sliced (thicker)

Mix up the cold water and the rest of the ingredients (leave out the mushrooms for now 🙂 and mix it well. Prepare a saucepan with sunflower oil (in this case with just a 1,5 inch of oil as the mushrooms aren’t that big). Once your tempura and oil are ready, put the mushroom into the tempura and fry it.
This sushi will be rolled with the seaweed outside – don’t forget the julienne cut cabbage!

Thanks & Enjoy!

Cheers,

Vito

For a video tutorial, chceck the link below:

Categories
Favourites Lunch & Dinner

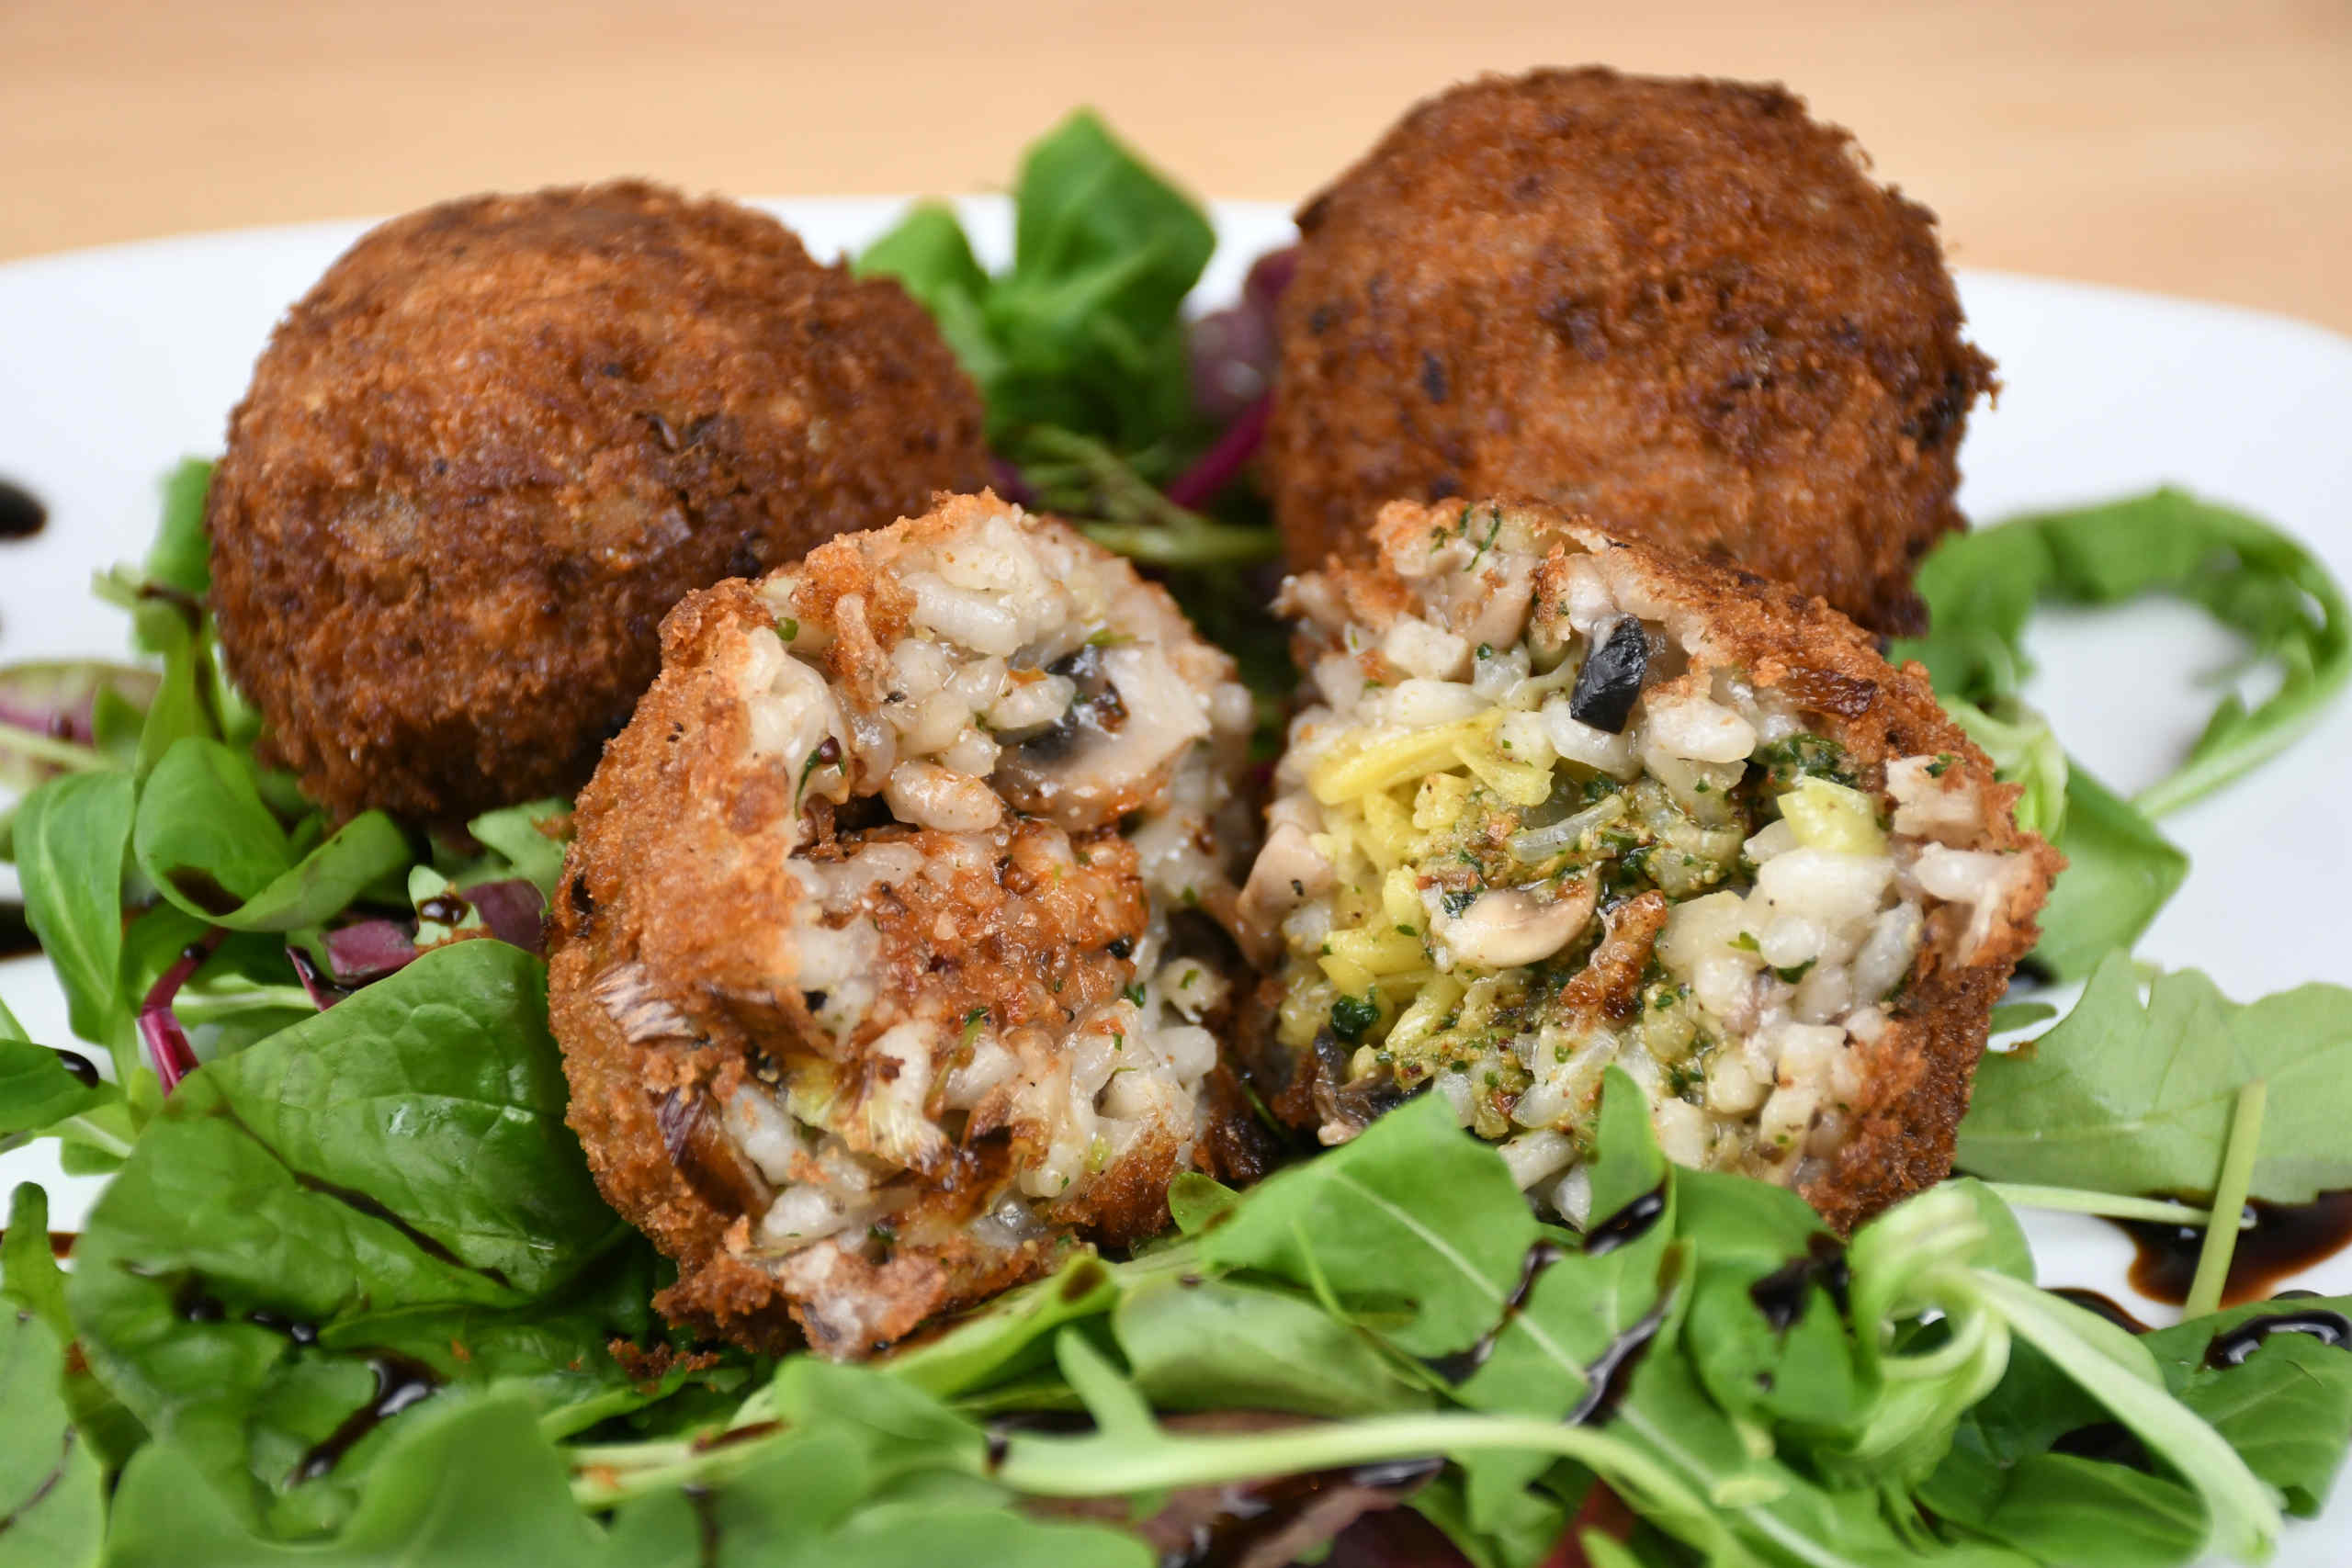
Arancini

Have some leftover risotto, or just want to find out how to make arancini?? You are at the right spot, an easy to follow recipe!!!

Hi Everyone,

Welcome back to the blog!!

In this post we are going to make leak & mushroom arancini filled with the pestos we made in our last post. For a more detailed video tutorial, click on the LINK for my YouTube channel.

INGREDIENTS:
– 1,5 cup of arborio rice (risotto rice)
– 100ml of vegan white wine
– 2 medium-sized onions
– 2 vegetable stock cubes
– 250g of mushrooms
– 1 leak
– 2-3 cloves of garlic
– bunch of parsley
– 1 tbsp of vegan butter
– 1,5-2 tbsp of olive oil
– 1,5 tsp of salt
– 2 tsp of pepper

For a more detailed video tutorial on how to make risotto, click on the LINK for my YouTube channel.

PREPARATION:
You can start off by choppin’ the onion (fine chop), leak (just rings), mushrooms, garlic, and parsley.
Once done, boil some water and pour 1 liter into a pot and add the 2 stock cubes to it (just keep it warm on the stove – simmering).
Preheat the pan (on high heat) and saute the onions, after that, you can add rice, stir it and heat it all up for 1-2 minutes and then you can add the white wine to it – stir and let it evaporate.
Now you can lower the heat to medium and slowly start adding stock to the risotto (stir often). It should take you about 10-13 minutes until you can add the mushrooms to the story (don’t add any more stock – you should be left with about 200ml of it still in the pot). Cook the mushrooms 2 – 3 minutes and turn off the stove – now add the rest of the ingredients (you want to keep a nice fresh kick to it): leak, garlic, parsley, olive oil, butter, salt, and pepper – one last stir and you are done!!

Enjoy a plate or two, while you let the rest cool off 😉

Once cooled down have another 3 bowls ready: 1. filled with cold water, 2. with 1/3 cup of corn starch (flour) and 1 cup of water (mix well together), 3. with bread crumbs.

1.Take a spoonful in your palm and spread it out.
2. Take the tomato pesto and put it in the middle and then fold the sides over the pesto, add some more risotto if needed and shape a ball out of it.
3. Dip the ball into the corn starch (whisk before use as it falls to the bottom)
4. Roll it into bread crumbs
5. Repeat dipping into corn starch
6. ROll into bread crumbs

Do the next one with basil pesto and vegan cheese or vegan cream cheese that works great as well.

Once done, fill a frying pan with 1,5-2 inch of sunflower oil and once up to heat fry them (try to keep it on a medium+ heat 🙂
The rest that you don’t want to use, freeze, and use for another day!

Enjoy!

Cheers,

Vito

For a video tutorial, check the link below:
Categories
Snacks & Sides

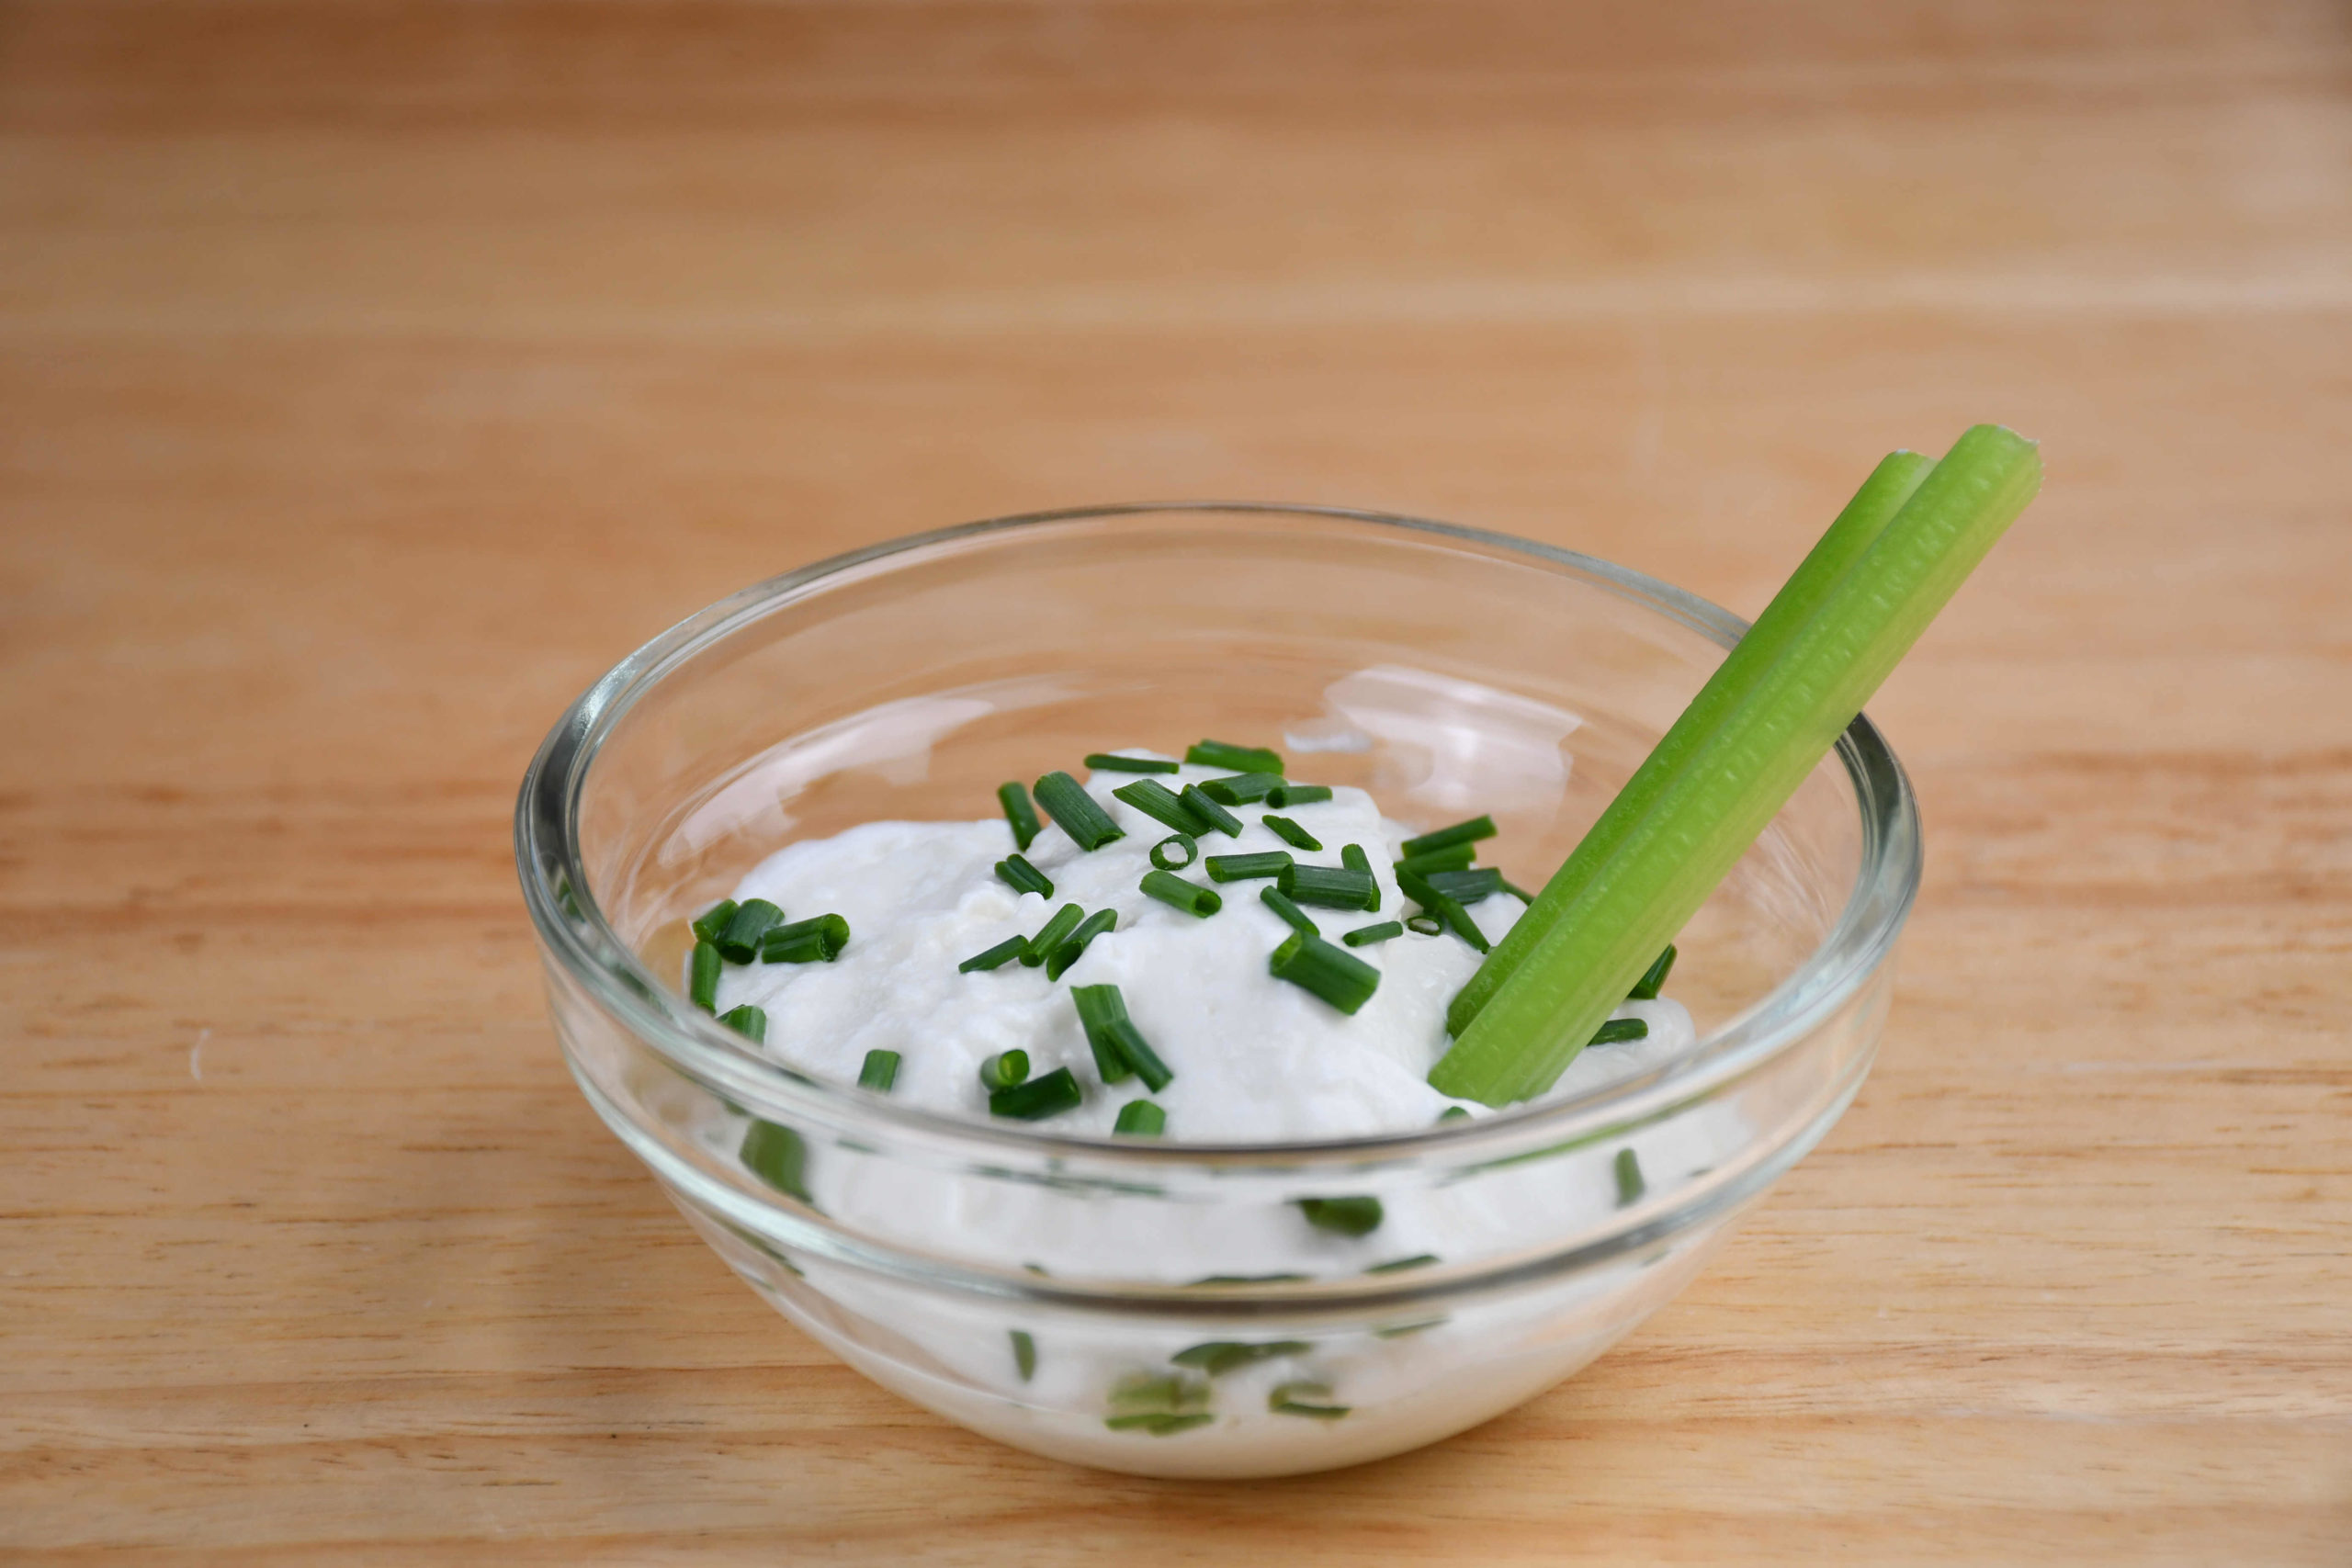
Vegan Mayonnaise

Do you like sauces but couldn’t find any replacement for mayo? Make yourself this easy and delicious vegan mayo in only 5 minutes!

Hi Everyone!

Today I am showing you a quick, easy, and cheap way to make homemade vegan mayonnaise – made in less than 5 minutes!

The ‘secret’ ingredient is black salt that you can find in most Asian stores – it gives a very similar taste to eggs (also known as Kala namak or Himalayan black salt – that gets this taste and flavor mostly because of sulfur).

INGREDIENTS:

– 100ml of soy milk

– 1/2 tsp of regular salt

– 1/2 tsp of black salt

– 1 tbsp of lemon juice

– 1 tbsp of Apple cider vinegar

– 1,5 tsp of dijon mustard

– few drops of agave syrup

– 200ml of sunflower oil

PREPARATION:

First place all of the ingredients except the oil in a bowl, and quickly blend it (hand-held blender), keep the blender on the bottom and add the oil – start blending and keep it on the bottom for around 20 seconds while it emulsifies – than you can start going up and down with the blender to finish the mayo off!

You can also flavor it up later but I wouldn’t mix anything liquidy as it won’t bind!

You are ready to serve it, Enjoy!!


For a video tutorial, check the link  below:
Categories
Favourites Lunch & Dinner

Vegan Sausages

Did you know that sausages can be made vegan, and extremely delicious at the same time? Well, they can! Check out my recipe today!

Today I am going to make yummy vegan sausages!

INGREDIENTS:
– 200g of sweet potatoes (peeled)
– 1 can of red kidney beans
– 40g of green lentils
– 40g of mixed quinoa (cook both for 10 min once up to boiling)
– 2 tsp of salt
– 2 tsp of pepper
– 1,5 tsp of dried paprika
– 1,5 tsp of garlic powder
– 1,5 tsp of onion powder
– 2,5 tbsp of nutritional yeast
– 2 tbsp of tomato paste
– 150g of vital gluten flour

PREPARATION:

To start off, cook the sweet potatoes (they will need about 8-10 min once the water is boiling), and also cook the lentils and quinoa (for 10 minutes once the water is boiling).
Place the beans into your blender with about half of the liquid out of the can together with the sweet potato and blend it well!
Once done, place the mixture into a bowl and add all the rest of the ingredients besides vital gluten flour and mix it well
Now you can add the flour and kneed it until it nicely incorporates.

The next step is to wrap them tightly into some cling film – you will see this step best in the video itself!

Leave them in the fridge for at least 1 hour, then you can unwrap them and put them into a preheated oven on 140 – 160C for about 20-25 minutes (turn them over after 10 minutes)

To get and extra crispy skin, you can dissolve some sodium alginate in water with a bit of sugar and dip the sausages in it before cooking.

Enjoy!

For a video tutorial, check the link below: