Categories
Snacks & Sides

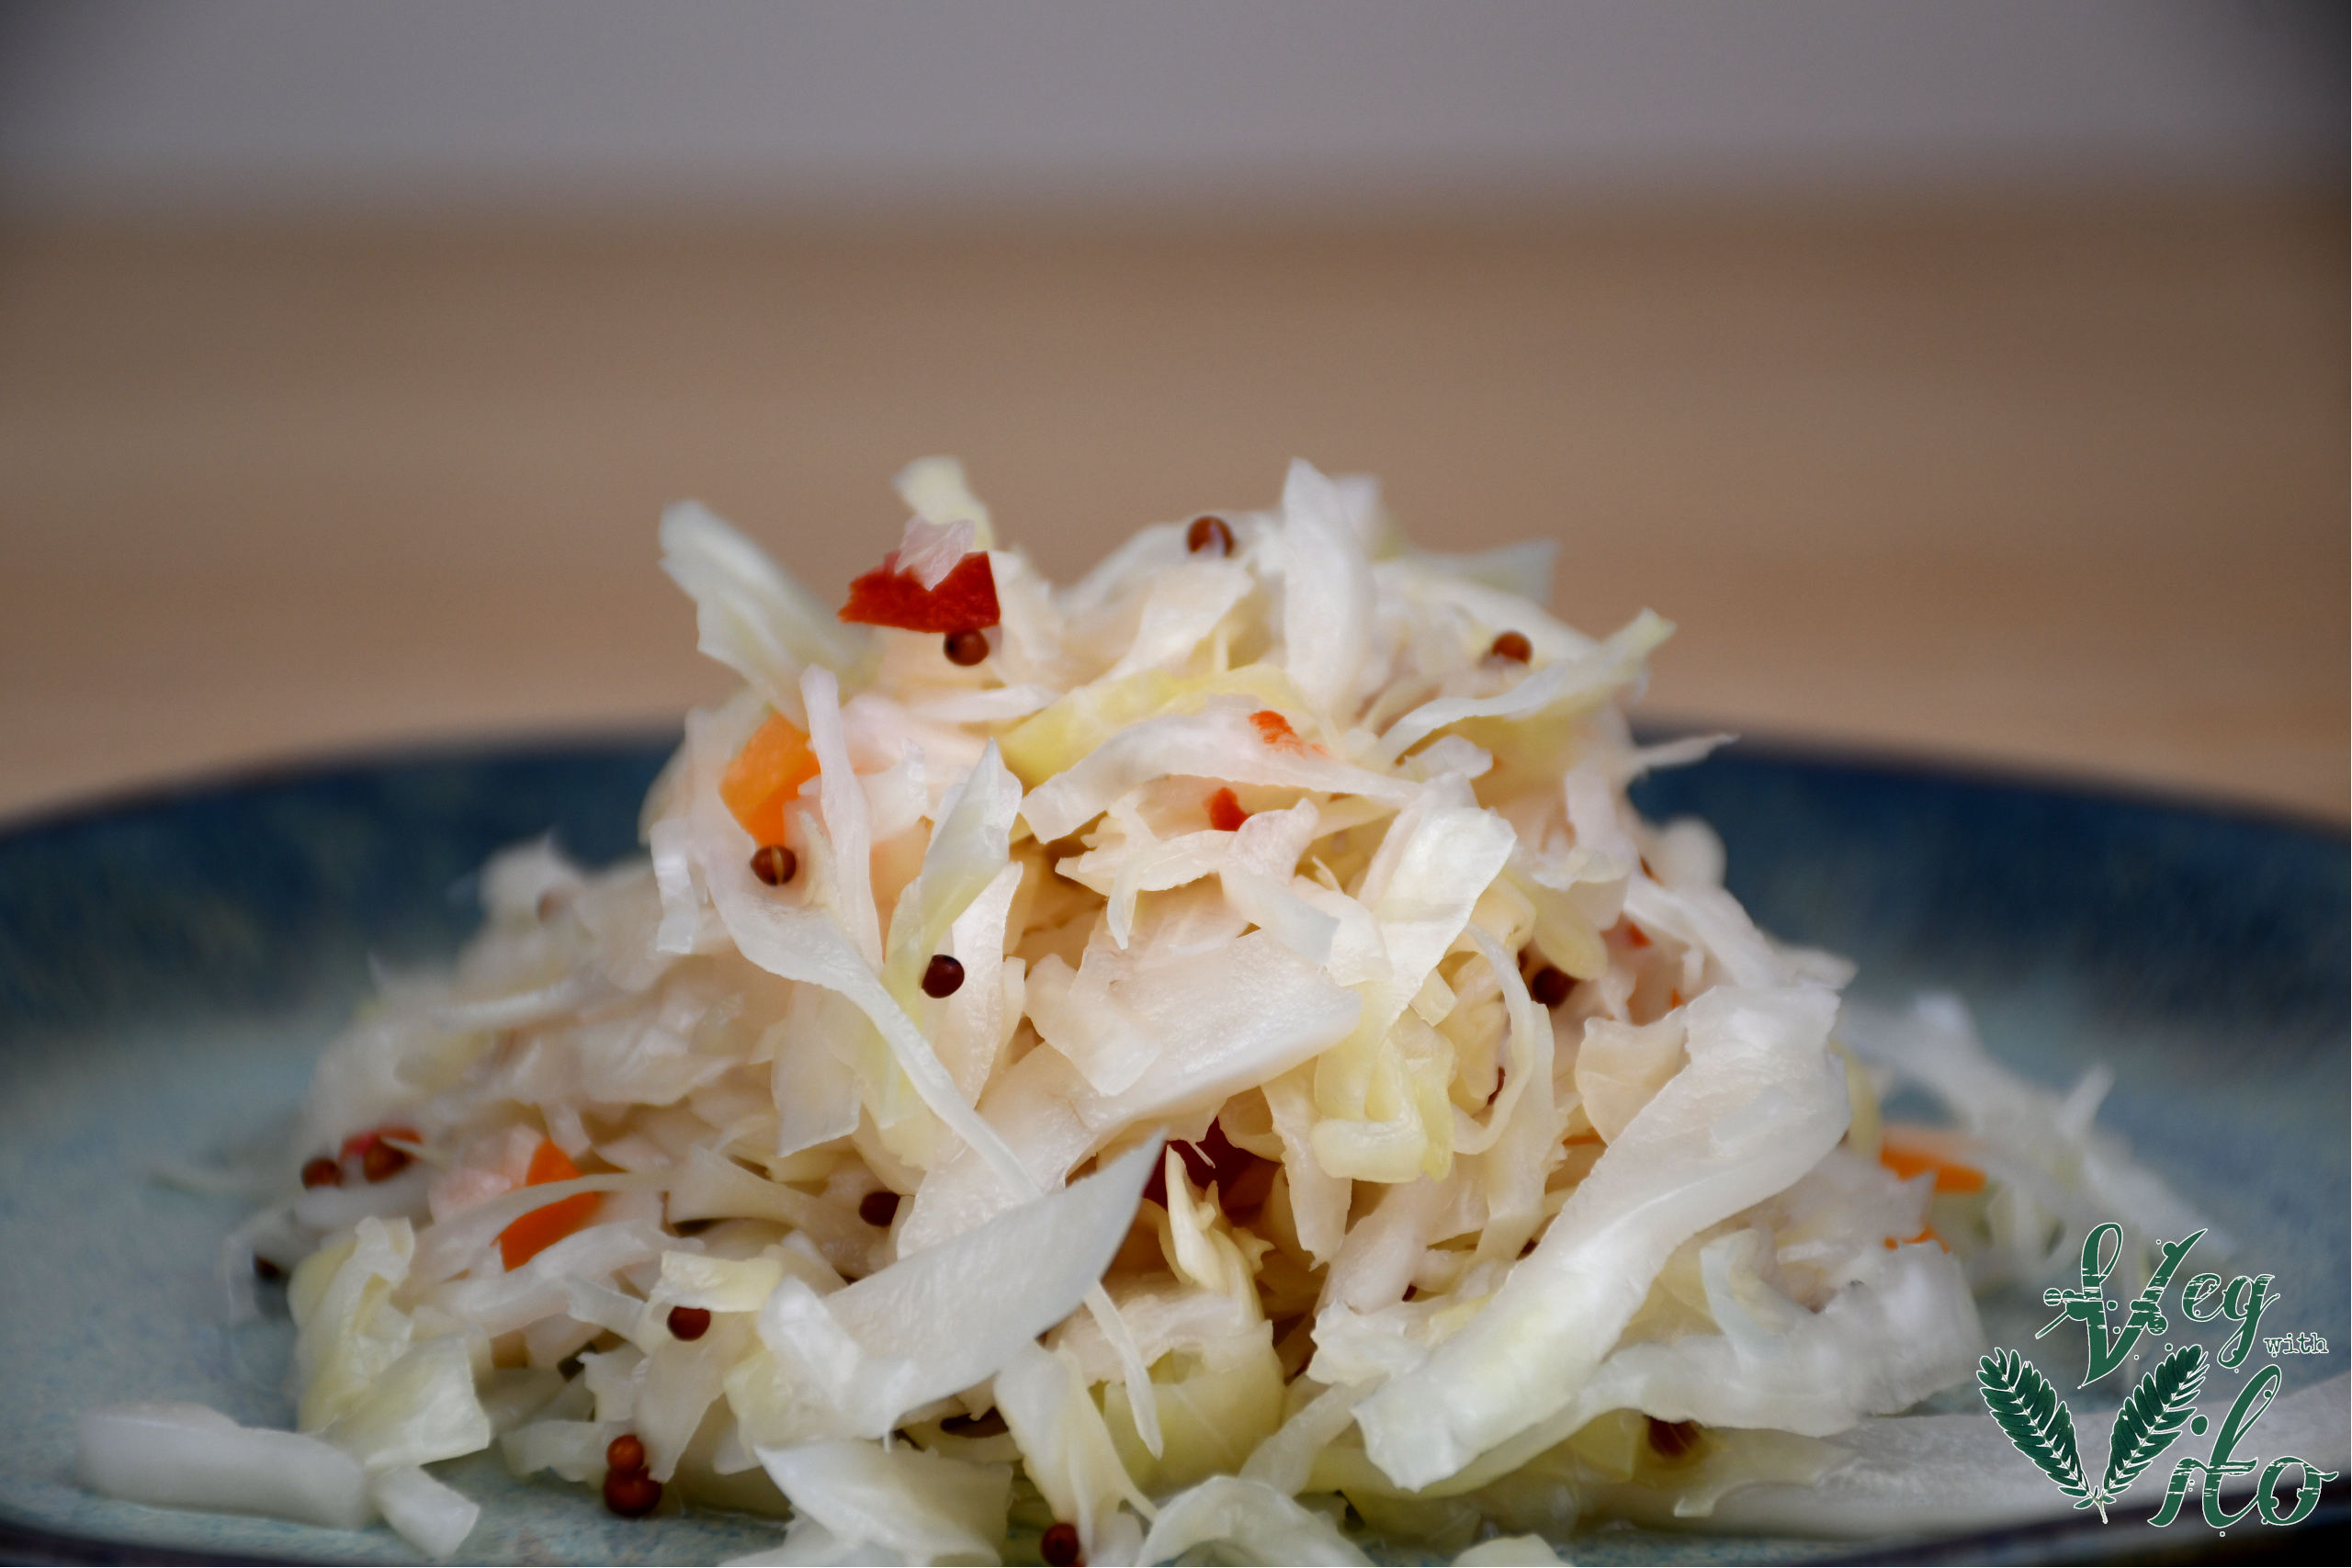
Homemade Sauerkraut

Wanting to make sauerkraut but don’t know how? You are at the right place – roll up your sleeves, get your cabbage and let’s start

Hi Everyone,

For today we have such a tasty & easy recipe and it’s Sauerkraut! Next to cabbage and some salt, get those muscles ready! The process from cabbage to sauerkraut will take a minimum of 2 weeks (to make it sour enough) but can be stored for much longer – as long as it’s in a cold and dark place.

INGREDIENTS:
In this recipe you will need the following ingredients:
– 1 cabbage (but use as many as you want)
– salt (2% of the cabbage weight)
– 1 small carrot
– 1/4 of a red bell pepper
– 2-3 garlic cloves
– 1/2 tbsp of mustard seeds

The traditional Sauerkraut is just made from cabbage and salt – so go ahead if you like it just that way!

PREPARATION:
To start off let’s cut the cabbage in half, take the hearths out and then nicely shred it – by knife, mandolin, shredder, or food processor.
Once done, transfer it into a bowl and weigh the cut cabbage – now you will know how much salt you need.
We got 950g of cabbage, so 2% would be 19g of salt!

950 x 0,02 = 19

Put the salt into the bowl and leave it for 10 minutes.

Now it’s time for the thought part start squeezing the cabbage to the point that it’s not crispy anymore and that a lot of water came out – it will take at least 10 minutes.

Go ahead and cut the carrot, pepper, and garlic and then add them to the cabbage together with the mustard – mix it well together!

Fill your glass container with the cabbage and top it up with the brine that is left and now firmly pack the cabbage mixture into the container – press it together so you have at least 1 inch of water covering the cabbage.
It’s very important that the cabbage mix stays submerged under the brine (so it doesn’t go off) so use a weight to keep it down – in this case, I just used a food bag filled with some water.
Store the sauerkraut in a dark and cold place and release the air from the container 3 times a week (scum will occur on top of the liquid – just remove it).
The fermentation is complete when the bubbling stops – you can then store it in containers in the fridge and use it for up to 3 months.

You can also use a fermenting crock (vessel) that is much easier to use (a very good buy if you are planning to make sauerkraut more often) – the water seal on top allows gasses to escape but prevents anything from coming in!

As mentioned at the beginning of the post, the sauerkraut will be ready for use already in two weeks!

Enjoy!

Cheers,

Vito

For a video tutorial, check the link below:
Categories
Lunch & Dinner

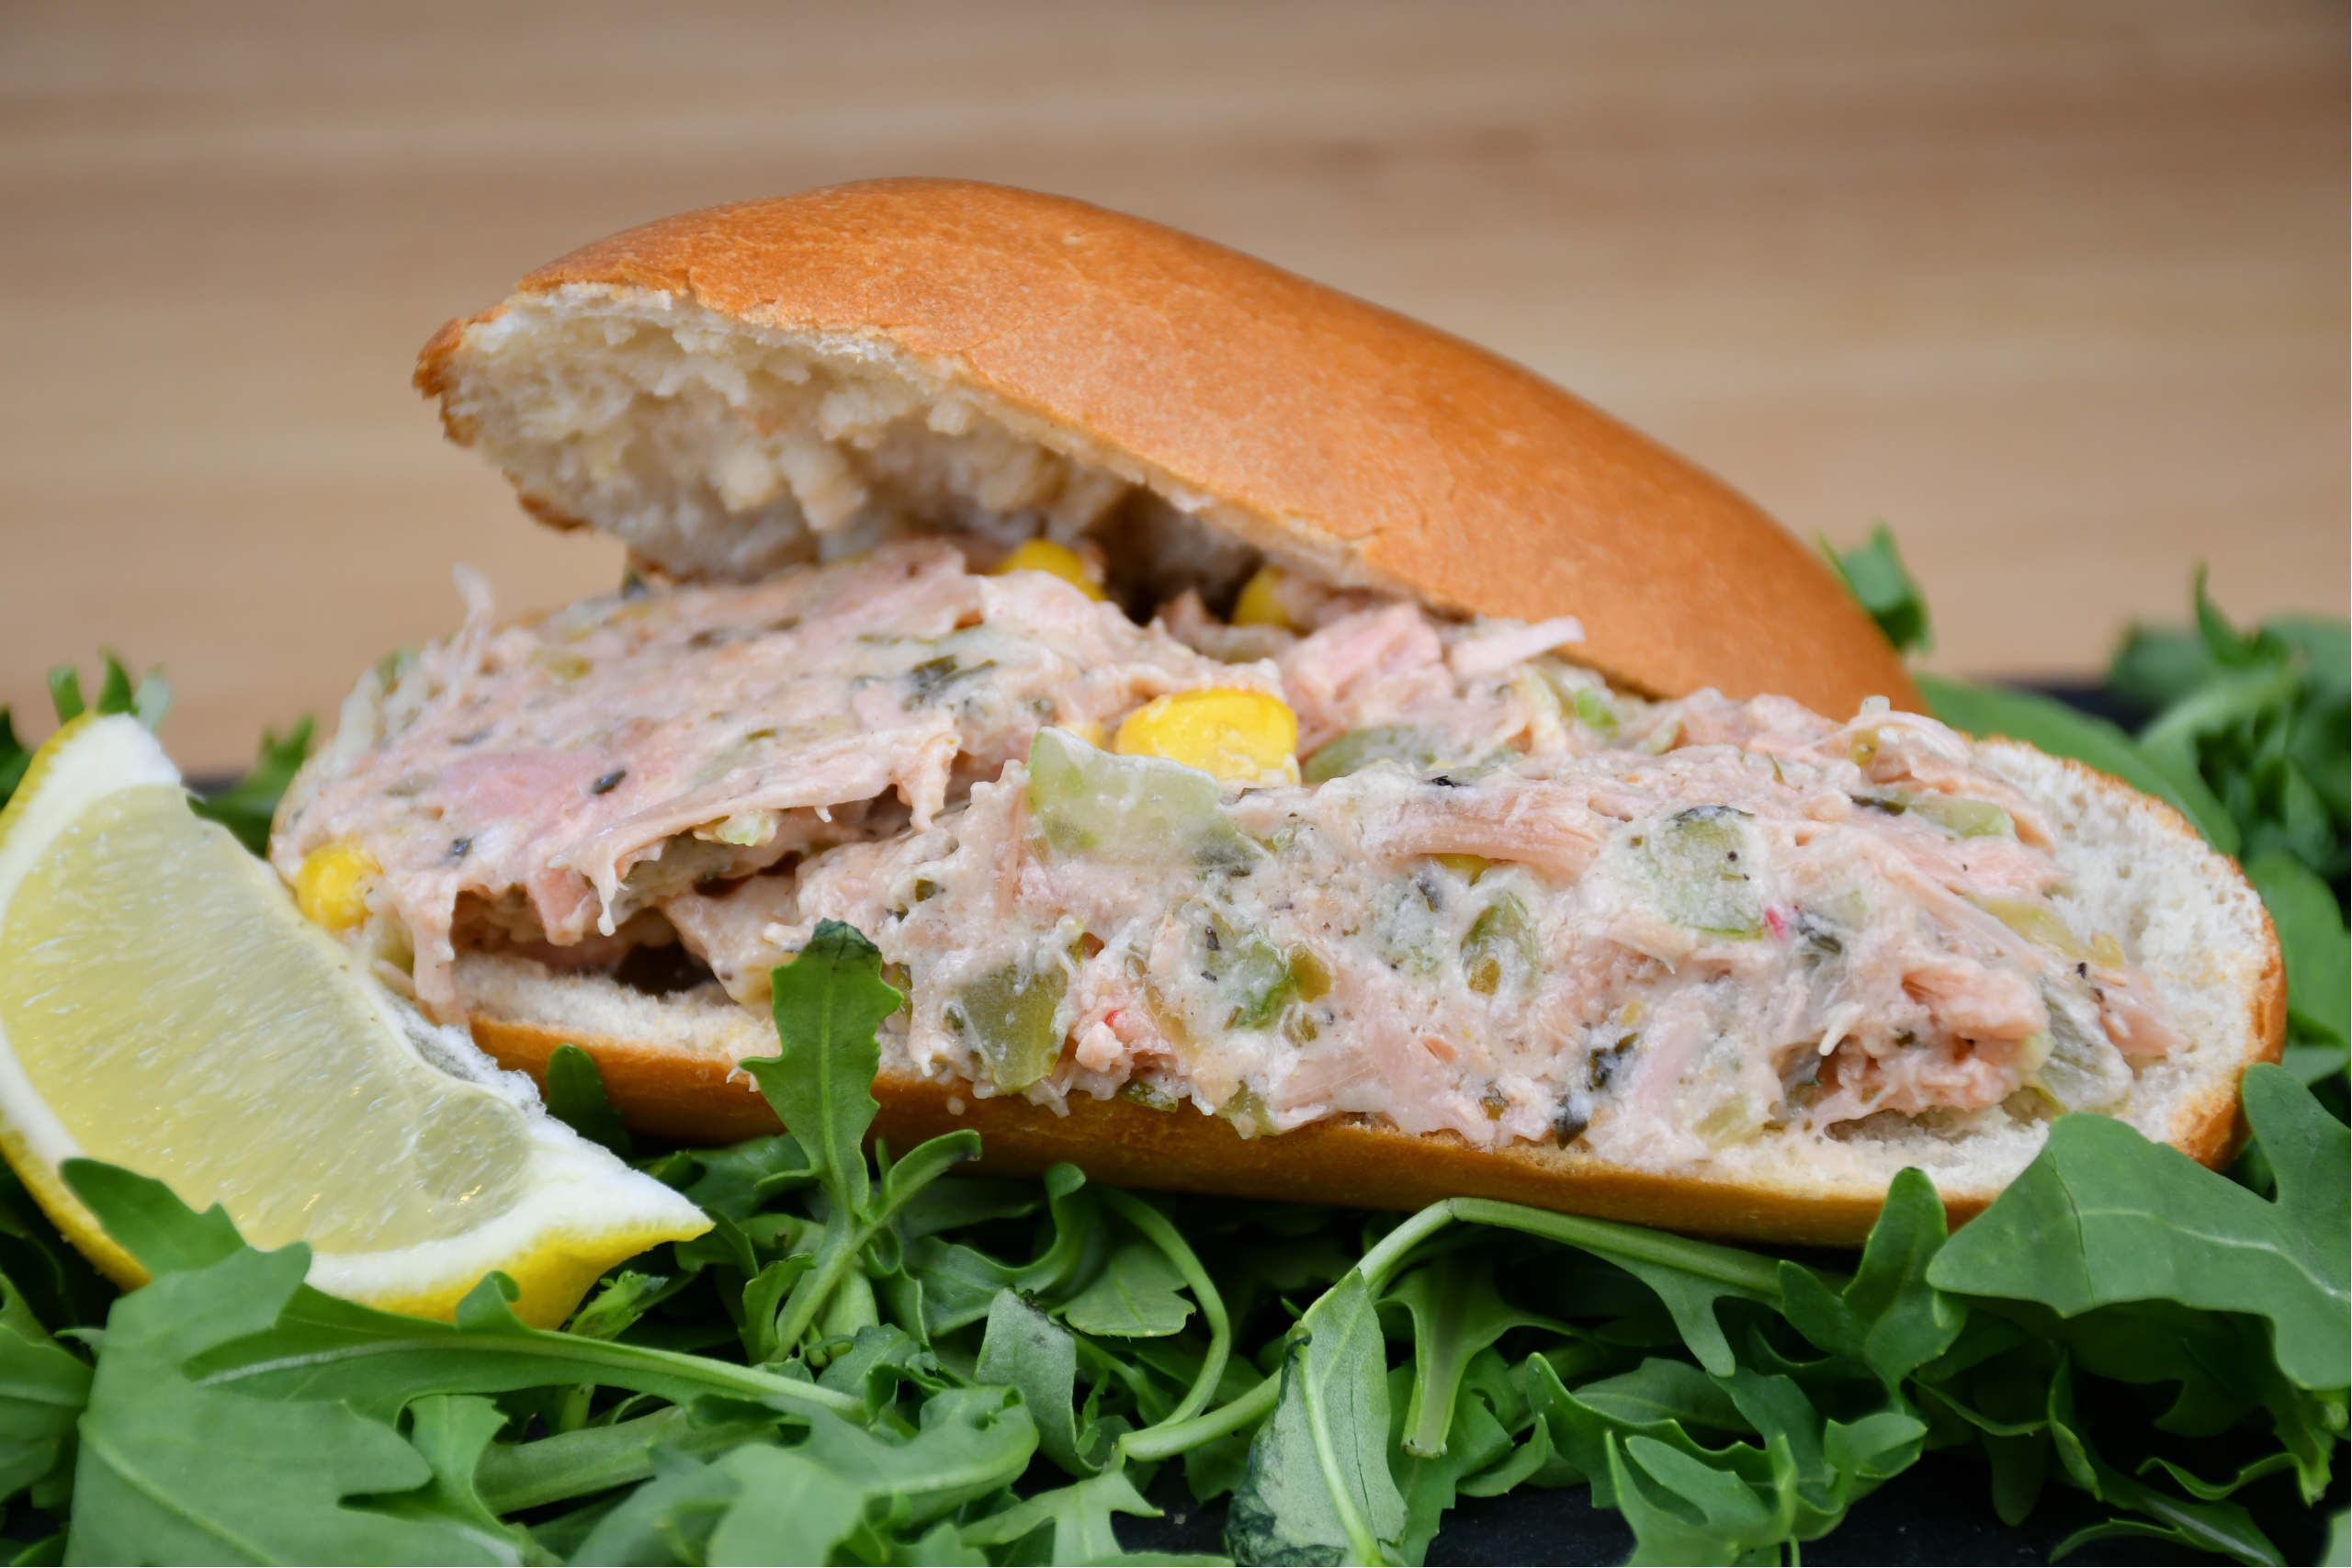
Jackfruit ”Tuna” Salad

Are you craving a tuna salad while being vegan? It can still be done, and you will need jackfruit! Check out and make it yourself!

Hi Everyone,

In this post, I will show you how to make a great jackfruit ‘tuna’ salad that is done in only 15 minutes! I’ve been using homemade vegan mayonnaise. You can check the recipe on my Webpage or on my YouTube channel.

INGREDIENTS:
– a can of young jackfruit
– 1 tsp of salt & 2 tsp of seaweed
– 1 tsp of pepper
– 1,5 tsp of mustard
– 1 tbsp of vegan butter
– 2 tbsp of vegan cream cheese (I used Violife)
– 4 tbsp of vegan mayonnaise
– 1 celery stick
– 2-3 pickled gherkins
– 80g of sweetcorn (half of a small can)

PREPARATION:

To start off, get the jackfruit ready for your salad – take out the pits and separate it (the same way as when making pulled jackfruit).

Now mix up the following: Mayo, cream cheese, butter, mustard, salt, pepper, and seaweed – mix it all well together and add it to the jackfruit.

Now fine chop the celery & gherkins, and add them together with the sweetcorn to the jackfruit – mix it all well together!

Chill the salad in the fridge and you are ready to serve!

Enjoy!

Vito

For a video tutorial, check the link below:
Categories
Favourites Lunch & Dinner

Vegan Sausages

Did you know that sausages can be made vegan, and extremely delicious at the same time? Well, they can! Check out my recipe today!

Today I am going to make yummy vegan sausages!

INGREDIENTS:
– 200g of sweet potatoes (peeled)
– 1 can of red kidney beans
– 40g of green lentils
– 40g of mixed quinoa (cook both for 10 min once up to boiling)
– 2 tsp of salt
– 2 tsp of pepper
– 1,5 tsp of dried paprika
– 1,5 tsp of garlic powder
– 1,5 tsp of onion powder
– 2,5 tbsp of nutritional yeast
– 2 tbsp of tomato paste
– 150g of vital gluten flour

PREPARATION:

To start off, cook the sweet potatoes (they will need about 8-10 min once the water is boiling), and also cook the lentils and quinoa (for 10 minutes once the water is boiling).
Place the beans into your blender with about half of the liquid out of the can together with the sweet potato and blend it well!
Once done, place the mixture into a bowl and add all the rest of the ingredients besides vital gluten flour and mix it well
Now you can add the flour and kneed it until it nicely incorporates.

The next step is to wrap them tightly into some cling film – you will see this step best in the video itself!

Leave them in the fridge for at least 1 hour, then you can unwrap them and put them into a preheated oven on 140 – 160C for about 20-25 minutes (turn them over after 10 minutes)

To get and extra crispy skin, you can dissolve some sodium alginate in water with a bit of sugar and dip the sausages in it before cooking.

Enjoy!

For a video tutorial, check the link below:

Categories
Snacks & Sides

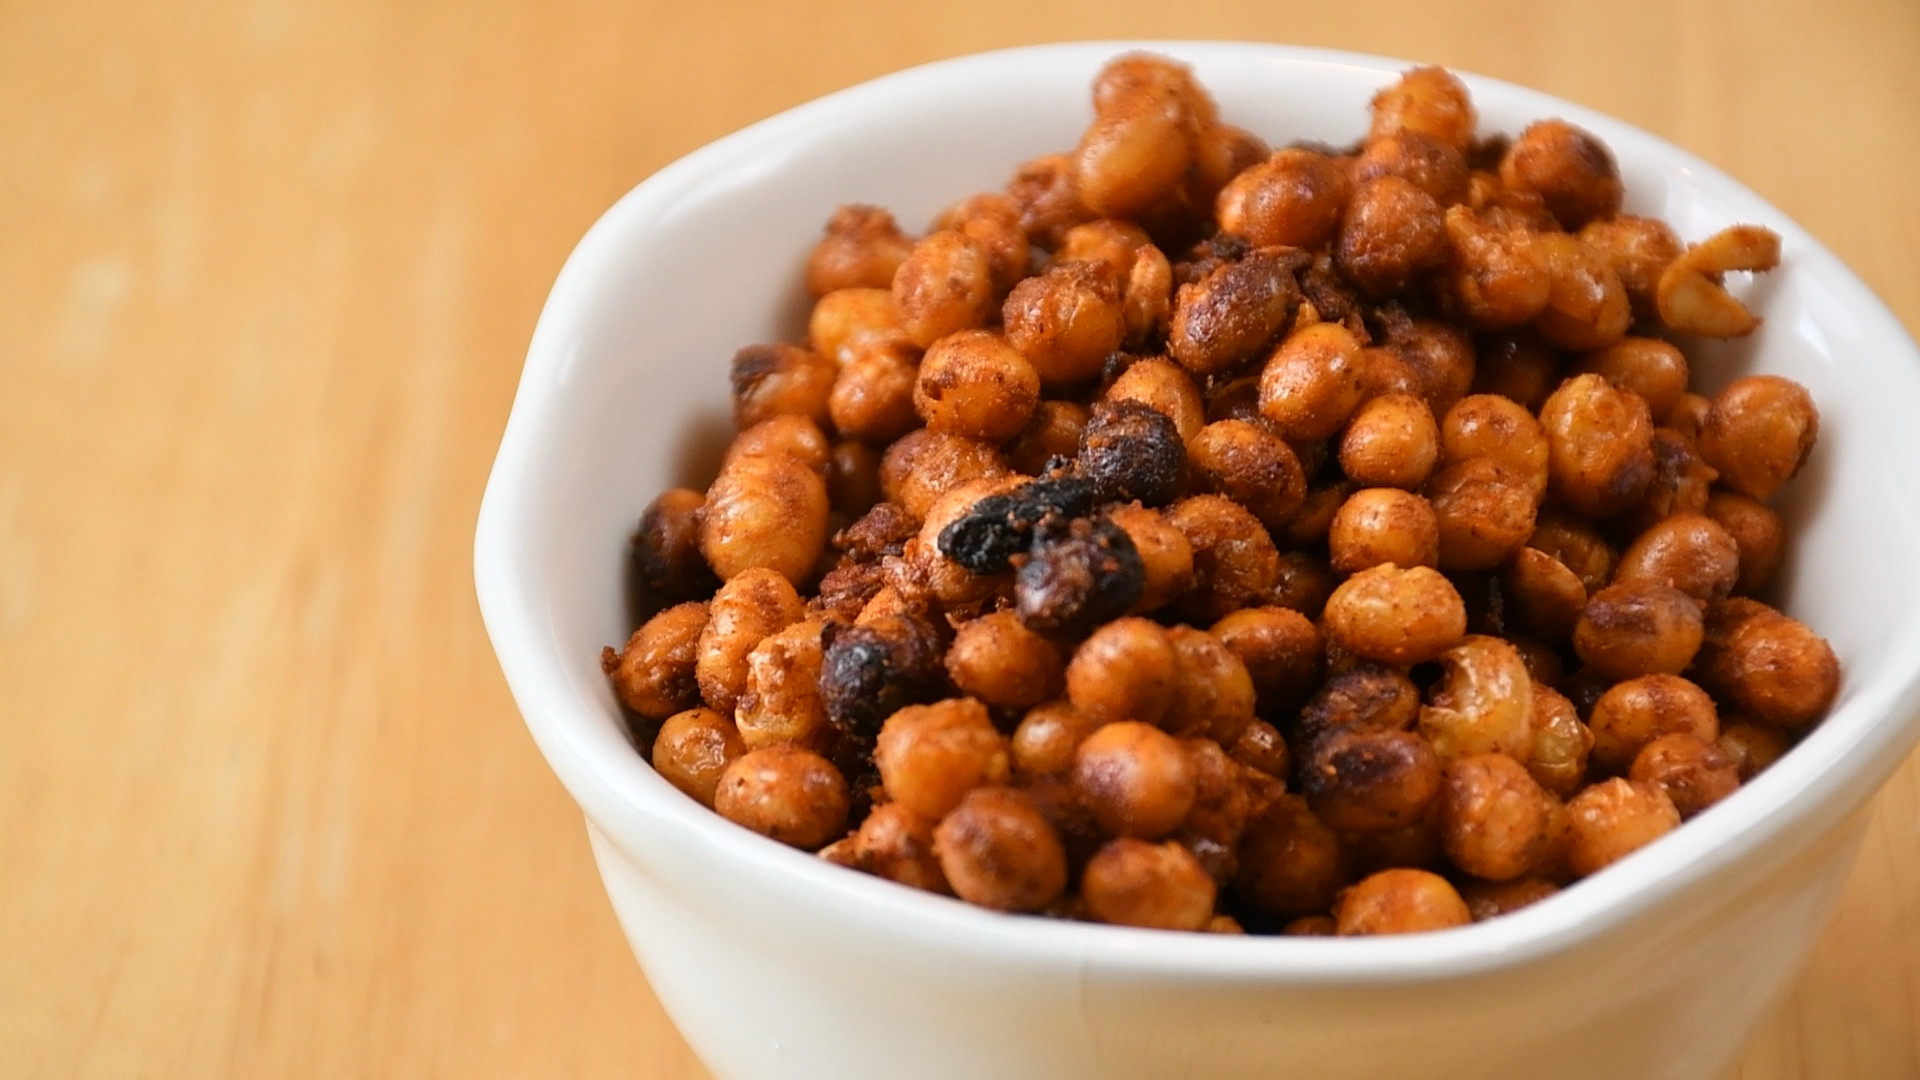
Soybean Snack

Ever wondered what to do with dried soybeans? This is the perfect occasion to find out what to make when your friends come over!!

Hello everybody,

It’s nice to have you back!

In this post, I will show you a simple yet delicious snack made out of soya beans. It will be both crunchy and spicy, sounds good right? 🙂

The preparation will start a day prior, where you will have to soak 2 cups of dried soybeans in a bowl of water. This will make them bigger, so count for some extra water in that bowl.

INGREDIENTS:

– 3 tbsp of oil (I made a mixture of sunflower and sesame for an extra punch)

– 3 tsp salt

– 2 tsp of chili (this really depends on how spicy YOU like it)

– 2 tsp of seasonal cajun and fennel mix (you can find these in almost any grocery store)

PREPARATION:

To start off the day of snacking, drain the soya beans and give them a good wash (take out the separated skins and the ‘not so good lookin’ ones’). After that, place them back in the bowl and add all the seasoning to it – give it a good mix. If you do this by hand, don’t be touching your eyes – trust me on this one!

Preheat your oven to 160°C (320°F) on the FAN option. Take some baking paper and place it on a baking tray and nicely spread all the soya beans on it. Now it’s roasting time! The baking will take around 30 minutes, but take them out every 7-8 minutes to give them a mix, so they don’t burn that quickly.

At last, once you take them out of the oven, you can give them some extra flavor with 2 tsp of dried paprika and then transfer them to some kitchen paper so it soaks out the extra oil.

Enjoy!!


For a video tutorial, check the link below:
Categories
Lunch & Dinner

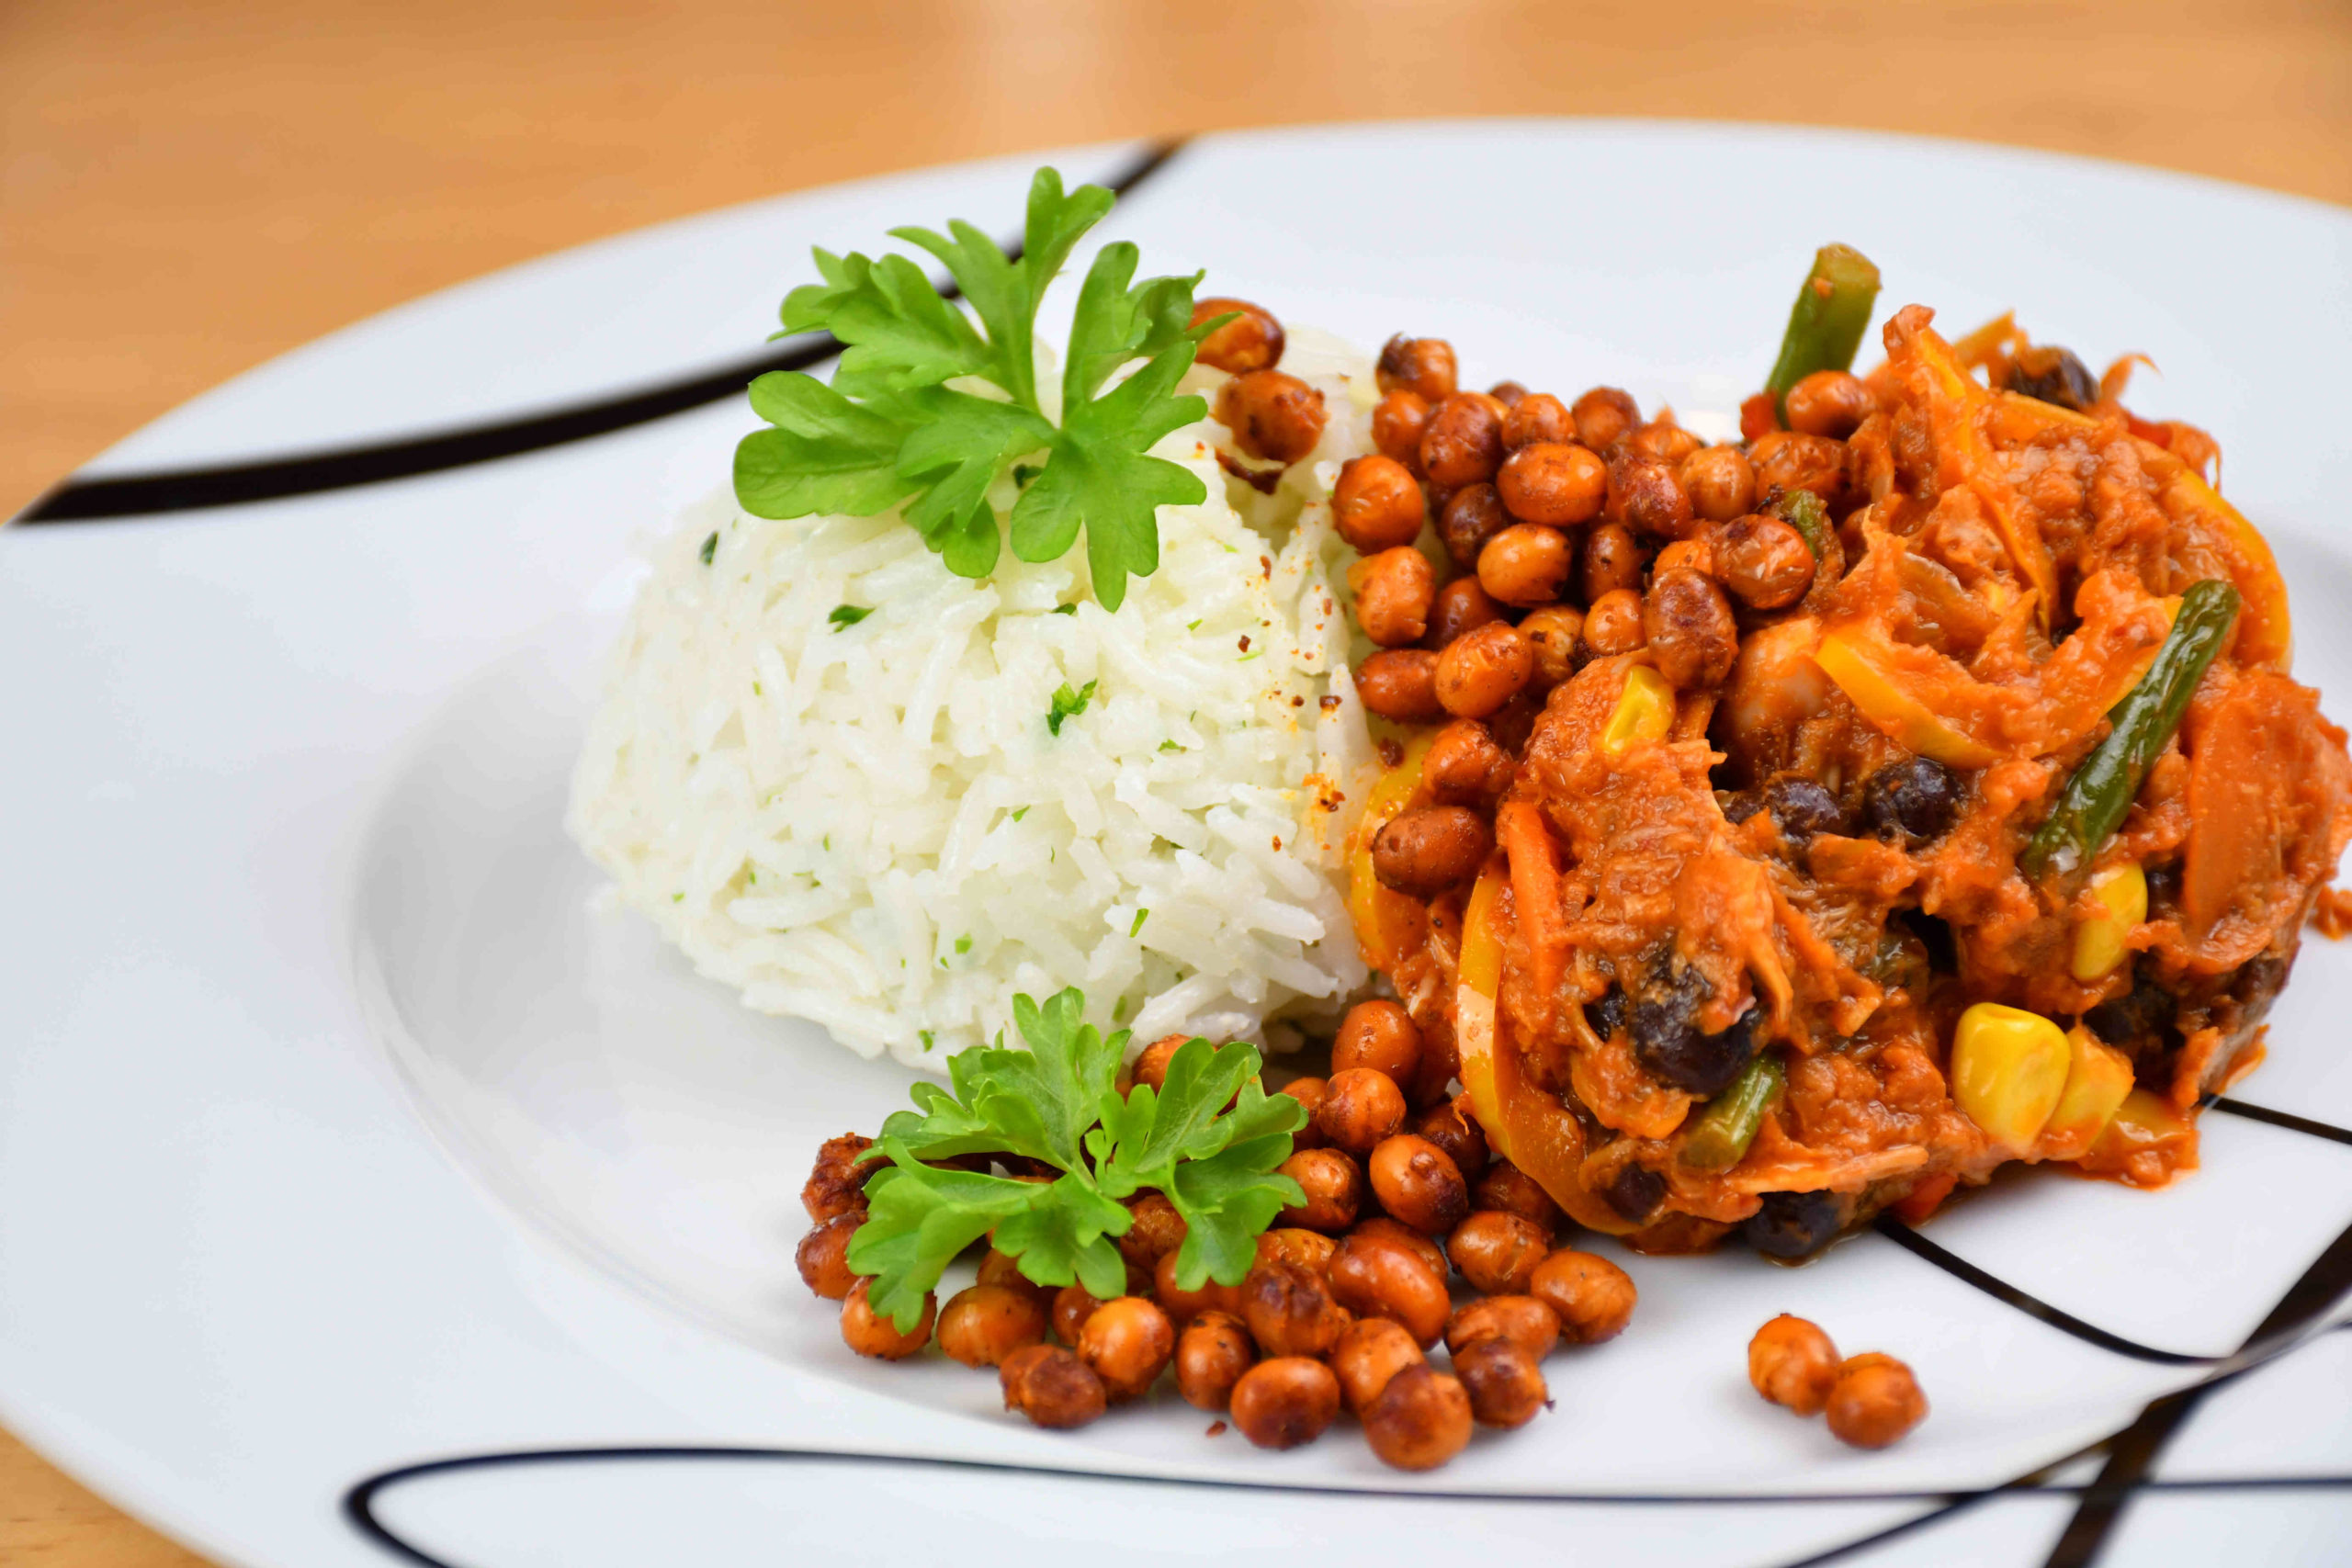
Jackfruit – Mexican Inspired

Are you wondering what to make for lunch today? Young jackfruit is a delicious option for you! Serve it with rice or make yourself a wrap!

Today we are making young jackfruit that you can find nearly in every grocery store nowadays. To prepare this it should take you around 25 – 30 minutes and should be fine for 3 – 4 people. It’s going to be Mexican inspired and served simply with some rice & roasted soybeans for crunchiness.

INGREDIENTS:
– 1 can of Young Jackfruit
– 1/2 can of Black Beans
– 1/2 small can of Sweetcorn
– 1 medium-sized Onion
– A handful of Green beans
– 1 medium-sized carrot
– 2 small sweet peppers
– Half a Lime (lime juice)
– 2 tsp of Salt
– 1 tsp of Chili (really up to you how spicy you would like it 🙂
– 1/2 tsp of Garlic Powder
– 1/2 tsp of Turmeric
– 1 tbsp of Coconut oil
– 1.5 tsp of Mustard
– 2 tsp of Liquid Smoke

Rice will require the following ingredients:
– bunch of Parsley (and I usually like a LOT)
– 1 tbsp of Vegan Butter
– 2 cups of Rice (I used Basmati this time as it is nice and quick to prepare)
– some Salt and a few drops of oil for the cooking part so the rice doesn’t stick!

PREPARATION:

Once you have gathered all these ingredients, you will start by draining the water from the can of Jackfruit and start taking the pits and hard bits out of it and putting it into a bowl.
The next step is to add all the ingredients: Salt, Chili, Garlic, Turmeric, Coconut Oil, Mustard, Lime Juice, and Liquid smoke – mix it all together, and let’s start choppin’ those veggies.
Chop the onion in nice small pieces and the rest in bigger ones. You are now ready for cooking! (You can now start cooking some rice)
Preheat the pan, and throw that onion into it. Let it fry for about 2 minutes and then add the cut vegetables and fry it for the same amount of time on high heat.
Now you can lower down the heat and add the Jackfruit mixture to it with 1/3 cup of water. Once it comes up to heat add the beans & corn and take it off the hob!

You are ready to serve it, Enjoy!!

For a video tutorial, check the link below: