Categories
Desserts Favourites

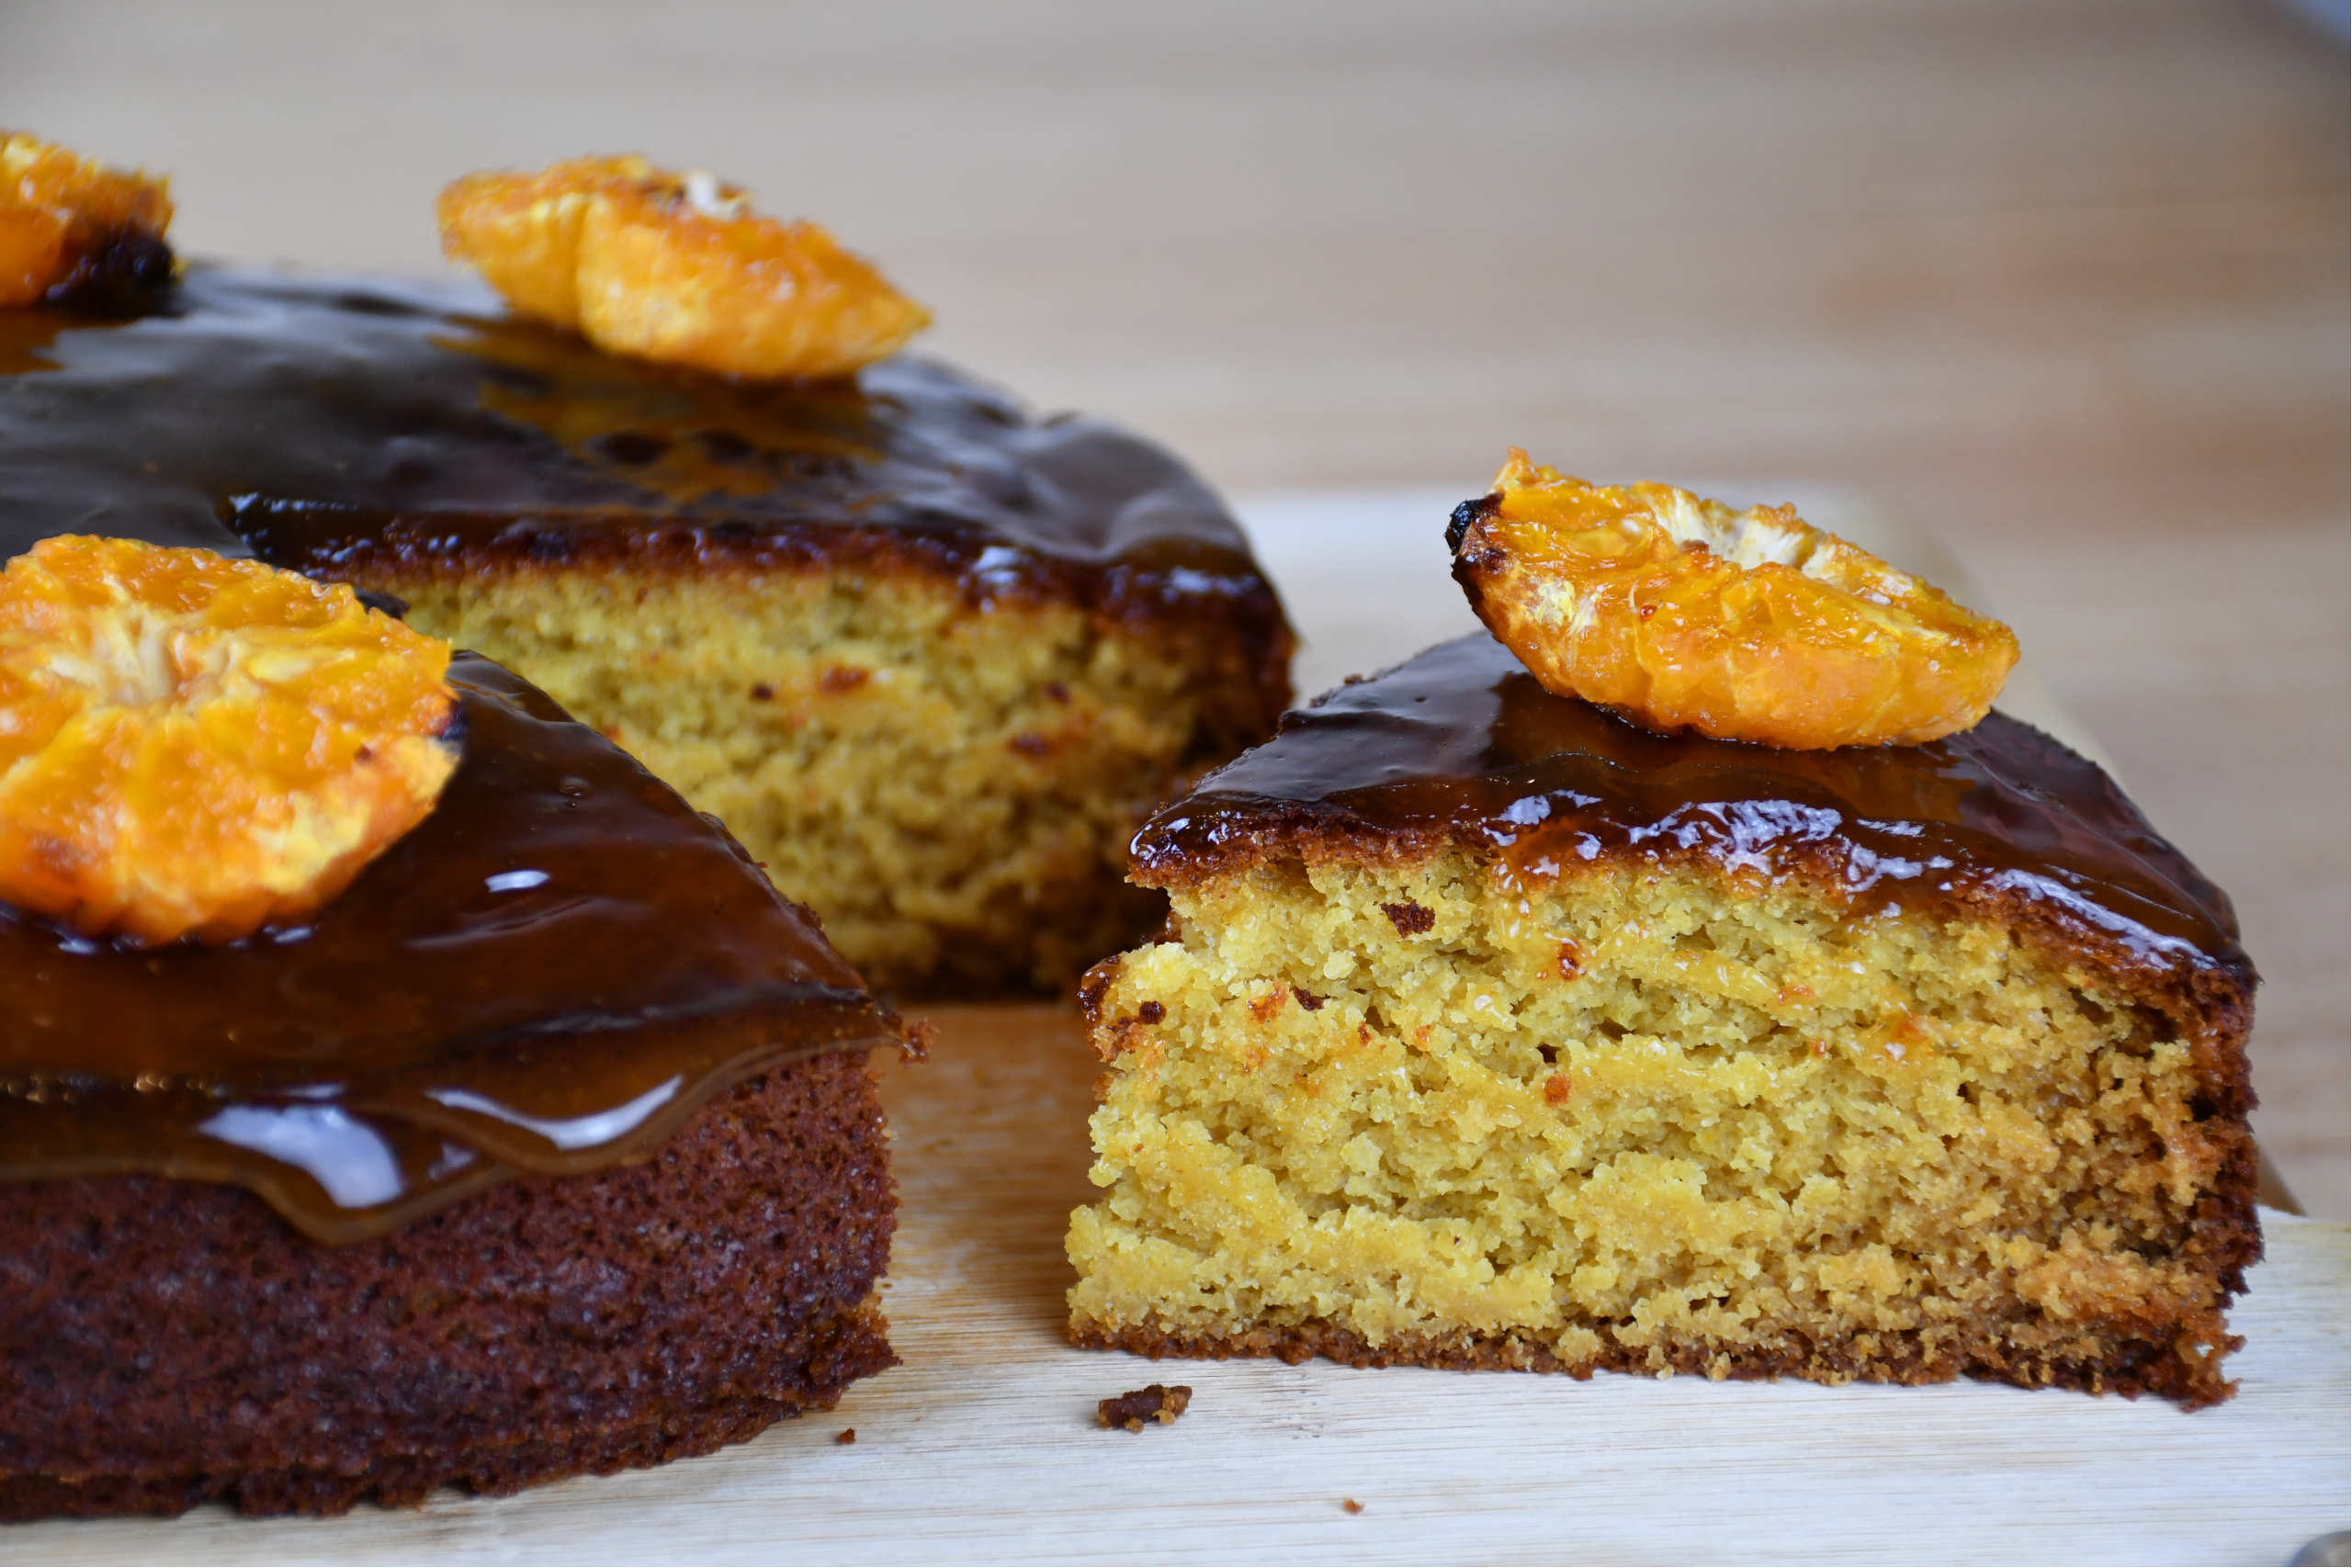
Orange Cake

Craving for a mild but jet a dessert that will knock you off your feet!? It’s easy, check out our new recipe and make it yourself!

Hi Everyone,

I am so excited to share this vegan orange cake recipe, that is sooo delicious!

We will start off with the wet mix and you will need the following ingredients for that:
– 3 oranges (2 orange zests & 3/4 cup of orange juice)
– 1/2 cup of desiccated coconut
– 1/2 cup of soy milk
– 1 tbsp of lemon juice
– 80ml of olive oil
– 2 tbsp of agave syrup
– 1 tsp of vanilla extract

Get all your ingredients into a food processor and blend for 30 seconds, so the desiccated coconut gets nicely blended in.

For your dry components you will need the following ingredients:
– 2 cups of regular flour (optional 2 extra tablespoons can be added)
– 1,5 tbsp of baking powder
– 1 tbsp of baking soda
– 10 tbsp of light brown sugar

Sift the flour and add the rest of the ingredients into a bowl and whisk it so it mixes all evenly. now you can add the dry component and mix it together, but be careful, don’t overmix it as your cake won’t bake properly.

Preheat the oven to 180°C (360°F) and put the cake on the middle rack and bake it for 25 minutes.

In the meantime, you can make the glazing, and you will only need:
– 1/2 cup of orange juice
– 8 tbsp of sugar
– 1,5 tbsp of corn starch
– 1/2 tsp of vanilla extract

Put the orange juice and sugar into a saucepan and cook it on medium heat. Boil it for 5 minutes and then add 2 tbsp of water to the corn starch, mix it and then add to the saucepan. Cook it for another 5 minutes and let it cool down a bit.

Once your cake is done let it cool down and then you are ready to pour the glazing over the cake!

You can optionally serve it with some caramelized mandarines, just cut 6 of them in half and place them in a baking tray – put some sugar on top – and bake it in the oven for 25 minutes at 180°C (360°F).

You are ready to serve it, Enjoy!!

Vito

For a video tutorial, check the link below:
Categories
Lunch & Dinner

Jackfruit – Mexican Inspired

Are you wondering what to make for lunch today? Young jackfruit is a delicious option for you! Serve it with rice or make yourself a wrap!

Today we are making young jackfruit that you can find nearly in every grocery store nowadays. To prepare this it should take you around 25 – 30 minutes and should be fine for 3 – 4 people. It’s going to be Mexican inspired and served simply with some rice & roasted soybeans for crunchiness.

INGREDIENTS:
– 1 can of Young Jackfruit
– 1/2 can of Black Beans
– 1/2 small can of Sweetcorn
– 1 medium-sized Onion
– A handful of Green beans
– 1 medium-sized carrot
– 2 small sweet peppers
– Half a Lime (lime juice)
– 2 tsp of Salt
– 1 tsp of Chili (really up to you how spicy you would like it 🙂
– 1/2 tsp of Garlic Powder
– 1/2 tsp of Turmeric
– 1 tbsp of Coconut oil
– 1.5 tsp of Mustard
– 2 tsp of Liquid Smoke

Rice will require the following ingredients:
– bunch of Parsley (and I usually like a LOT)
– 1 tbsp of Vegan Butter
– 2 cups of Rice (I used Basmati this time as it is nice and quick to prepare)
– some Salt and a few drops of oil for the cooking part so the rice doesn’t stick!

PREPARATION:

Once you have gathered all these ingredients, you will start by draining the water from the can of Jackfruit and start taking the pits and hard bits out of it and putting it into a bowl.
The next step is to add all the ingredients: Salt, Chili, Garlic, Turmeric, Coconut Oil, Mustard, Lime Juice, and Liquid smoke – mix it all together, and let’s start choppin’ those veggies.
Chop the onion in nice small pieces and the rest in bigger ones. You are now ready for cooking! (You can now start cooking some rice)
Preheat the pan, and throw that onion into it. Let it fry for about 2 minutes and then add the cut vegetables and fry it for the same amount of time on high heat.
Now you can lower down the heat and add the Jackfruit mixture to it with 1/3 cup of water. Once it comes up to heat add the beans & corn and take it off the hob!

You are ready to serve it, Enjoy!!

For a video tutorial, check the link below: