Categories
Lunch & Dinner

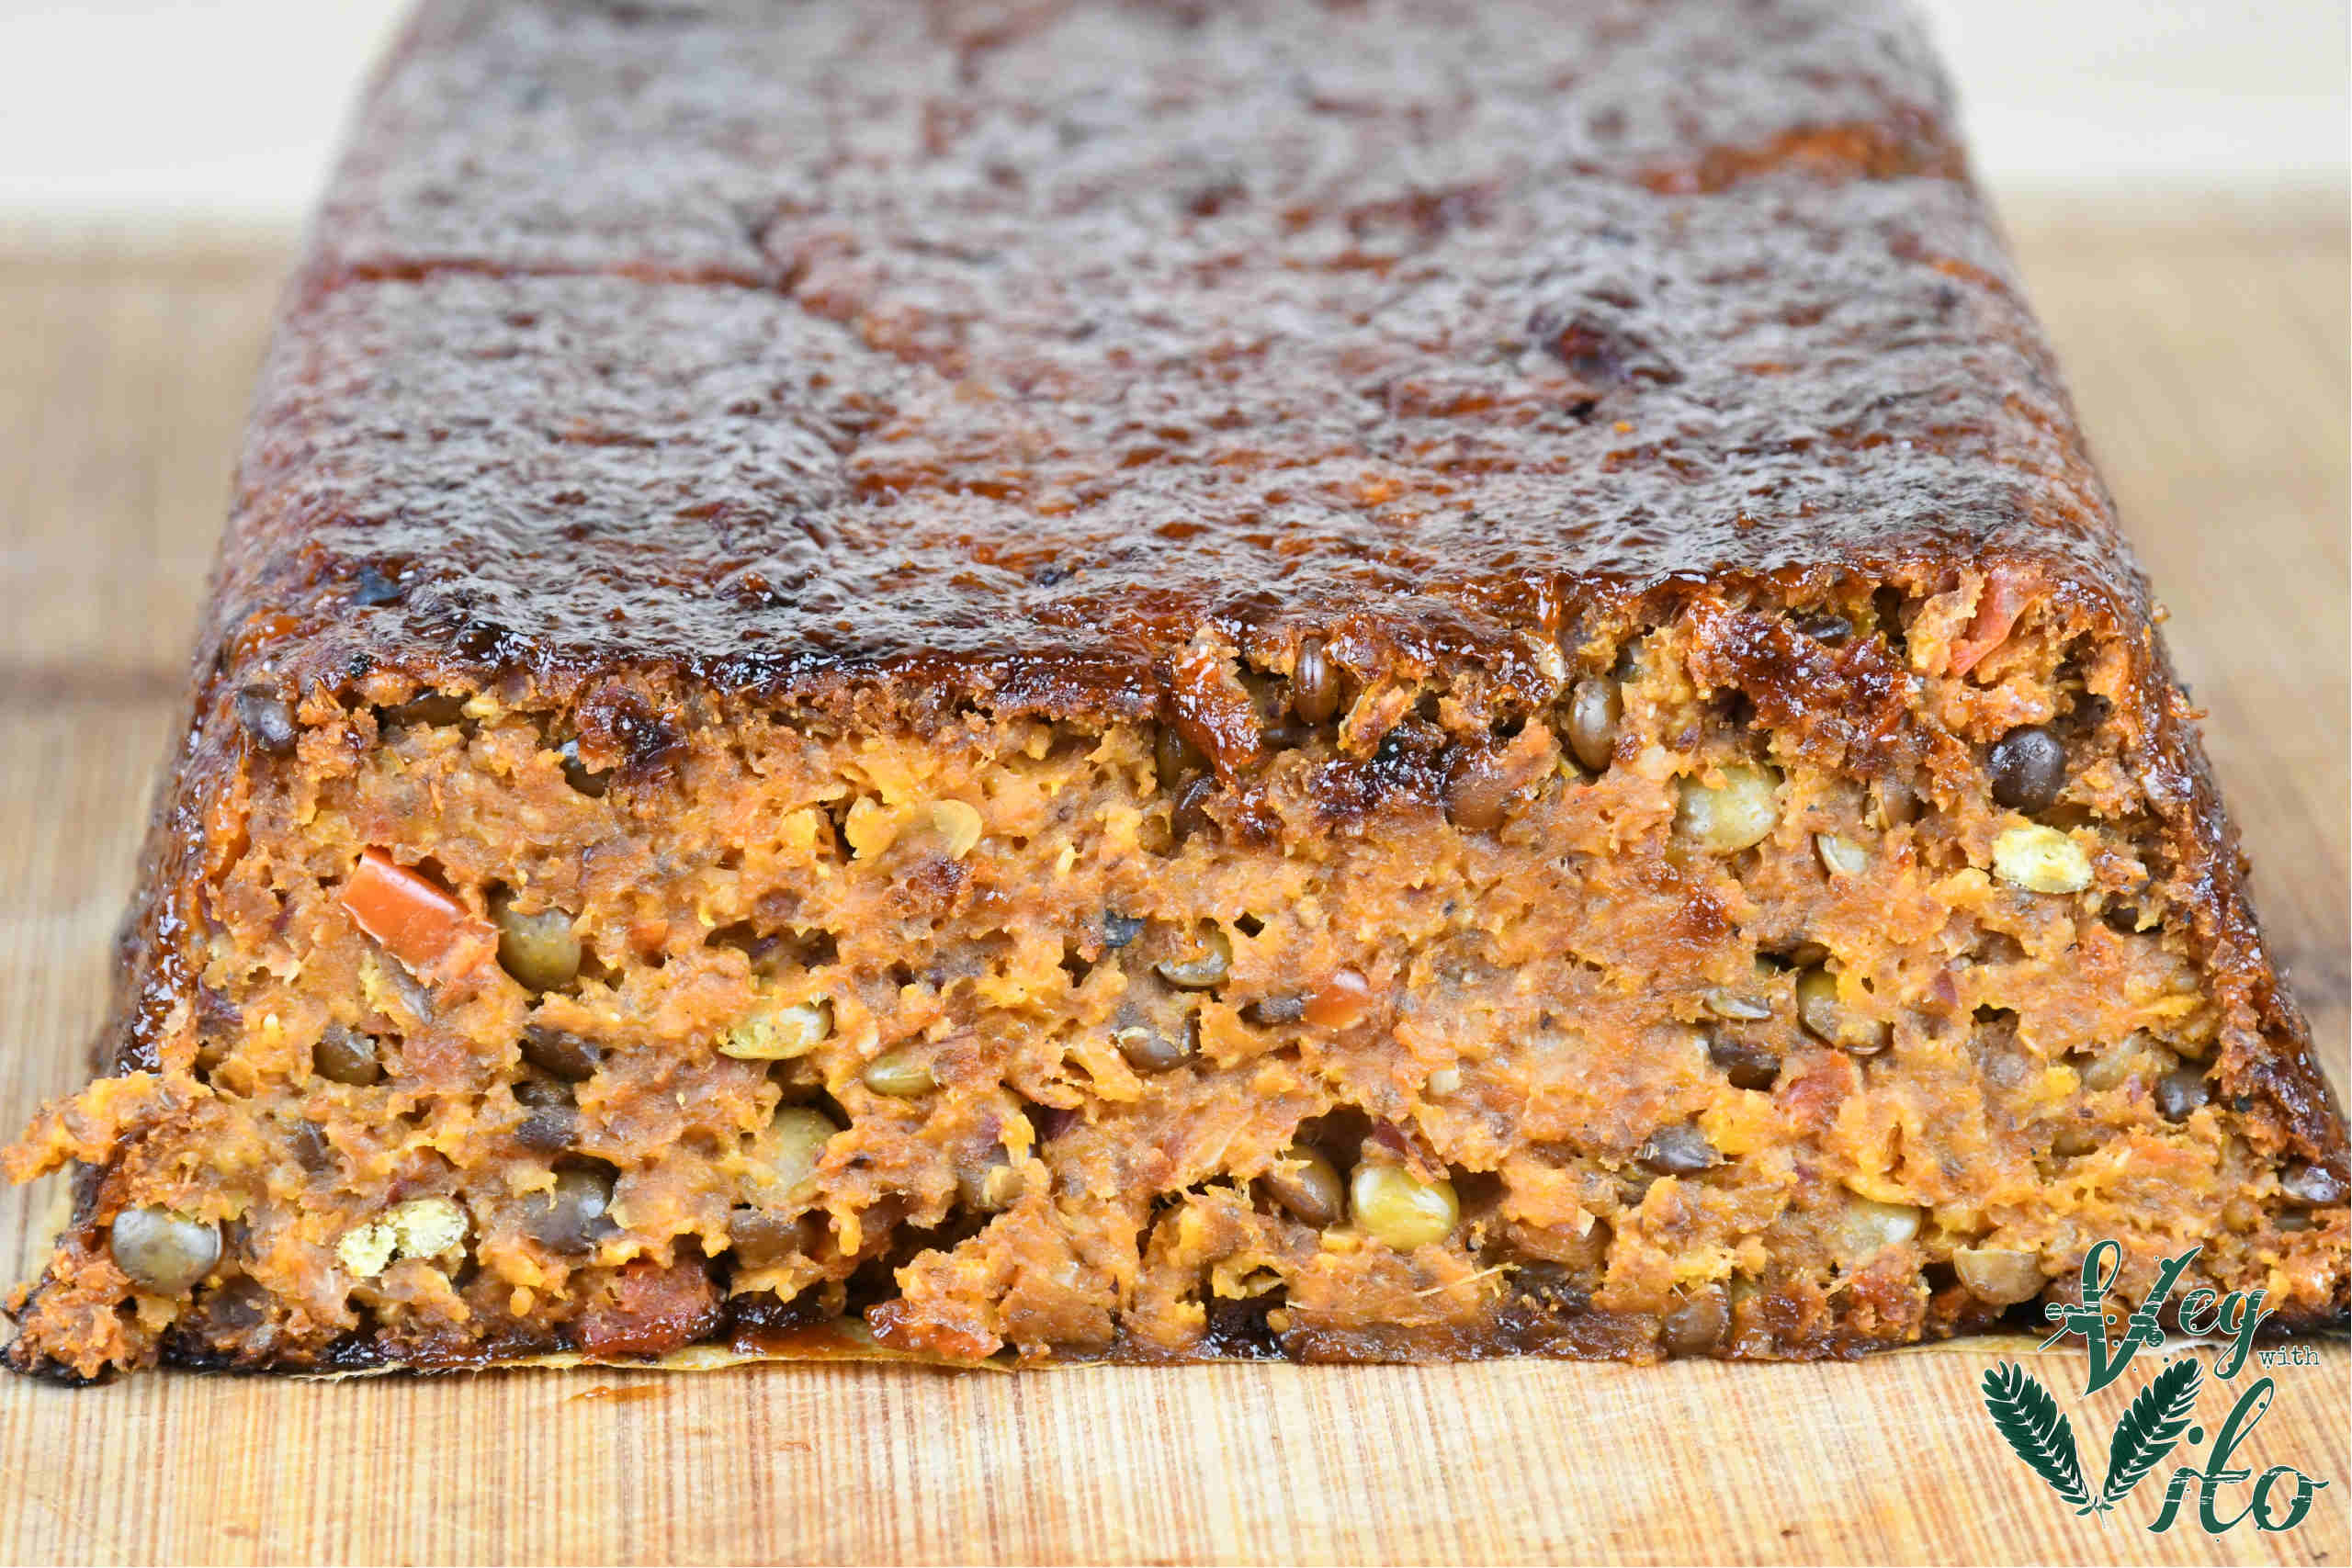
Meatless Loaf

Looking for a nice meatless loaf recipe that the whole family will LOVE?? Check out our new recipe, follow along, and enjoy!!!

Hi Everyone,

Welcome back to the blog!

In this post, we are going to show you how to make a Meat-Less-Loaf.
It’s packed with protein, serves 4 people and is ready in an hour and a half – and it’s more than worth it!

Also, it’s Gluten-Free!!

For the loaf, we will need a Texas BBQ glaze and you can find the video recipe on the following LINK.

INGREDIENTS:
– 50g of black beluga lentils
– 50g of lentil verts (but you can use any type of grains = 100g)
– 1 can of mixed beans
– 40g of sundried tomatoes
– 1 medium-sized carrot
– 1 medium-sized onion
– 1/2 red bell pepper
– 1 celery stick
– 2 garlic cloves
– 3 mushrooms
– 1 tbsp of salt
– 1,5 tsp of pepper
– 1 tsp of ground cumin
– 1,5 tsp of dried paprika
– 3 tbsp of nutritional yeast
– 3-4 tbsp of tomato paste
– 5 tbsp of milled chia seeds
– 1,5 cup of oats
– 1 cup of Texas BBQ sauce

PREPARATION:
To start off, go ahead and cook the lentils (once boiling, cook for 12-15 minutes on low heat).
Your next step is to cut all the vegetables – you don’t need to cut them super fine, as you will blend them afterwards.

Preheat a pan with some cooking oil and add: onion, carrot, bell pepper & celery – saute for 5 minutes. Add mushrooms and saute for an extra 2 minutes – add garlic and then all the spices (from the recipe list leave: mixed beans, sundried tomatoes, chia seeds & oats).
Once all warmed up, take off the stove and add the mixture to a food processor, together with the drained mixed beans and sundried tomatoes – blend well!
Place the mixture into a bowl and add the oats and chia seeds – mix well and place the mixture then into a Bread/Cake Mould (line it up with parchment paper) – press the mixture firmly and then brush some BBQ sauce on top – place in a preheated oven on 180°C (360°F) FAN for 25 minutes. Take it out from the mould and place it on a baking tray (this is really up to you how to do it – just be careful) – brush on with some BBQ sauce and put back into the oven for another 12-15 minutes.

All done! We recommend serving this meatless loaf with some homemade mash potatoes (you can find the recipe on the LINK) and some grilled spring onions!

Happy Thanksgiving and let us know your thoughts on this recipe!

Enjoy!

Vito

For a video tutorial, check the link below:
Categories
Favourites Lunch & Dinner

Vegetable Spring Rolls

Looking for THE BEST spring roll recipe, that is super easy to follow?? You are in the right place, check it out and follow along!

Hi Everyone,

Welcome back to the blog!

In this post, we are making vegan spring rolls, that I really love – I mean: Who wouldn’t?! 🙂

INGREDIENTS:
– spring roll sheets (check if vegan, lots of them contain milk)
– 1/2 cabbage (I used pointed cabbage/i f white cabbage use 1/4)
– 3 medium-sized carrots
– 1/2 red bell pepper
– 1,5 tbsp fresh ginger (fine chop)
– 1 tsp of salt
– 1,5 tsp of pepper
– 1 tsp of chili flakes
– 2 tsp of garlic powder
– 1,5 tbsp of soy sauce
– 1,5 tsp of sugar
– 1 tbsp of sesame oil
– 1 tbsp of corn starch
– 30g of rice noodles

PREPARATION:
To start off, if the spring roll sheets are frozen, take them out 1 hour prior to starting to cook.
Place the rice noodles into a bowl and soak them in boiling water for 1:30 min and then drain, wash in some cold water, and then cut into 2cm (1 inch) long pieces.
The next thing is to cut the veggies julienne cut and chop the ginger very fine.

Now, heat up a pan and add some cooking oil (sunflower) to it. Once the oil is warmed up add the bell pepper & carrots to it and saute for 1-2 minutes. Add cabbage and then the rest of the ingredients (except the corn starch) – cook for another few minutes. At the very end, add 2 tbsp of water to the corn starch, mix it and then add to the pan – stir and take off the hob.

You are now ready to start making the spring rolls!

Mix 2 tbsp of corn starch some water that will be used as ‘glue’ to bind the ends of the spring rolls.

Now take one sheet and lay it on a flat surface, while having a corner pointing towards you. Take a handful of filling and place it in 2-3 inches from the edge and then take the corner and fold it over the filling. Now, pull it a bit towards you and roll it to the middle. Fold both sides towards the center and then roll it once more – make another fold on the sides, so they won’t be ‘hanging’ out.
Once you have 1,5-2 inches left from the end, take some of the glue mix on your fingers and spread it on the remaining sheet – finish off.

Once you have made all of the spring rolls, take a saucepan and fill it with about 1-1,5 inch of cooking oil – don’t put too many rolls at once (more than 4), so the oil doesn’t cool off.

I know you will like this one, so Enjoy!

Cheers,

Vito

For a video tutorial, check the link below:

Categories
Lunch & Dinner

Buffalo Cauliflower Wraps

Have no idea what to fill your lunch box with? Check out our new recipe, and make the buffalo cauliflower wrap for yourself, cheers!

Hi Everyone,

Welcome back to the blog!

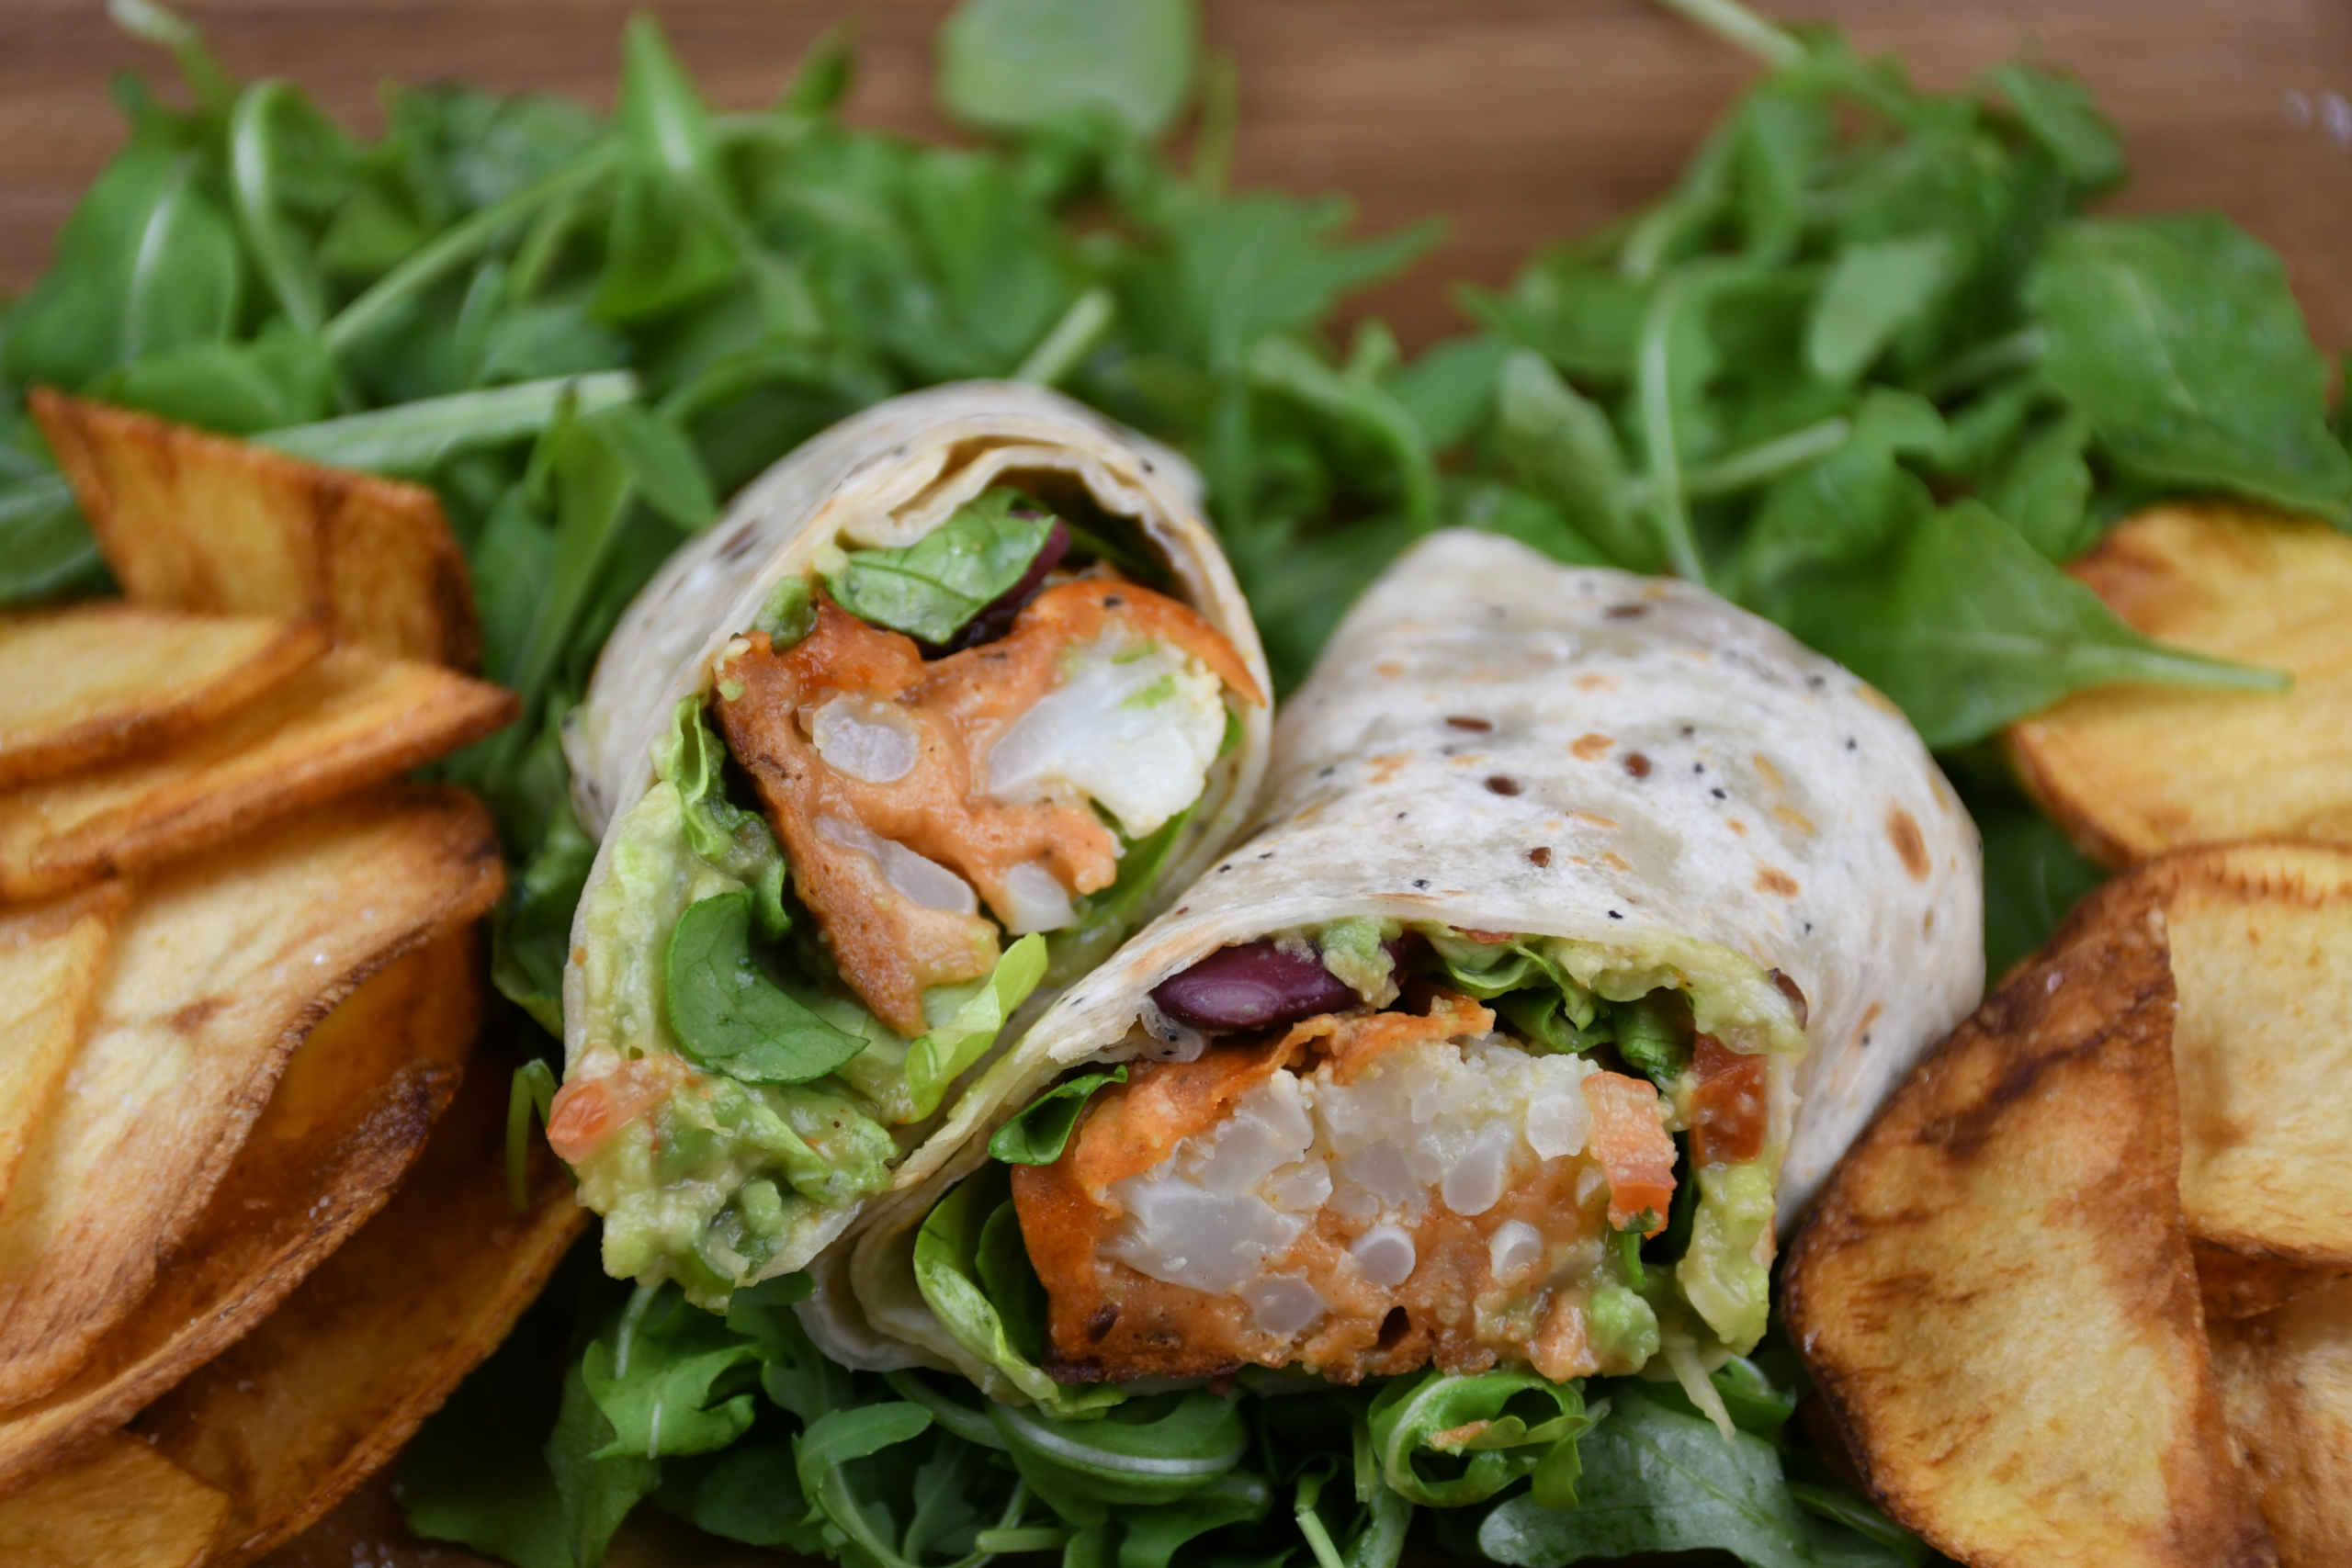
In this post, I will show you how to make a Buffalo Cauliflower Wrap! A sweet and spicy taste that is surely on the very top of my comfort food list. For the filling, we will also use guacamole and the recipe for that you can find on my Youtube channel if you click on the LINK.

If you would like to serve some absolutely stunning homemade chips/crisps you can find a video on my Youtube channel if you click on the LINK.

INGREDIENTS:
For the Buffalo Cauliflower batter recipe, next to a few florets of cauliflower & some hot sauce (1/4 cup) it requires the following ingredients:
– 3/4 cup of all-purpose flour
– 1/4 cup of corn starch
– 1,5 tsp of salt
– 1,5 tsp of chili flakes
– 1 tbsp of cajun seasoning
– 1 tbsp of dried paprika
– 1 tbsp of garlic powder
– 1 tbsp of onion powder
– 1 cup of soy milk (or any other plant-based milk)
– 1 tbsp of lemon juice
– 1 tbsp of maple syrup

PREPARATION:
Go ahead and put all the dry ingredients into a bowl a mix it together. Then you can add the liquid components and whisk until you get a nice batter.
Cut the cauliflower florets smaller and than salt them; roll them into all-purpose flour; dip them into the batter; put them on a baking tray

Bake them in the oven 180°C (360°F) FAN option for 20 minutes – while brushing them with hot sauce halfway!

Done with the cauliflower, let’s get the wraps ready!

We filled our wraps with the following ingredients:
– gem lettuce
– red kidney beans & sweet corn
– homemade guacamole (link to the recipe video is above)
– buffalo cauliflower

To start off, we always quickly heat up the wraps in a pan (10 seconds each side) so they roll more easily.

Once on the table, we will put the ingredients in the middle of the wrap (don’t overdo it). Fold the sides to the middle and then the bottom (the closest side to you) over the filling – now you can get it firmly together by pulling the filling to yourself! Roll it and cut through the middle and you are done!

Thank you and enjoy!

Cheers,

Vito

For a video tutorial, check the link below:
Categories
Snacks & Sides

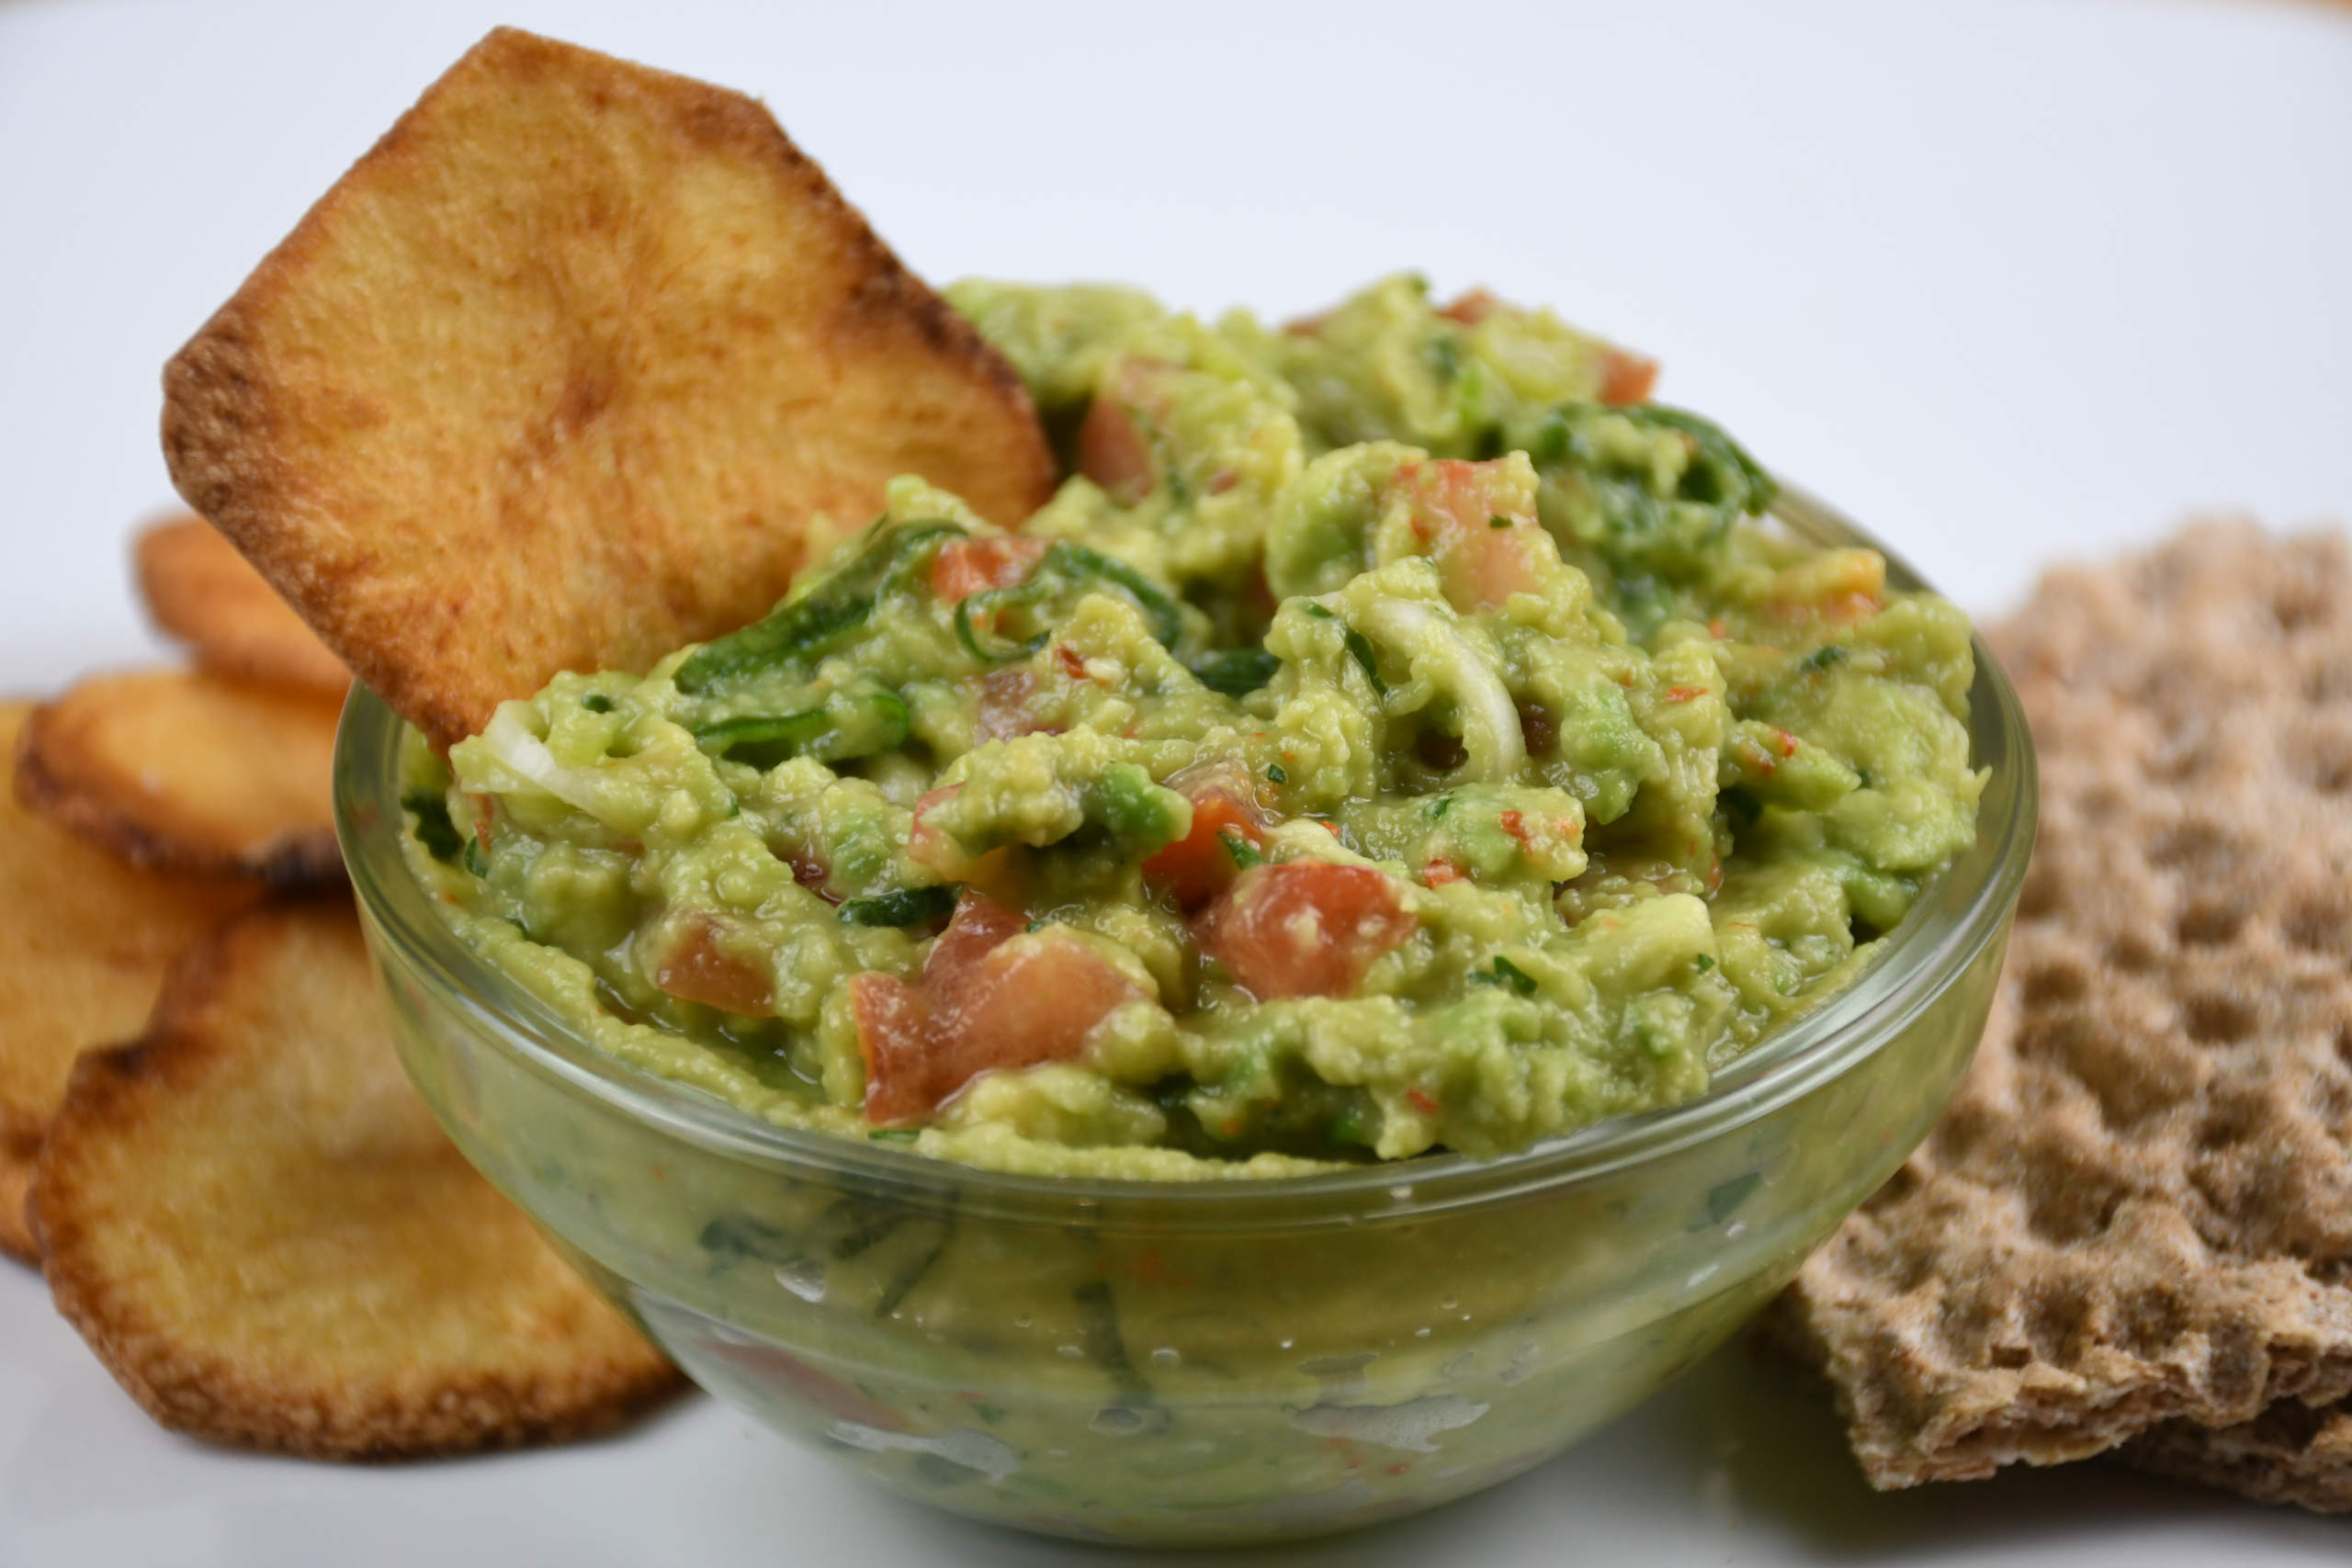
Guacamole

Looking for a way to make perfect guacamole? You are at the right place, get your avocado ready, and begin!

Hi Everyone,

Welcome back to the blog!

In this post, I will show you how to make guacamole, which is super quick and easy! Use it as a wrap filling or as a dip – in case you want to make the perfect chips/crisps take a look at the following video on my YouTube channel by clicking on the LINK.

INGREDIENTS:
– 3 ripe avocados
– 2 spring onions
– 1 medium-sized tomato
– 1 tsp of salt
– a bit of coriander (cilantro)
– 2 tbsp of lime juice
– 1 tsp of chili flakes (or any fresh/dried chili you like)

PREPARATION:
Clean the avocados, put them in a bowl, and add the lime juice to it – now you can mash the avocado (with a fork or a potato masher).
Cut the onions and coriander fine, and get the seeds and water out of the tomato before cutting and adding it to the mashed avocado – now also add the rest of the ingredients and you are ready to serve it.

Thank you and enjoy!

Cheers,

Vito

For a video tutorial, check the link below:
Categories
Favourites Lunch & Dinner

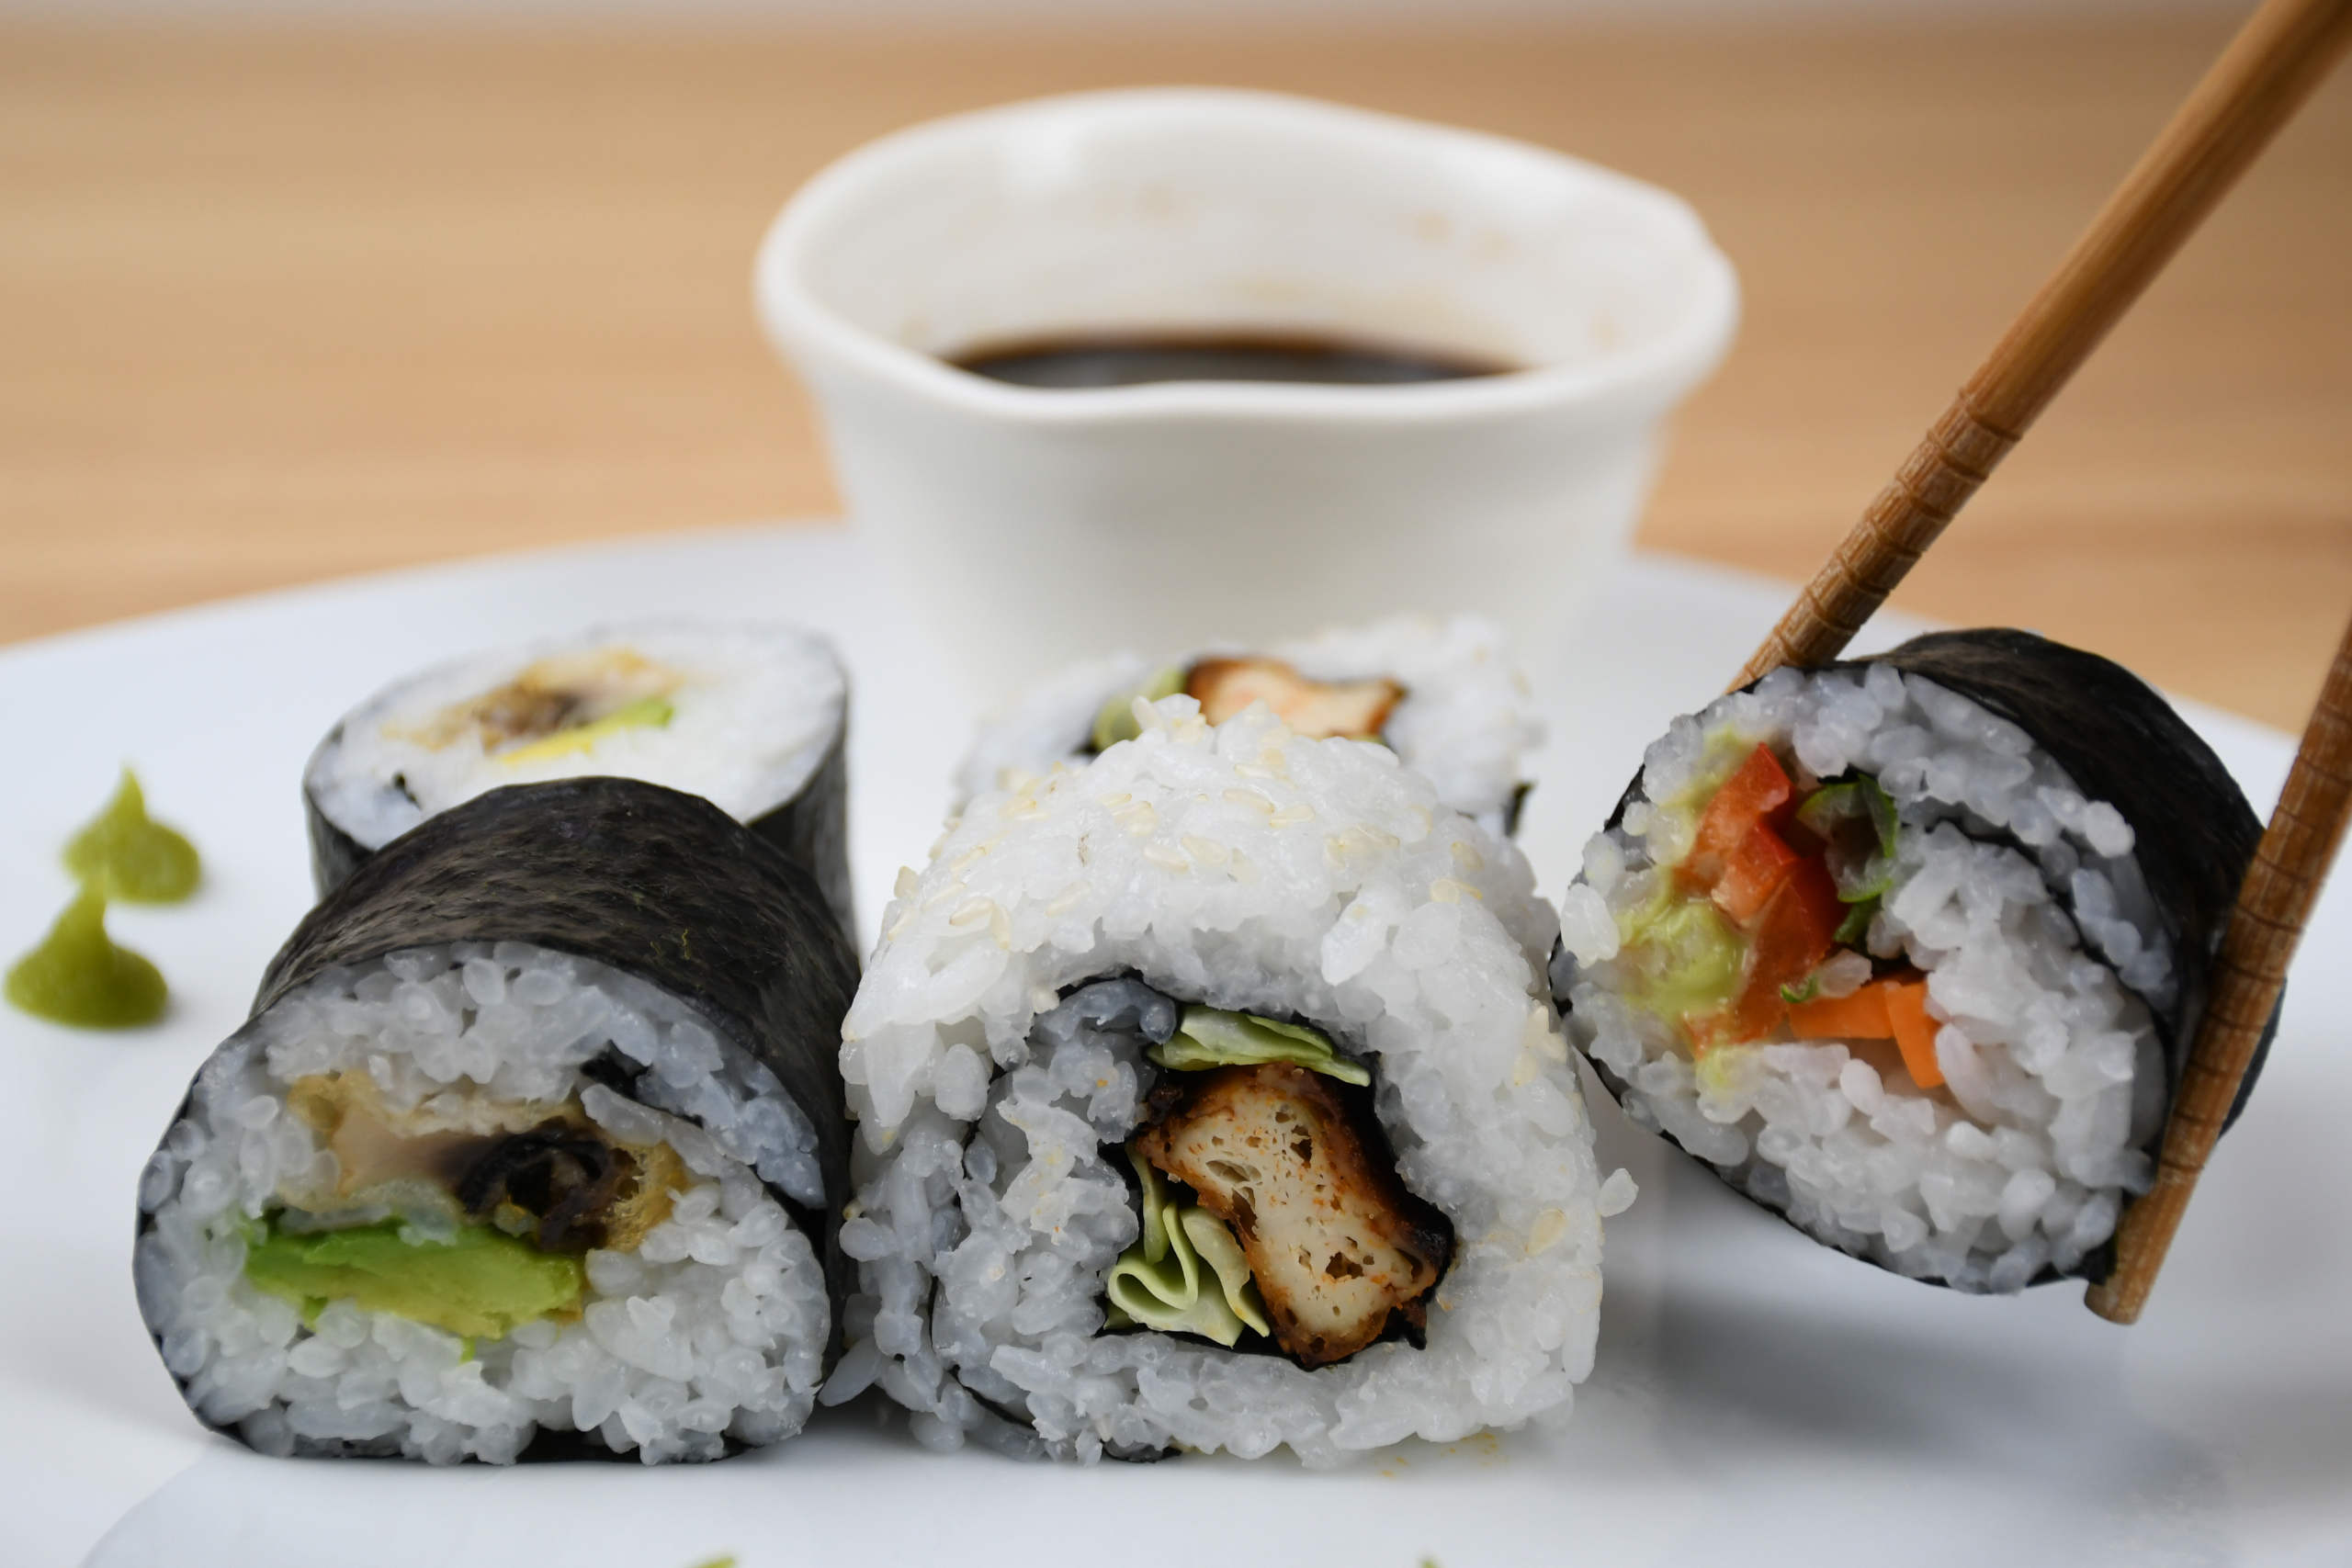
Vegan Sushi

Want to learn how to make sushi? Don’t worry, you are in the right place, it’s easy! Get your sushi mat out and let’s get started!

Hi Everyone,

Welcome back to the blog!!

In this post, I will show you how to make vegan sushi and I hope you are as excited as me to try this out, if this will be your first – or if you want to find out for some new fillings.

To start off you will need:
– 2 cups of sushi rice (short grain rice)
– 5-6 Nori seaweed sheets (also called SushiNori)
– 130 ml of sushi dressing (or make a mixture of rice vinegar, salt, and sugar)

Put the rice into a bowl and wash it gently in cold water 2-3 times (you will see the water becoming much clearer), then drain the water and put the rice into a pot/pan and top it up with only 2 cups of water.
Start off with cooking it on high fire and once it starts boiling, lower down the heat (very low) and put a lid on top and cook for another 10 min.
Once done, spread the rice into a large shallow dish so it can cool down.
In the meantime, use half of the sushi dressing and gently mix it with a spatula (cut and fold technique).
Let it sit for about 5 min and then do the same with the rest of the dressing – once done, cover it with a kitchen towel again and now we are ready to get the fillings ready!

We will make 3 fillings:
1. Carrots, spring onion, and sweet paprika & wasabi
2. Spicy tofu, cabbage & sesame seeds (Californian roll)
3. Tempura mushrooms & avocado

DON’T forget your sushi mat – I usually wrap it in cling film so it doesn’t get too messy!
The easiest way to see how to roll the sushi is to check out the video below!

1. Carrots, spring onion, and sweet paprika & wasabi + how to roll the sushi
For the first one to get also warmed up, it’s really easy, just cut all the vegetable julienne cut.
Take your sushi mat and lay down a sushi nori sheet (shiny side down) and take about a cup worth of rice (maybe a bit more) and lay it on the sheet (wet your hands for every time you need to handle the rice, as it is very sticky). Spread it onto the sheet but leave about 1-1,5 inches of seaweed not covered with rice (the side that you are furthest away from). Now you are ready to put the filling (don’t put too much!). Take the mat side that is facing you and start rolling!
Once done, cut the sushi first in half and then 3 pieces out of every half.
1st one done, 2 more to go!

2. Spicy tofu, cabbage & sesame seeds (Californian roll)
First, you will need a small bit of firm tofu (press it to take out as much water as possible – cut into small cubes.
Use the following ingredients to marinate:
– 1 tbsp of sunflower oil
– 1 tbsp of sesame oil
– 1 tsp of salt
– 1 tsp of pepper
– 1 tsp of chili flakes
– a bit of lemon juice
– 1,5 tsp of maple syrup
– 1 tbsp of tomato paste

Once marinated, bake in the oven for about 20 minutes at 180°C(360F) on the FAN option – turn them over halfway.
You will only need some Jullien cut cabbage and some sesame seeds (Californian roll is made with the seaweed from the inside.

The only difference is to do the following while making the sushi roll is once the rice is evenly spread out on the mat, you can sprinkle some sesame seed on top of it, and then you will turn it over (don’t worry, the rice will stick) and just put the filling after that!
One more to go!

3. Tempura mushrooms & avocado
I have to say that I don’t make tempura very often, but I do LOVE it!
The ingredients for the mushroom tempura:
– 1 cup of very cold water (cool it down with ice and if there is some left, just take it out
– 3/4 cup of all-purpose flour
– 1/4 cup of corn starch
– a bit of salt
– a few mushrooms nicely sliced (thicker)

Mix up the cold water and the rest of the ingredients (leave out the mushrooms for now 🙂 and mix it well. Prepare a saucepan with sunflower oil (in this case with just a 1,5 inch of oil as the mushrooms aren’t that big). Once your tempura and oil are ready, put the mushroom into the tempura and fry it.
This sushi will be rolled with the seaweed outside – don’t forget the julienne cut cabbage!

Thanks & Enjoy!

Cheers,

Vito

For a video tutorial, chceck the link below:

Categories
Favourites Lunch & Dinner

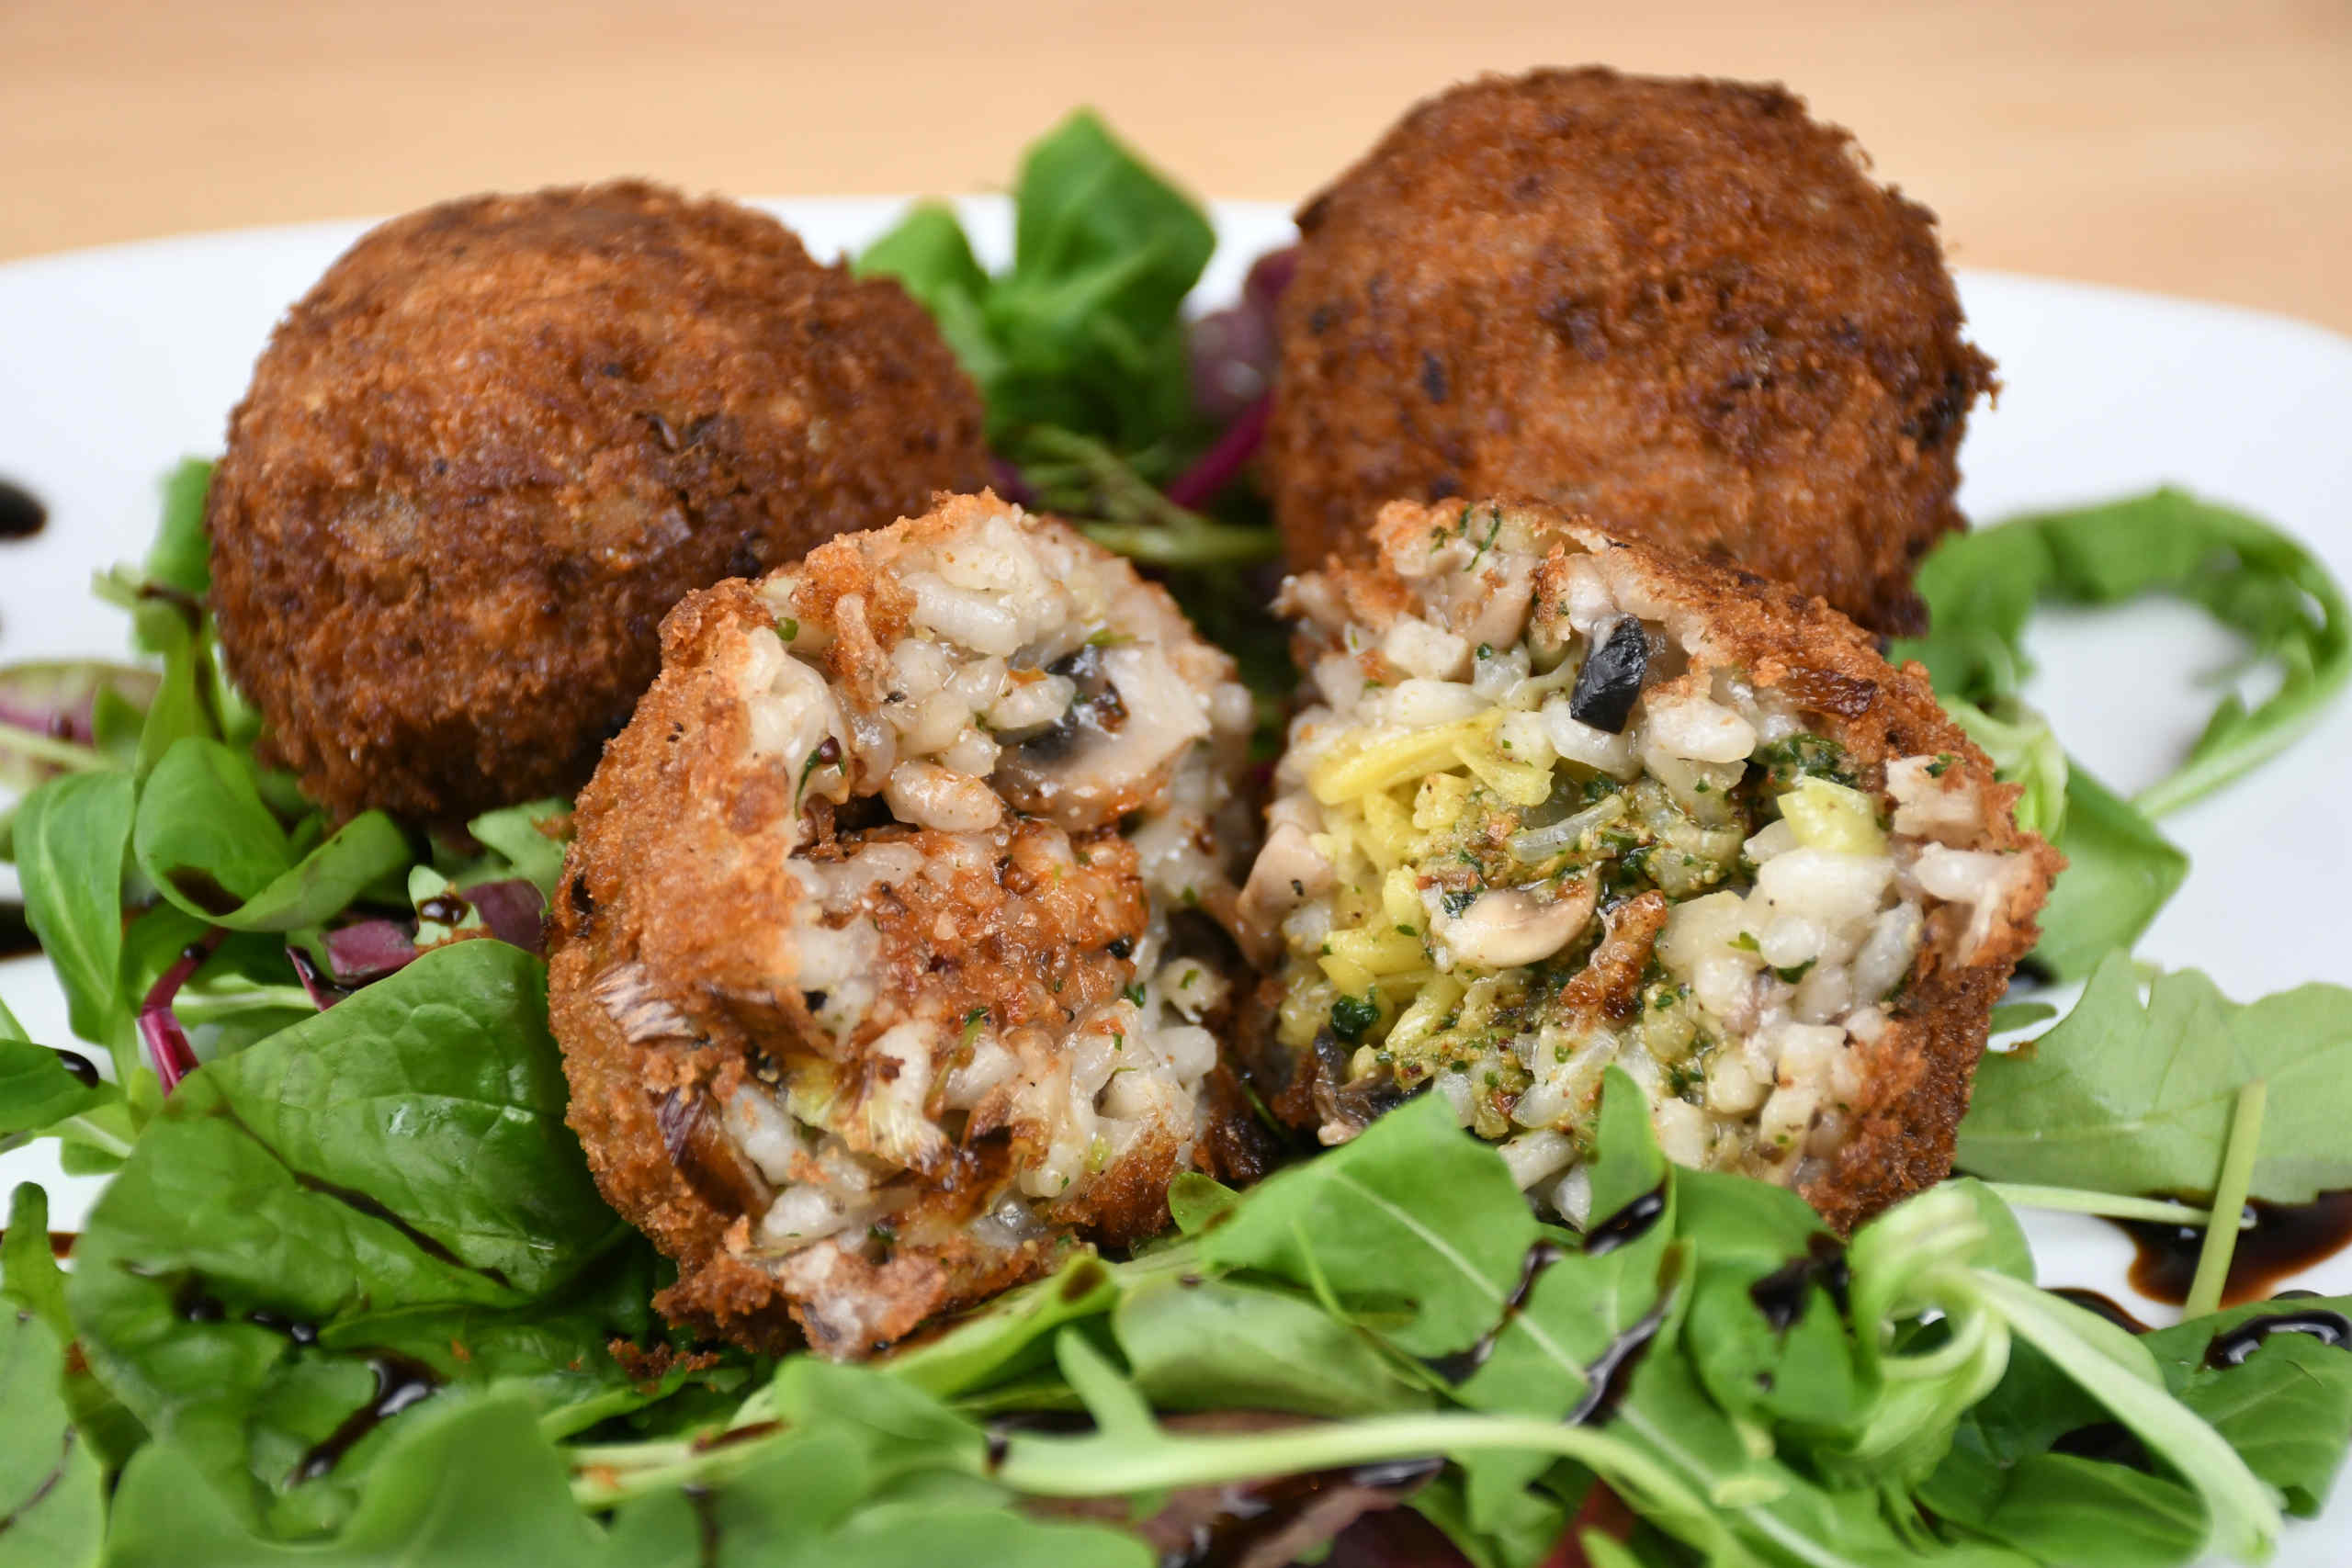
Arancini

Have some leftover risotto, or just want to find out how to make arancini?? You are at the right spot, an easy to follow recipe!!!

Hi Everyone,

Welcome back to the blog!!

In this post we are going to make leak & mushroom arancini filled with the pestos we made in our last post. For a more detailed video tutorial, click on the LINK for my YouTube channel.

INGREDIENTS:
– 1,5 cup of arborio rice (risotto rice)
– 100ml of vegan white wine
– 2 medium-sized onions
– 2 vegetable stock cubes
– 250g of mushrooms
– 1 leak
– 2-3 cloves of garlic
– bunch of parsley
– 1 tbsp of vegan butter
– 1,5-2 tbsp of olive oil
– 1,5 tsp of salt
– 2 tsp of pepper

For a more detailed video tutorial on how to make risotto, click on the LINK for my YouTube channel.

PREPARATION:
You can start off by choppin’ the onion (fine chop), leak (just rings), mushrooms, garlic, and parsley.
Once done, boil some water and pour 1 liter into a pot and add the 2 stock cubes to it (just keep it warm on the stove – simmering).
Preheat the pan (on high heat) and saute the onions, after that, you can add rice, stir it and heat it all up for 1-2 minutes and then you can add the white wine to it – stir and let it evaporate.
Now you can lower the heat to medium and slowly start adding stock to the risotto (stir often). It should take you about 10-13 minutes until you can add the mushrooms to the story (don’t add any more stock – you should be left with about 200ml of it still in the pot). Cook the mushrooms 2 – 3 minutes and turn off the stove – now add the rest of the ingredients (you want to keep a nice fresh kick to it): leak, garlic, parsley, olive oil, butter, salt, and pepper – one last stir and you are done!!

Enjoy a plate or two, while you let the rest cool off 😉

Once cooled down have another 3 bowls ready: 1. filled with cold water, 2. with 1/3 cup of corn starch (flour) and 1 cup of water (mix well together), 3. with bread crumbs.

1.Take a spoonful in your palm and spread it out.
2. Take the tomato pesto and put it in the middle and then fold the sides over the pesto, add some more risotto if needed and shape a ball out of it.
3. Dip the ball into the corn starch (whisk before use as it falls to the bottom)
4. Roll it into bread crumbs
5. Repeat dipping into corn starch
6. ROll into bread crumbs

Do the next one with basil pesto and vegan cheese or vegan cream cheese that works great as well.

Once done, fill a frying pan with 1,5-2 inch of sunflower oil and once up to heat fry them (try to keep it on a medium+ heat 🙂
The rest that you don’t want to use, freeze, and use for another day!

Enjoy!

Cheers,

Vito

For a video tutorial, check the link below:
Categories
Favourites Snacks & Sides

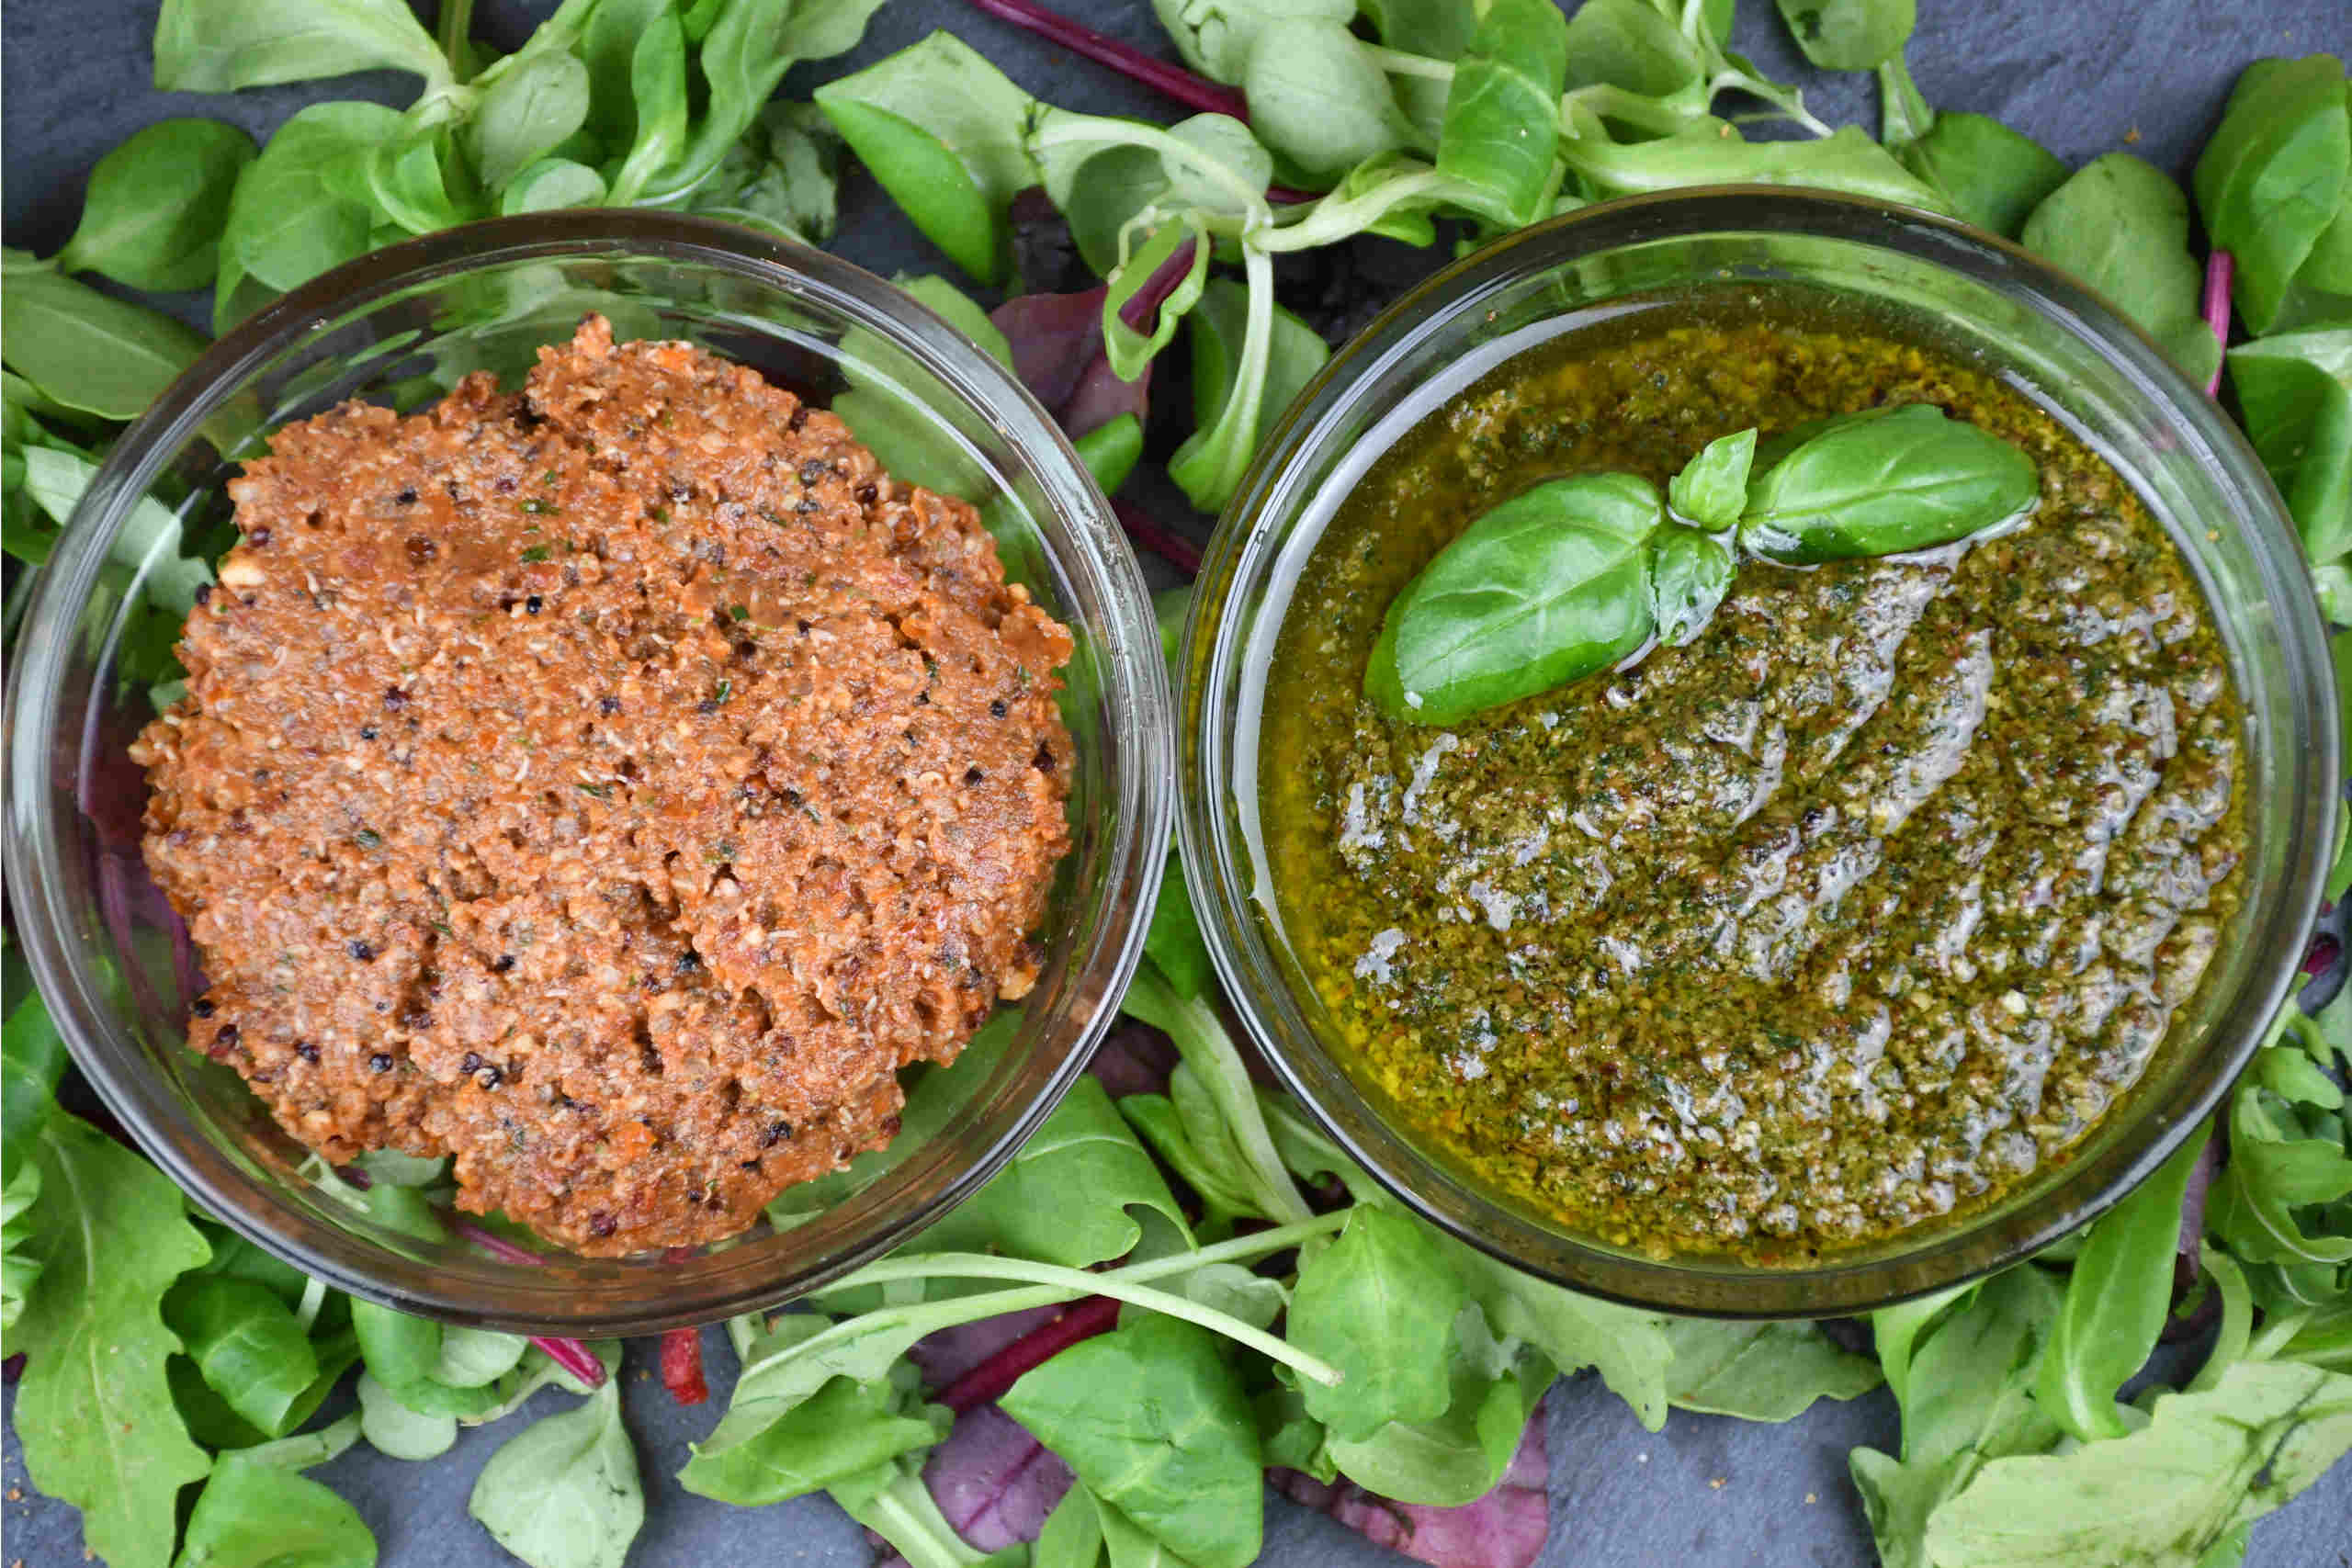
Sun-Dried Tomato & Basil Pesto

Looking for an easy way to make delicious pesto – tomato or basil? You are in the right place, follow along, and make it yourself!

Hi Everyone,

Welcome back to my blog!!

Today I am going to make a couple of delicious pestos: sun-dried tomato & basil pesto.

You can use these for various things as: pasta, spreads, dips, salads; and it keeps for about 5 days if properly stored (airtight container – refrigerated).

SUNDRIED TOMATO PESTO recipe

INGREDIENTS:
– 150g of sundried tomatoes (drained from oil)
– 50g of quinoa (cooked)
– 50ml of olive oil
– 50ml of water
– 1 tbsp of maple syrup
– 1 tbsp of lemon juice
– 1,5 tsp of salt
– 2 tsp of pepper
– a pinch of chili flakes
– a bunch of chives
– 5-6 garlic cloves (roasted)
– 25g of walnuts

PREPARATION:
Cook the quinoa in cold water, once up to boil, lower the heat, and cook for 15 minutes.
Roast the garlic cloves (skin on) in the oven for 18-22 minutes on 180°C (360°F) FAN option.
Drain the tomatoes from their oil – you can keep the oil for cooking or salads (great umami taste!).
Once the garlic is roasted, clean it and also drain, and then wash the quinoa in cold water.

Now, it’s time to blend it together, add all the ingredients except for the quinoa, and give it a good blend. Stop halfway to scrape the sides of the blender using a spatula.
At the very end, go ahead and add the cooked quinoa to the pesto, and give it just a quick blend!

One pesto down, one more to go 😉

BASIL PESTO recipe

INGREDIENTS:
– 4 cups of fresh basil
– 1-1,5 tsp of salt
– 1,5 tsp of pepper
– 3 tbsp of nutritional yeast
– 1/3 cup of olive oil
– 1 tbsp of lemon juice
– 50g of roasted pine nuts
– 2 cleaned garlic cloves

PREPARATION:
First, roast the pine nuts in a pan with NO oil!
Your next step is only to put all the ingredients into a blender and to nicely blend it all together!

Enjoy and don’t forget to check out the upcoming video this weekend, where we will be using these pestos to make a filling for homemade arancini.

Enjoy!

Cheers,

Vito

For a video tutorial, check the link below:
Categories
Lunch & Dinner

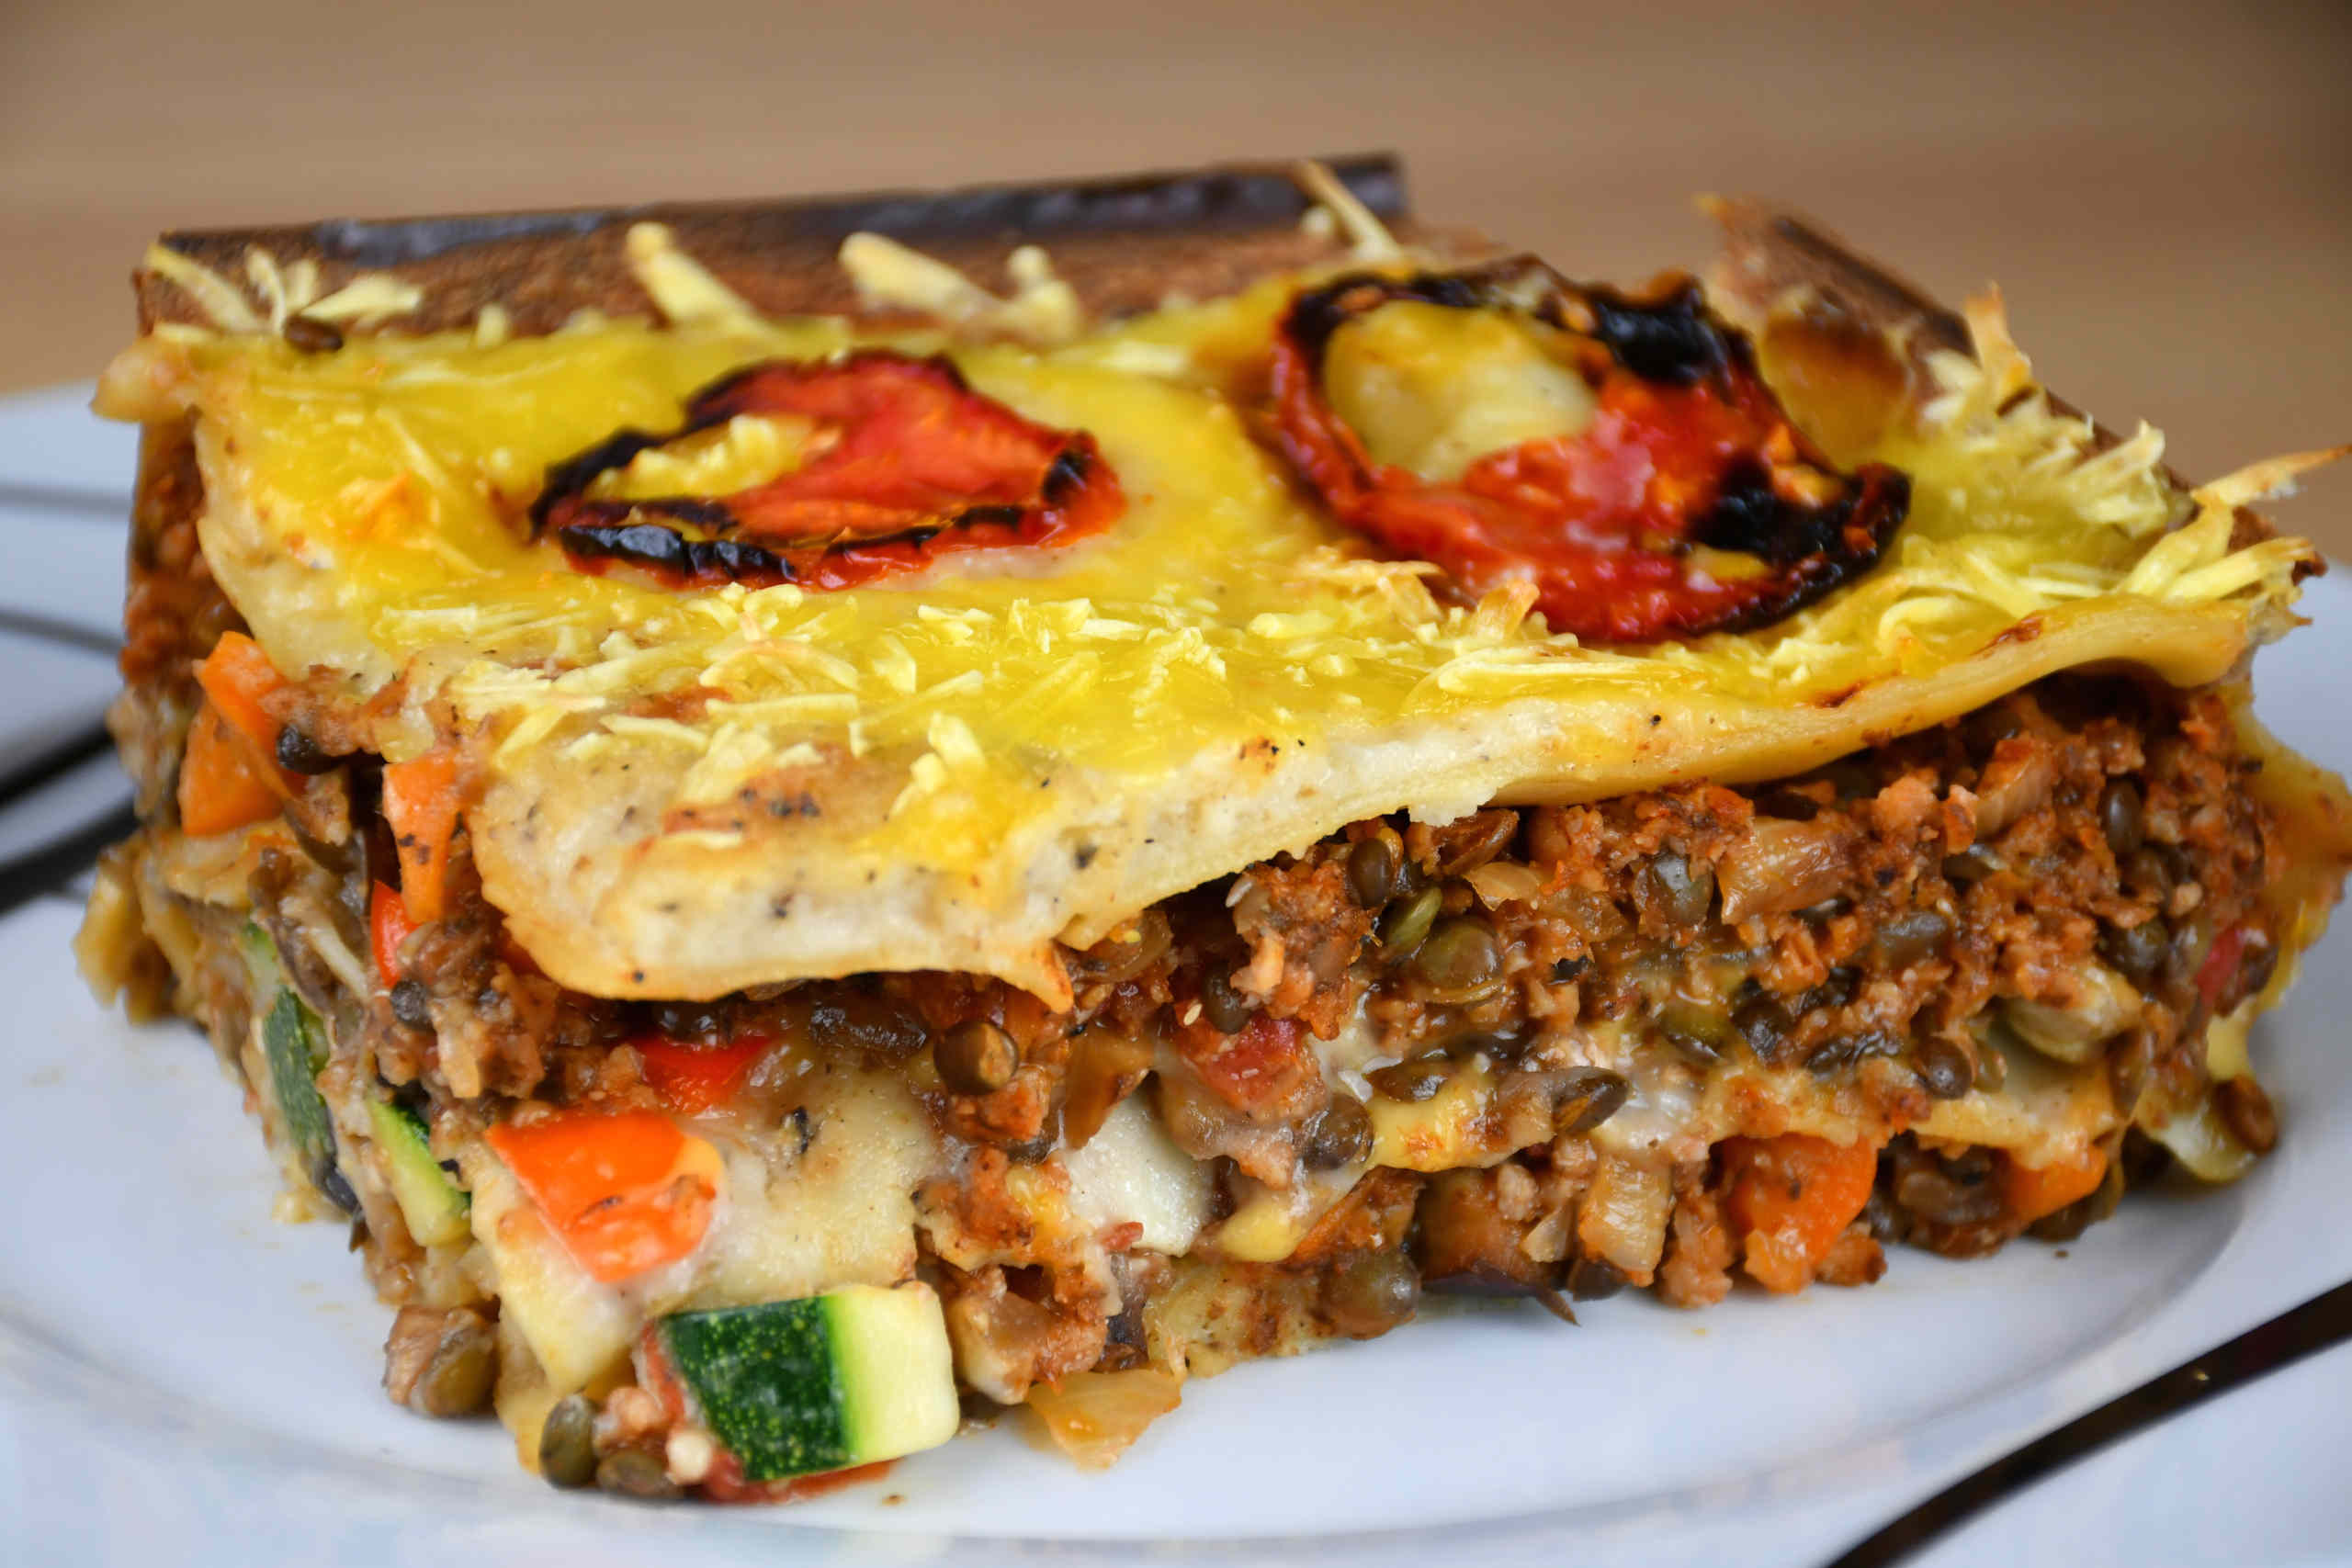
Vegetable Lasagna

Looking for an easy to follow plant-based lasagne recipe?? You are at the right place, check out our new recipe and follow along!!!

Hi Everyone,

Welcome back for another portion of veg!

As I have seen a lot of requests for vegan lasagna, I decided to make a delicious recipe and it will take you about 75 minutes to prepare it – and it can easily feed 5 hungry mouths 🙂

We will start with the ‘meat’ base and you will need the following ingredients:
– 100g of black beluga lentils
– 100g of red lentils (or 200g of any lentils that you have)
– 100g of soy mince
– 3 medium-sized onions
– 2 medium-sized carrots
– 1 can of chopped tomatoes
– 3 tsp of salt
– 2,5 tsp of pepper
– 2 tsp of chili flakes
– 2,5 tbsp of nutritional yeast
– 1 tbsp of maple syrup
– 1 tbsp of dried paprika
– 5 tbsp of milled chia seeds

Start off with cooking the lentils in cold water on medium heat – once boiling, cook for 15 minutes.
In the meantime, you can chop the onions and carrots in small pieces – also soak the soy mince for 5 minutes in some water and then try to squeeze as much water as possible out of it.

Preheat a pan on high heat with some oil and then saute the onions and carrots for 6-7 minutes.

Now, lower the heat to medium and add all the ingredients to it – stir it well and let it cook for another 5 minutes.

You are done with the base!

You will need the following vegetables:
– 250g of mushrooms
– 1 zucchini
– 1 eggplant
– 1 sweet pepper
– 3 medium-sized tomatoes

Chop all the vegetables: mushrooms & tomatoes in slices and the rest in little cubes. Keep the tomatoes on one side (as you will need them for the lasagna topping) and place the rest of the vegetables into a bowl, sprinkle with some salt, and mix it together.

Before you start off with putting the lasagna together you still need bechamel, and you will need the following for it:
– 100 ml of sunflower oil
– 125g of regular flour
– 700 ml of soy milk (or any other plant-based milk)
– 2 tsp of salt
– 2 tsp of pepper
– 2/3 tsp of nutmeg

Preheat the pan on high heat and add the oil first and then the flour – stir until combined and then lower down the heat to low and add the rest of the ingredients – it’s very important to stir continuously for about 4-5 minutes.

It’s time to get excited, as it’s time to put it all together!!

You will still need:
– 1 pack of lasagna sheets
– 1 pack of shredded vegan cheese

To start off, spread some bechamel on the bottom of the baking tray, and then you can lay down your first layer of lasagna sheets (so they won’t move).
Follow up with another layer of bechamel, then spread some vegetables and follow up with a layer (half of the mixture) of the ‘meat’ base.
Now you can fill up the sides of the lasagna with lasagna sheets and then put a new layer of sheets on top.
The second layer will consist of bechamel, cheese, vegetables, and then the rest of the ‘meat’ base.
Finish off with another layer of lasagna sheets, bechamel, cheese, and tomatoes on top!

Preheat the oven on FAN 180°C (360°F) – and then bake the lasagna for 45-50 minutes.

Once done, you are ready to serve it!

Cheers,

Vito

For a video tutorial, check the link below:
Categories
Desserts Favourites

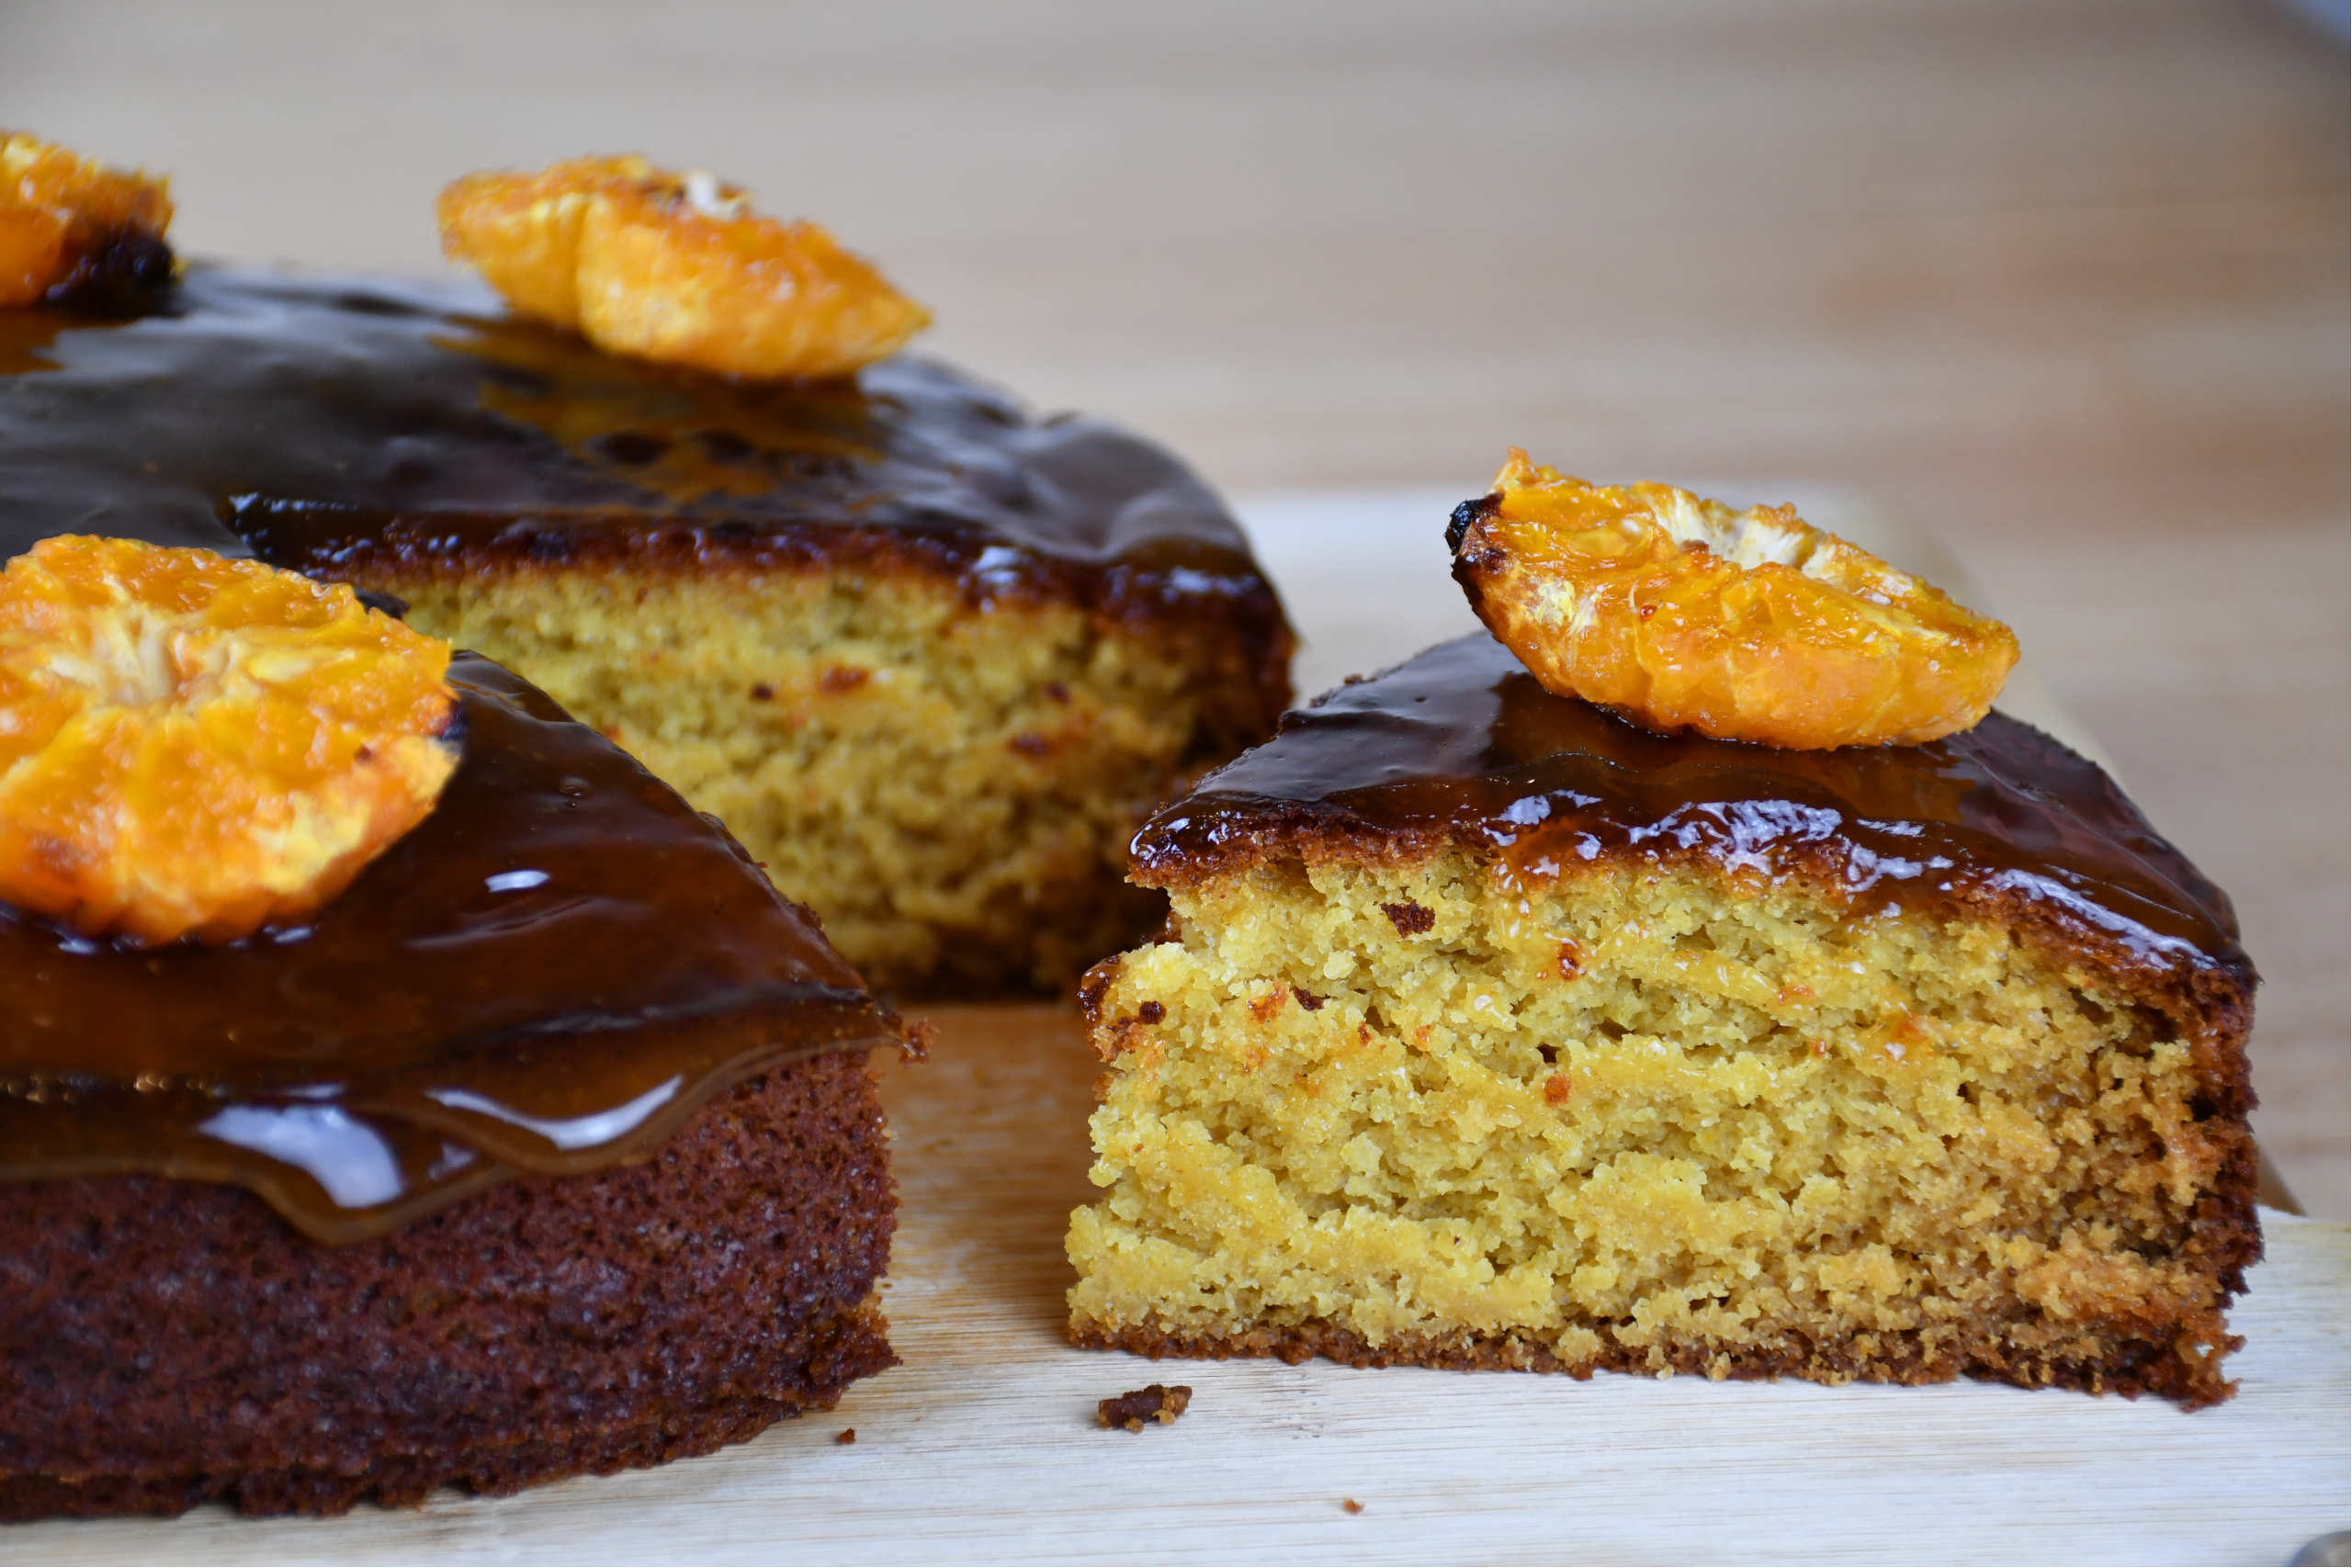
Orange Cake

Craving for a mild but jet a dessert that will knock you off your feet!? It’s easy, check out our new recipe and make it yourself!

Hi Everyone,

I am so excited to share this vegan orange cake recipe, that is sooo delicious!

We will start off with the wet mix and you will need the following ingredients for that:
– 3 oranges (2 orange zests & 3/4 cup of orange juice)
– 1/2 cup of desiccated coconut
– 1/2 cup of soy milk
– 1 tbsp of lemon juice
– 80ml of olive oil
– 2 tbsp of agave syrup
– 1 tsp of vanilla extract

Get all your ingredients into a food processor and blend for 30 seconds, so the desiccated coconut gets nicely blended in.

For your dry components you will need the following ingredients:
– 2 cups of regular flour (optional 2 extra tablespoons can be added)
– 1,5 tbsp of baking powder
– 1 tbsp of baking soda
– 10 tbsp of light brown sugar

Sift the flour and add the rest of the ingredients into a bowl and whisk it so it mixes all evenly. now you can add the dry component and mix it together, but be careful, don’t overmix it as your cake won’t bake properly.

Preheat the oven to 180°C (360°F) and put the cake on the middle rack and bake it for 25 minutes.

In the meantime, you can make the glazing, and you will only need:
– 1/2 cup of orange juice
– 8 tbsp of sugar
– 1,5 tbsp of corn starch
– 1/2 tsp of vanilla extract

Put the orange juice and sugar into a saucepan and cook it on medium heat. Boil it for 5 minutes and then add 2 tbsp of water to the corn starch, mix it and then add to the saucepan. Cook it for another 5 minutes and let it cool down a bit.

Once your cake is done let it cool down and then you are ready to pour the glazing over the cake!

You can optionally serve it with some caramelized mandarines, just cut 6 of them in half and place them in a baking tray – put some sugar on top – and bake it in the oven for 25 minutes at 180°C (360°F).

You are ready to serve it, Enjoy!!

Vito

For a video tutorial, check the link below:
Categories
Snacks & Sides

Soybean Snack

Ever wondered what to do with dried soybeans? This is the perfect occasion to find out what to make when your friends come over!!

Hello everybody,

It’s nice to have you back!

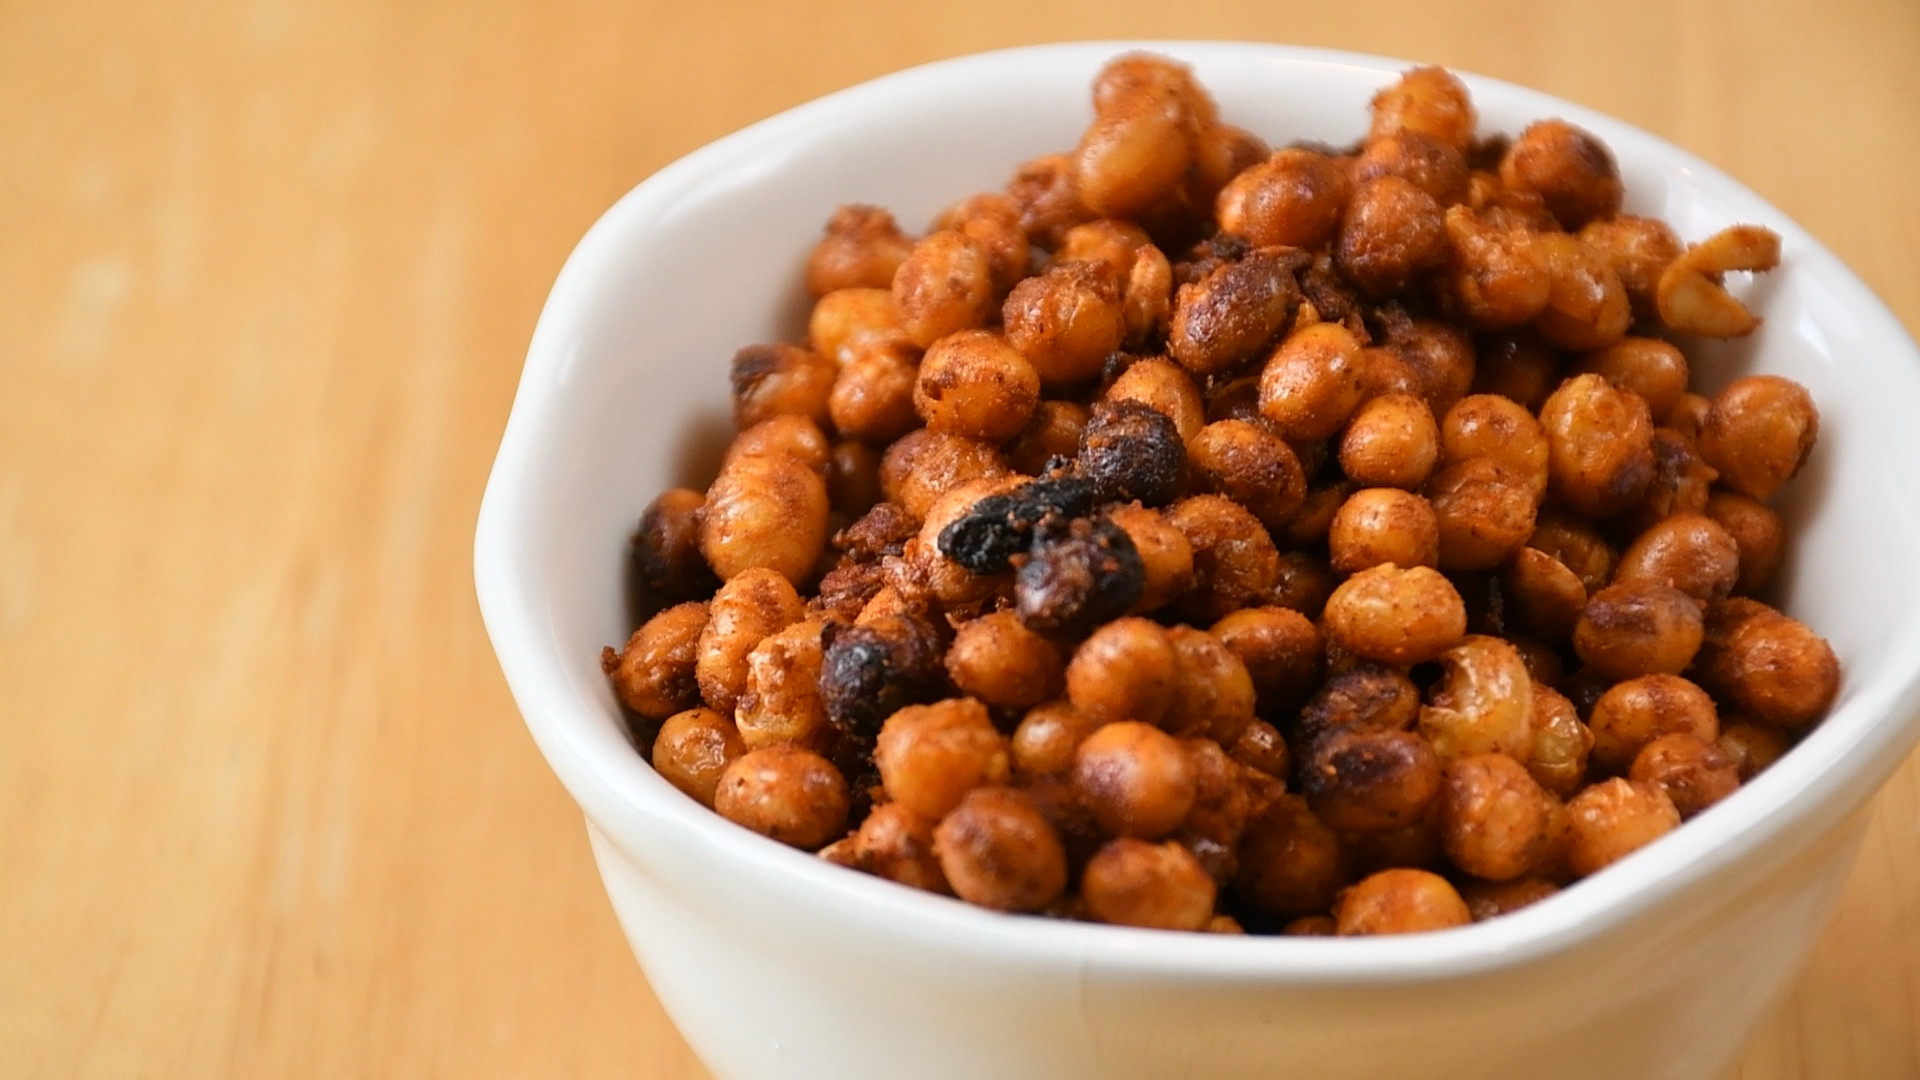
In this post, I will show you a simple yet delicious snack made out of soya beans. It will be both crunchy and spicy, sounds good right? 🙂

The preparation will start a day prior, where you will have to soak 2 cups of dried soybeans in a bowl of water. This will make them bigger, so count for some extra water in that bowl.

INGREDIENTS:

– 3 tbsp of oil (I made a mixture of sunflower and sesame for an extra punch)

– 3 tsp salt

– 2 tsp of chili (this really depends on how spicy YOU like it)

– 2 tsp of seasonal cajun and fennel mix (you can find these in almost any grocery store)

PREPARATION:

To start off the day of snacking, drain the soya beans and give them a good wash (take out the separated skins and the ‘not so good lookin’ ones’). After that, place them back in the bowl and add all the seasoning to it – give it a good mix. If you do this by hand, don’t be touching your eyes – trust me on this one!

Preheat your oven to 160°C (320°F) on the FAN option. Take some baking paper and place it on a baking tray and nicely spread all the soya beans on it. Now it’s roasting time! The baking will take around 30 minutes, but take them out every 7-8 minutes to give them a mix, so they don’t burn that quickly.

At last, once you take them out of the oven, you can give them some extra flavor with 2 tsp of dried paprika and then transfer them to some kitchen paper so it soaks out the extra oil.

Enjoy!!


For a video tutorial, check the link below: