Categories
Desserts

Vegan Scones

Are you a fan of fruit scones? Try out this vegan scone recipe with lovely homemade coconut cream!

Hi Everyone,

In this post I will show you how to make Vegan Fruit Scones and as cream is a MUST – I will aslo show you how to make lovely coconut cream.

INGREDIENTS:
– 500g of strong flour (no raising agents)
– 100g of vegan casted sugar
– 2 tbsp of baking powder
– 1/2 tsp of baking soda
– a pinch of salt
– 100g of butter (leave it on room temperature 30 minutes before using it)
– 150ml of plant-based milk (we used soy milk)
– 1 tsp of vanilla extract
– 30g of raisins
– 30g of cranberries

PREPARATION:
To start off, grab a bowl and sift 500g of flour into it, followed by the casted sugar – also add baking powder, baking soda & a pinch of salt to the dry mix and than give it a whisk.
Cut the butter into smaller pieces and add them to the dry mix – now go ahead and mix it in with your hands, you should get a crumbly texture.
Now you can mix in the raisins & cranberries and after that add the liquid ingredients and make a dough – cover the bowl and place it in the fridge for 30 minutes.
Once taken out of the fridge, place the dough onto a flat surface with some flour sprinkled on the surface.
Before rolling the dough out, sprinkle some flour also on top – roll out so you get a 1-1,5 inch thick dough.
Take your molds to cut out the scones, or just cut it up with a knife, it’s really up to you 🙂

Before placing the scones into a preheated oven on a 180°C (360°F) for 20-25 minutes, brush the top of the scones with some plant based milk!

For the coconut cream you will need the following ingredients:
– 1 can of full fat coconut cream
– 2 tbsp of fruit syrup (you can use casted sugar also)
– 1 tsp of vanilla extract

In the meantime, get your can of coconut milk and scoop out the fatty part (try to avoid the water) – place it into a bowl or your food processor and whisk it for 30 seconds while adding the fruit syrup and vanilla extract to it – place it in the fridge for at least 30 minutes.

You are ready to serve it! Hope you didn’t forget the Jam & Marmelade!

Enjoy,

Vito

For a video tutorial, check the link below:

Categories
Snacks & Sides

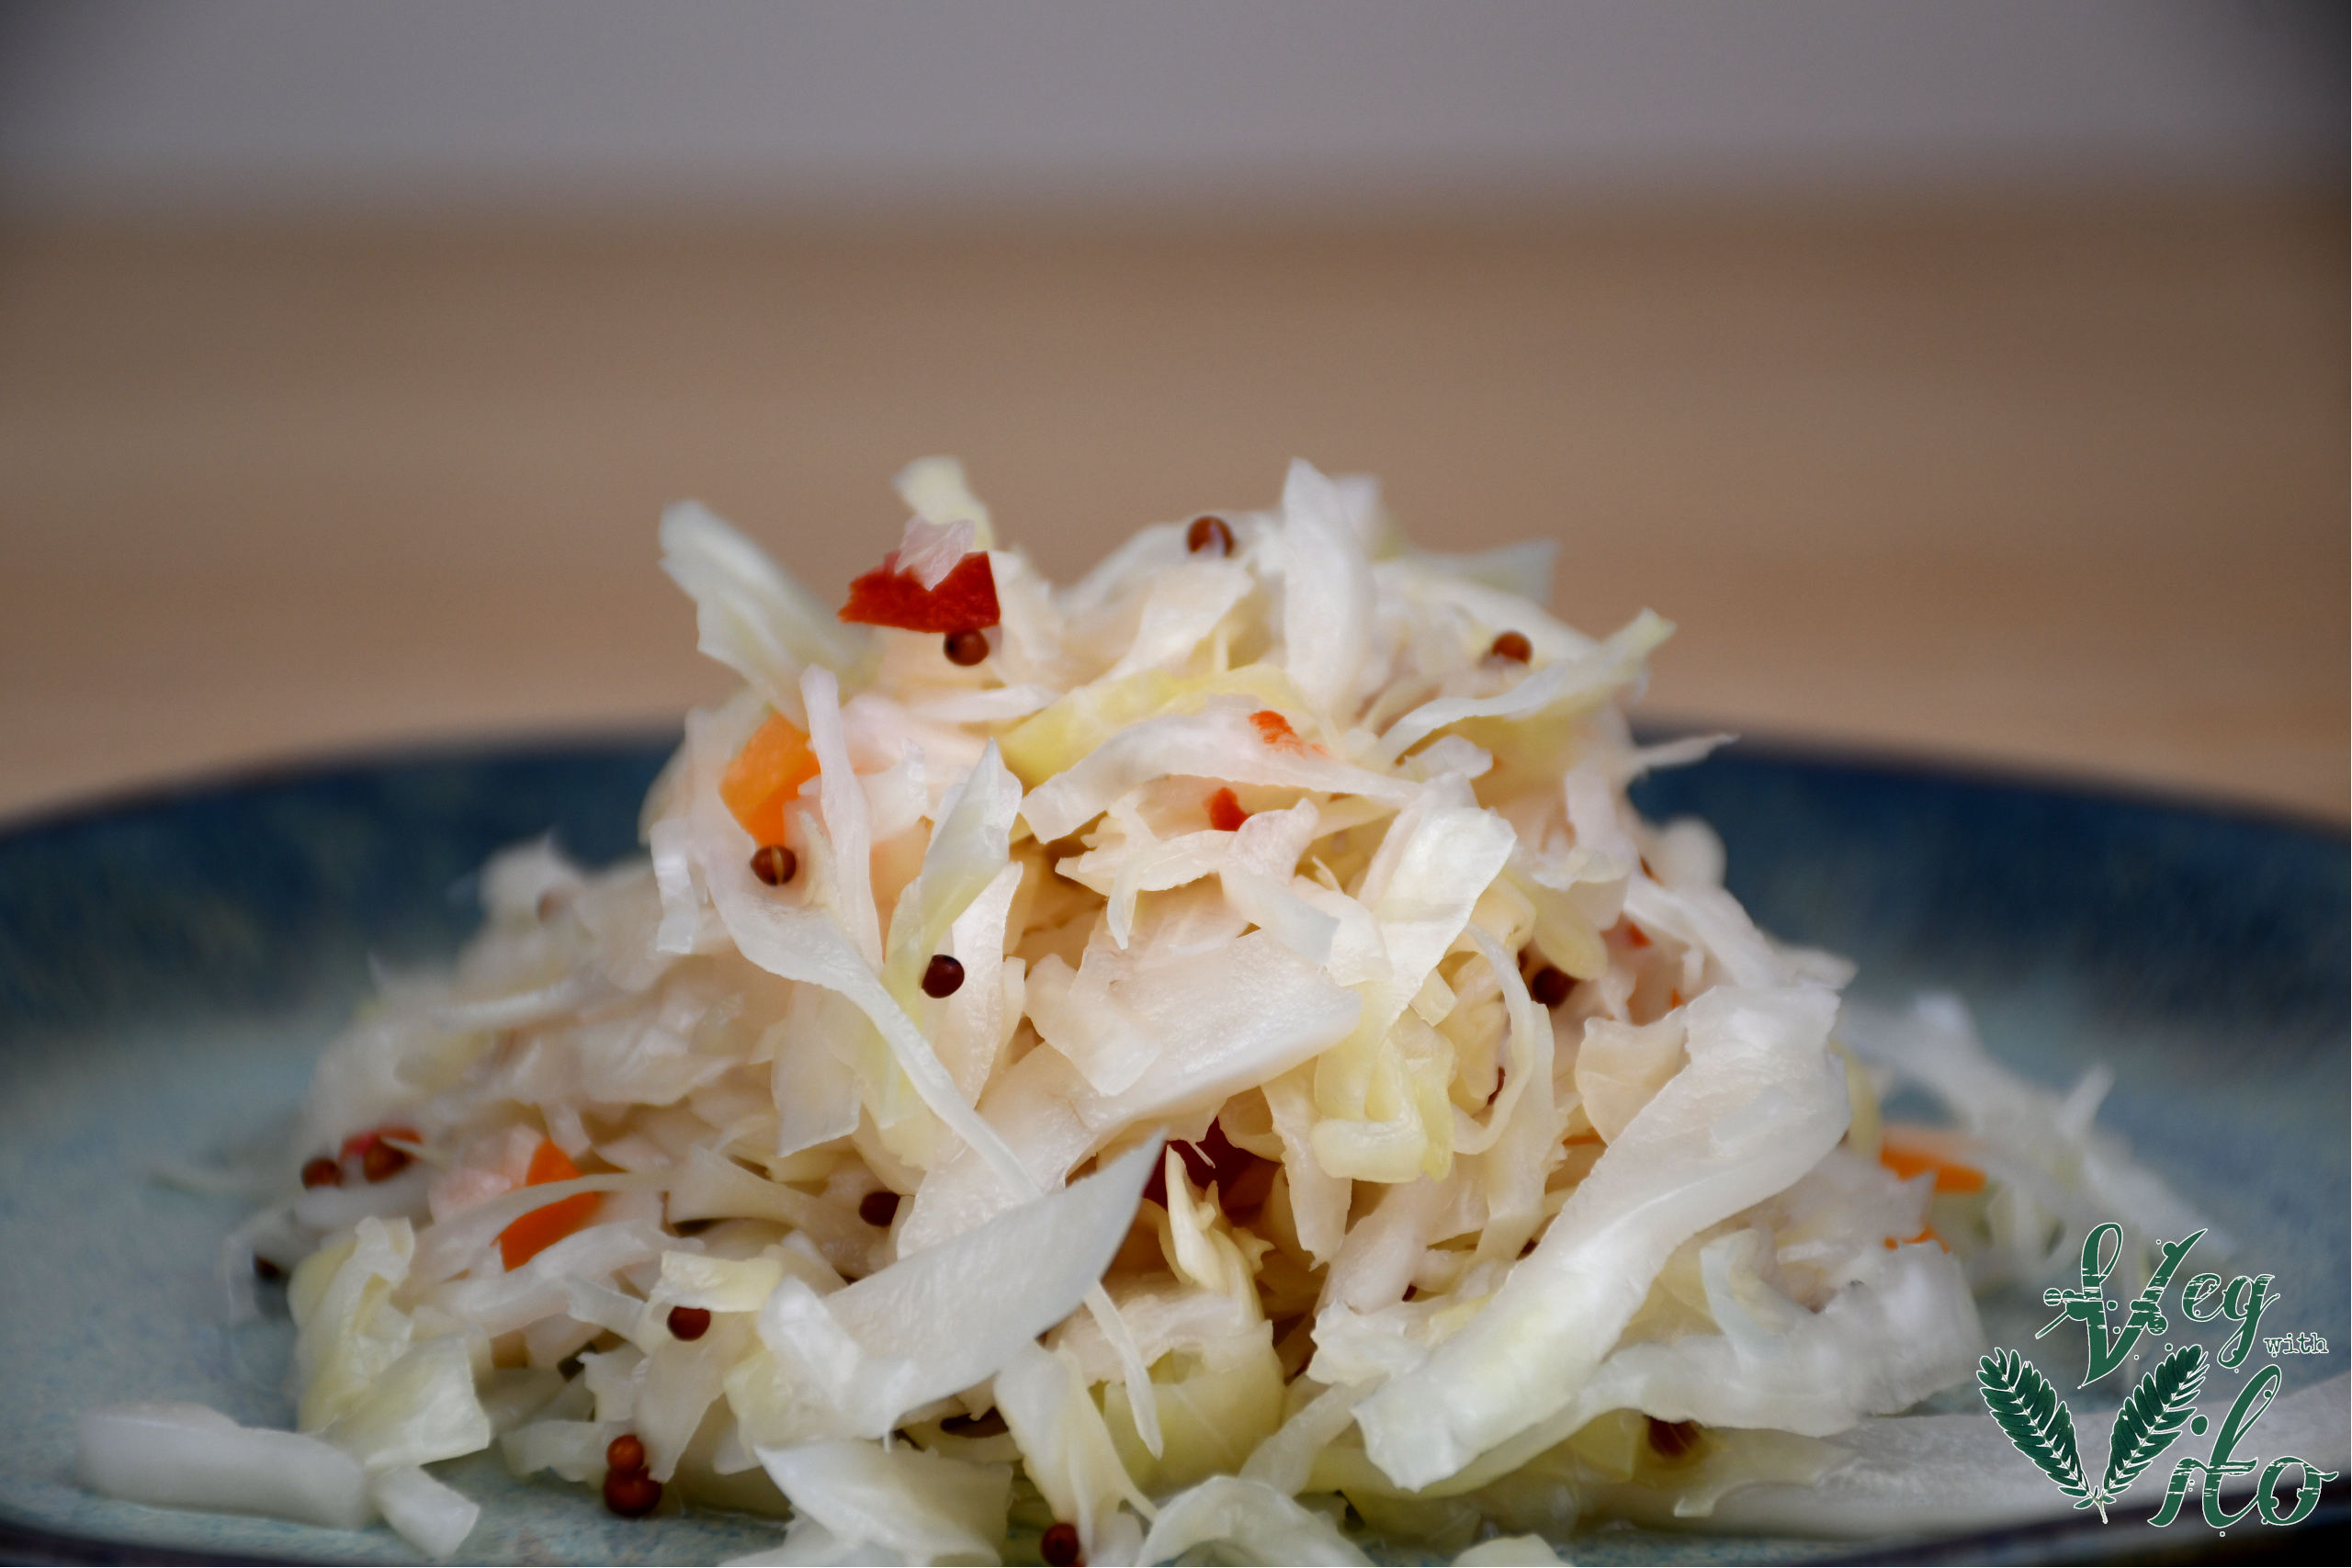
Homemade Sauerkraut

Wanting to make sauerkraut but don’t know how? You are at the right place – roll up your sleeves, get your cabbage and let’s start

Hi Everyone,

For today we have such a tasty & easy recipe and it’s Sauerkraut! Next to cabbage and some salt, get those muscles ready! The process from cabbage to sauerkraut will take a minimum of 2 weeks (to make it sour enough) but can be stored for much longer – as long as it’s in a cold and dark place.

INGREDIENTS:
In this recipe you will need the following ingredients:
– 1 cabbage (but use as many as you want)
– salt (2% of the cabbage weight)
– 1 small carrot
– 1/4 of a red bell pepper
– 2-3 garlic cloves
– 1/2 tbsp of mustard seeds

The traditional Sauerkraut is just made from cabbage and salt – so go ahead if you like it just that way!

PREPARATION:
To start off let’s cut the cabbage in half, take the hearths out and then nicely shred it – by knife, mandolin, shredder, or food processor.
Once done, transfer it into a bowl and weigh the cut cabbage – now you will know how much salt you need.
We got 950g of cabbage, so 2% would be 19g of salt!

950 x 0,02 = 19

Put the salt into the bowl and leave it for 10 minutes.

Now it’s time for the thought part start squeezing the cabbage to the point that it’s not crispy anymore and that a lot of water came out – it will take at least 10 minutes.

Go ahead and cut the carrot, pepper, and garlic and then add them to the cabbage together with the mustard – mix it well together!

Fill your glass container with the cabbage and top it up with the brine that is left and now firmly pack the cabbage mixture into the container – press it together so you have at least 1 inch of water covering the cabbage.
It’s very important that the cabbage mix stays submerged under the brine (so it doesn’t go off) so use a weight to keep it down – in this case, I just used a food bag filled with some water.
Store the sauerkraut in a dark and cold place and release the air from the container 3 times a week (scum will occur on top of the liquid – just remove it).
The fermentation is complete when the bubbling stops – you can then store it in containers in the fridge and use it for up to 3 months.

You can also use a fermenting crock (vessel) that is much easier to use (a very good buy if you are planning to make sauerkraut more often) – the water seal on top allows gasses to escape but prevents anything from coming in!

As mentioned at the beginning of the post, the sauerkraut will be ready for use already in two weeks!

Enjoy!

Cheers,

Vito

For a video tutorial, check the link below: