Categories
Lunch & Dinner

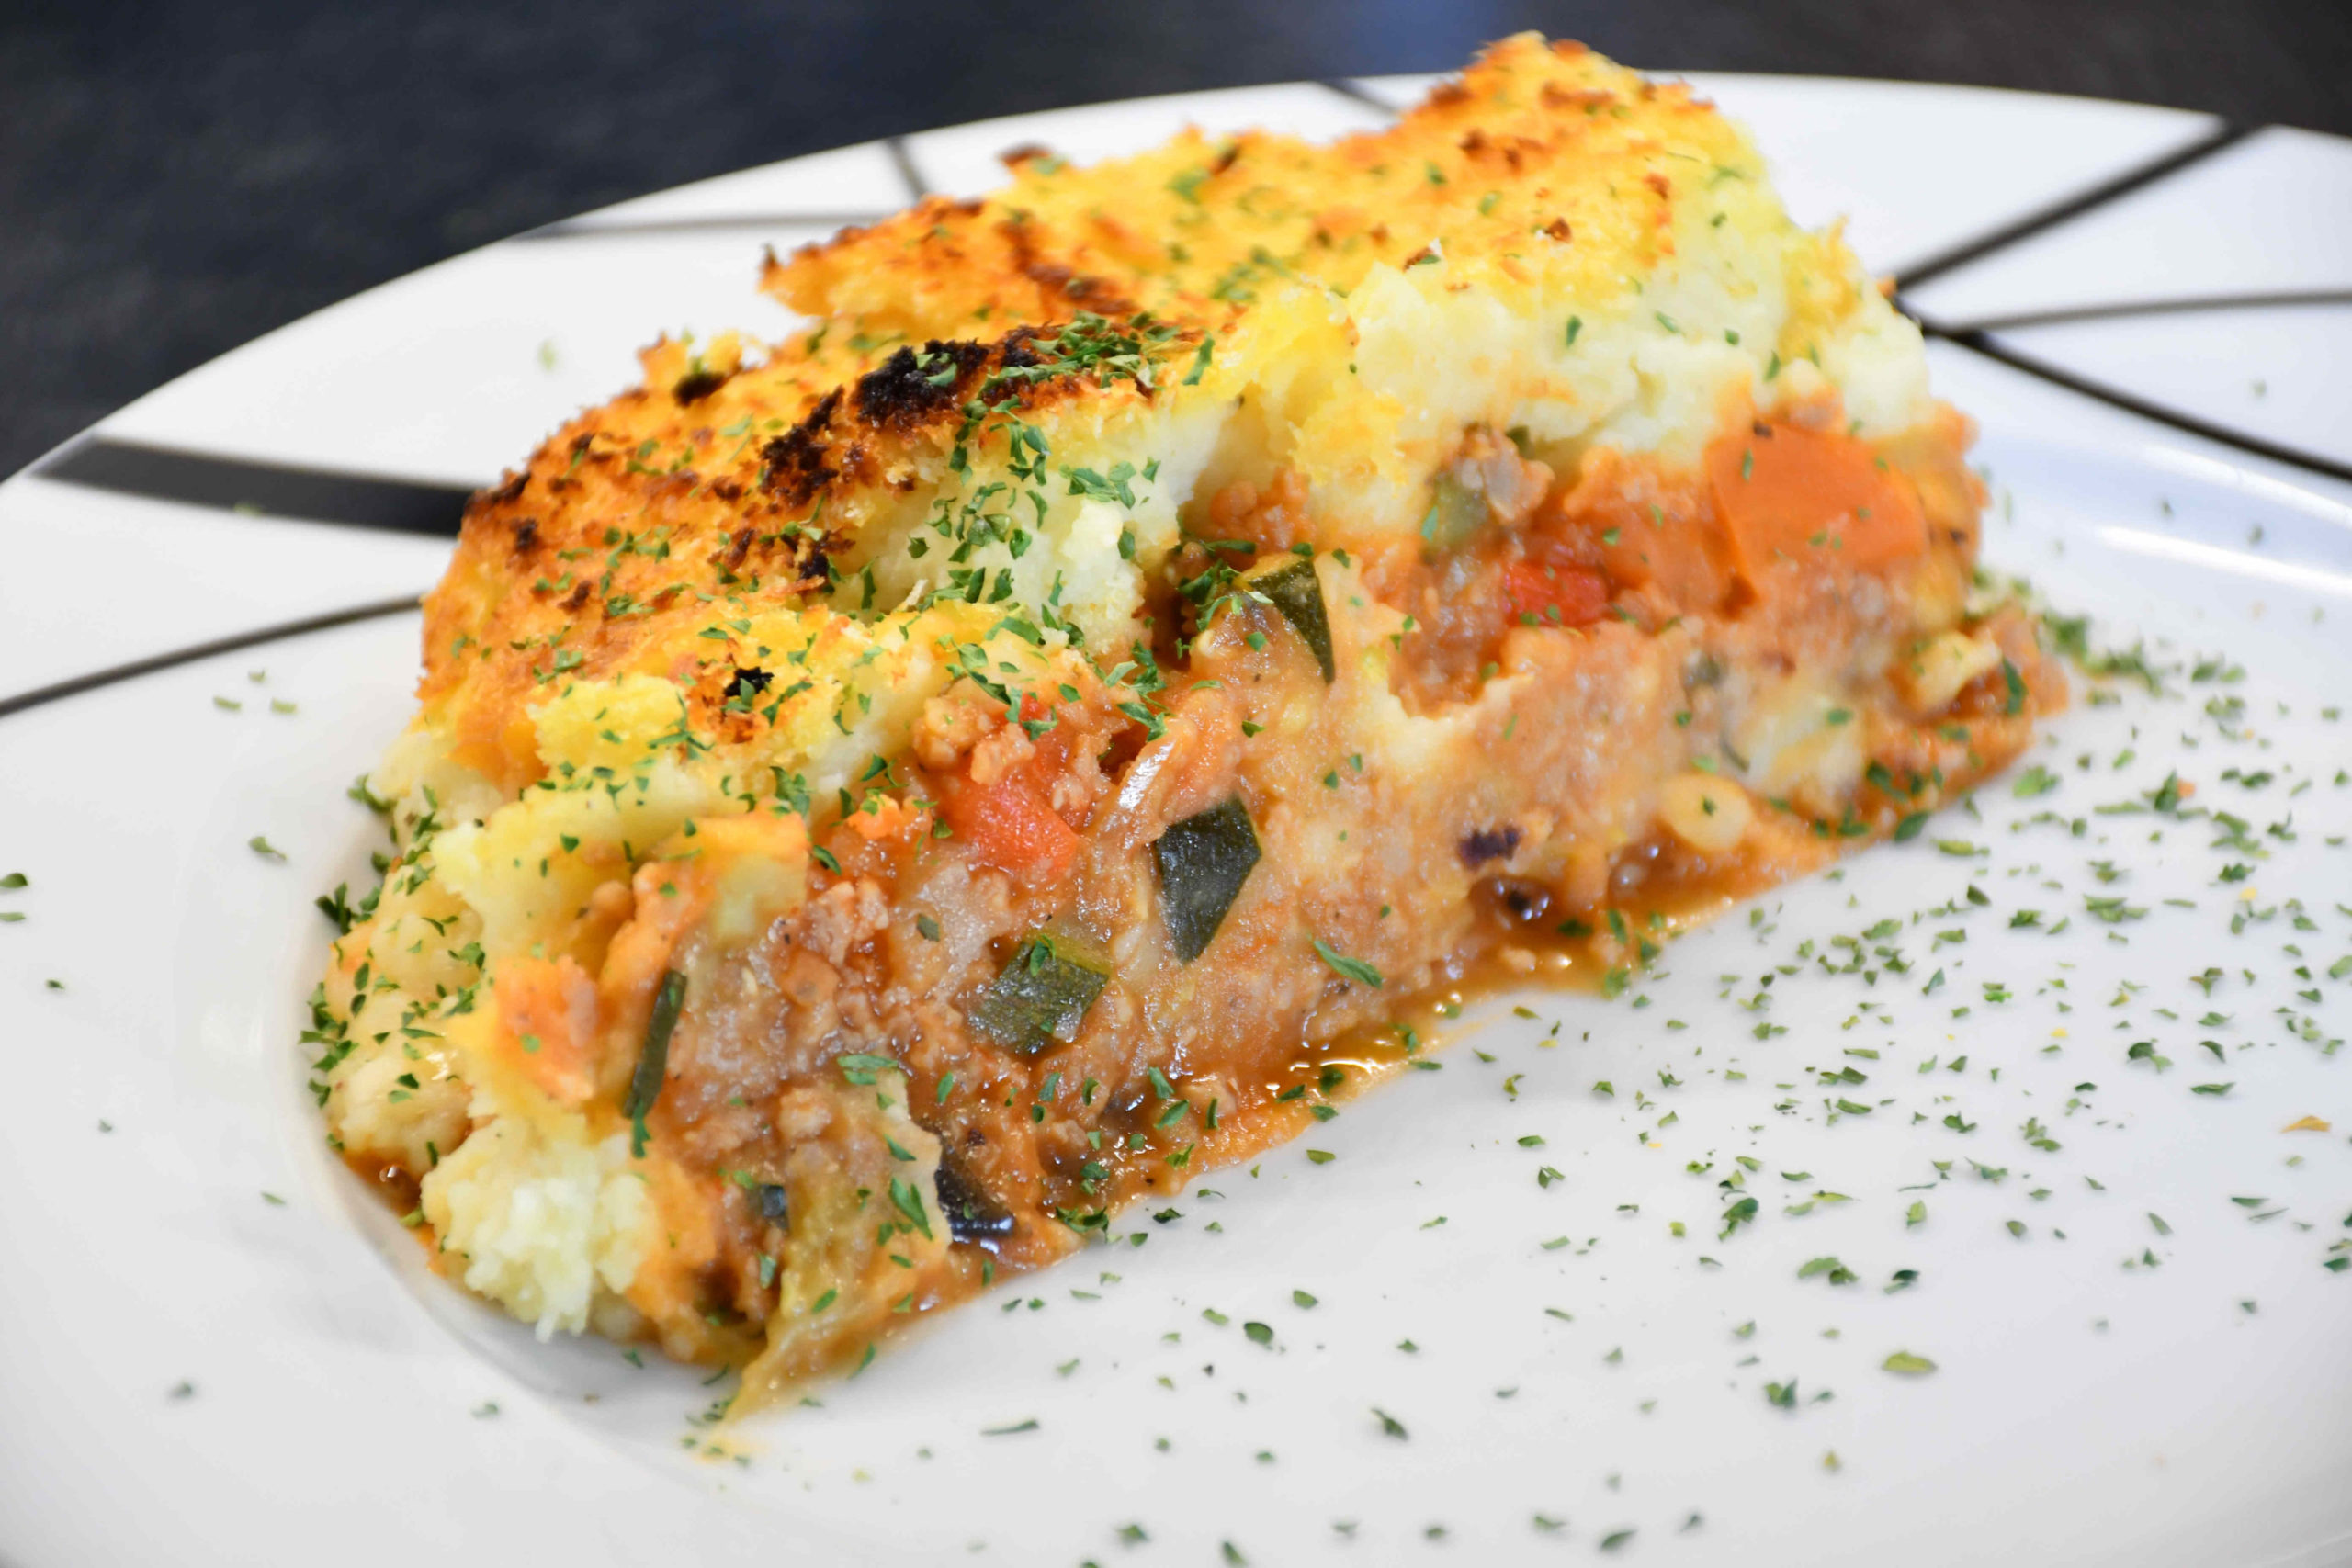
Vegan Mince – 3 Layered Pie

Today we are doing a nice 3 layer vegan oven-baked dish that consists of a soy mince and veg layer, followed by some ‘cheesiness’ (who doesn’t like that?! 🙂 and finished off with mash potato. Not to forget a sprinkle of breadcrumbs that will create a crunchy crust.#

INGREDIENTS:
– 1 zucchini
– 1/2 eggplant
– 2 medium carrots
– 1 sweet pepper
– 1 leek
– vegan butter
– vegan cheese
– 1 tbsp brown sugar (or just use regular)
– 3 tsp salt
– 2 tsp pepper
– 1 tsp chili flakes (or as spicy as you like it 🙂
– 2 tsp mixed herbs
– 1/3 cup breadcrumbs
– 50g red lentils
– 50g soya mince
– 1 cup passata

PREPARATION:

To start off, did you wash your hands?!? 🙂
Begin with washing your lentils and put them in a pot of cold water with some salt and start cooking them (this will take about 15 minutes).
The next step is to chop your vegetables into small cubes, once that is done, it will probably be time to rinse of those cooked lentils under some cold water.
Afterward, start prepping your sauce by adding your ingredients (salt, pepper, chili, sugar, and herbs) into the passata and mix it all together (for some more flavor, you can always add some olive oil).
Now, preheat your pan and start frying the vegetables (put some salt to take out the water more easily out of them), meanwhile wash of the soya mince. You will also have enough time to cut your leek into rings, once cut, separate them so you can wash it more easily.
It’s time to get back to your veg and add the sauce and a cup of water – cook for about 5 minutes. Afterward, add your lentils and soya mince to the pan and stir it all together. In a few minutes it will all thicken up, but if it is still not up to your satisfaction, add 2 tbsp of milled chia seeds that will for sure do the job!
Before taking it off the stove add the leek and mix it once more.
Now, preheat your oven on a 180°C (360°F) on the FAN option.
At last, take a baking tray and start putting your mince as the first layer, followed by cheese and then mash potato. On the mashed potatoes spread some butter and then sprinkle the bread crumbs on top.
After 15 minutes of baking, it’s time for why we are all here – to serve it and enjoy (or just straight out of the tray, that’s all up to you 😉

Enjoy!!

Vito

For a video tutorial, check the link below:
Categories
Snacks & Sides

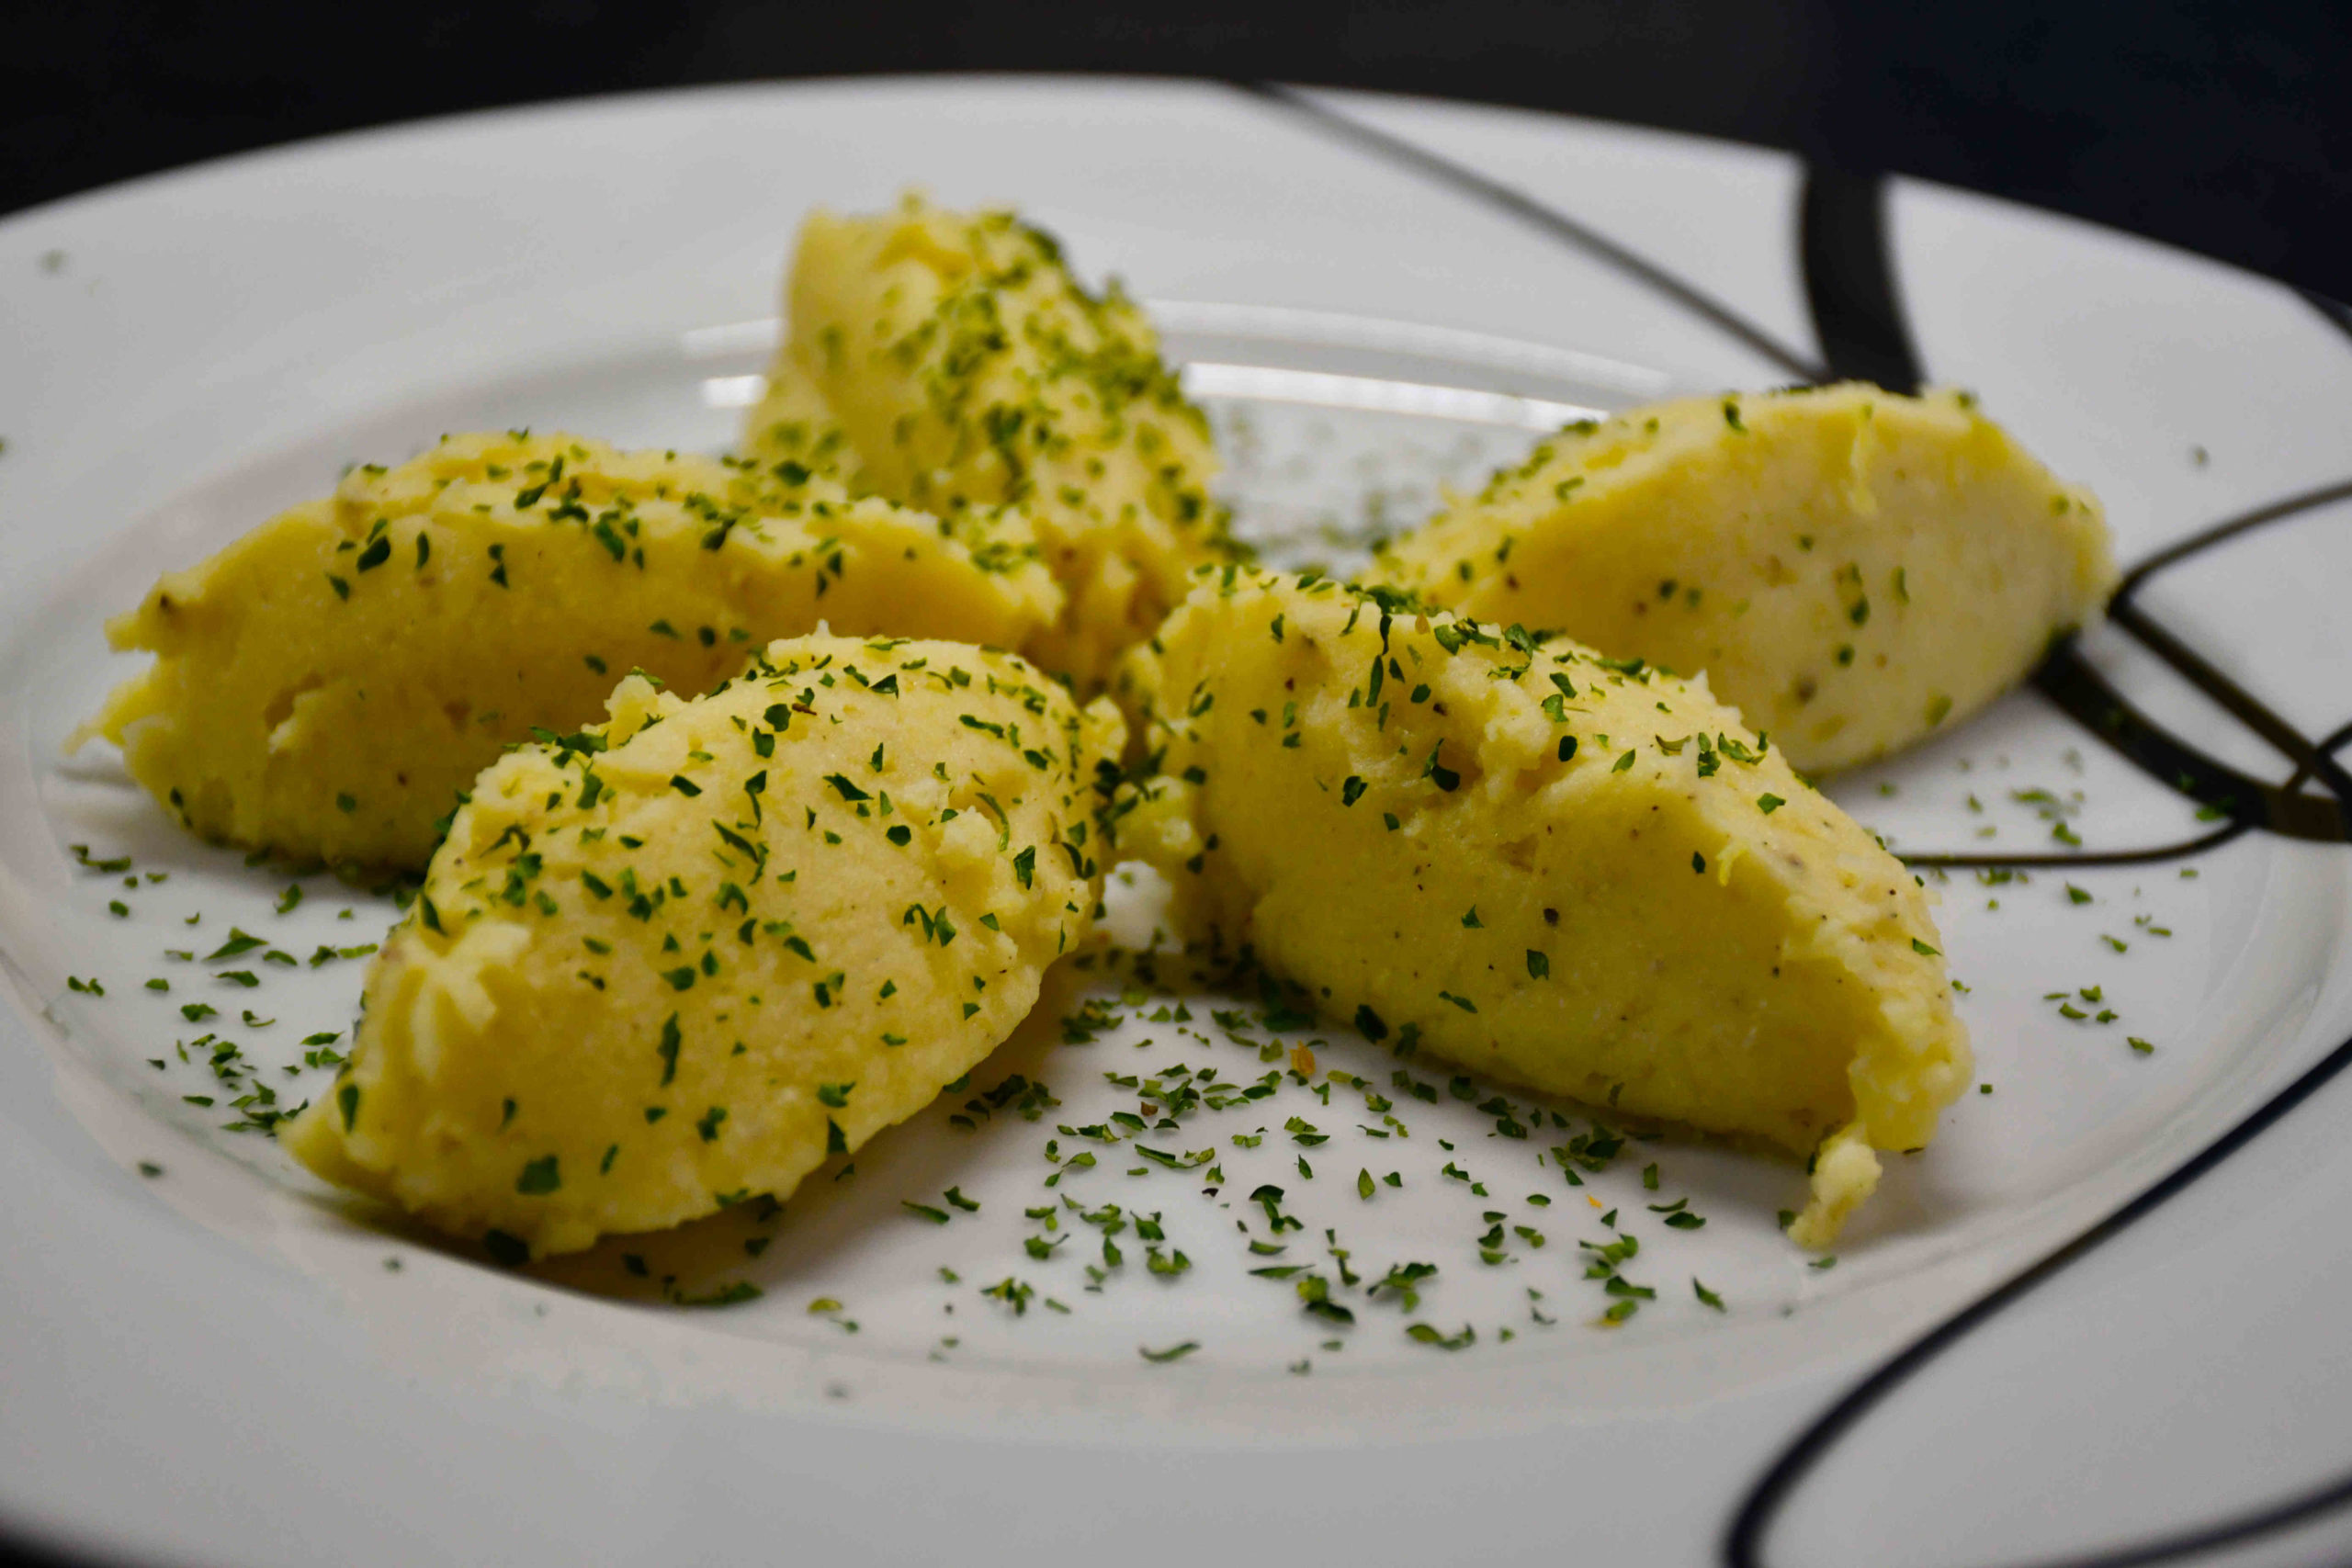
Vegan Mashed Potatoes

Who said you can’t make delicious and plant-based mashed potatoes, well they were wrong! All you need is my secret ingredient…..

This VEGAN mash potato is a real favorite even among my non-veggie friends, so don’t miss on trying this one yourself!!

INGREDIENTS:

– 5 medium-sized potatoes

– 2x 2 tsp salt

– 2 tsp pepper

– 50g cashews

– 2 tbsp coconut oil

And my secret ingredient is….. homemade CASHEW MILK!

You will also need a hand-held blender to make your cashew milk.

PREPARATION:

How to make it: Peel and cut your potatoes into cubes and top them up with cold water and add 2 tsp of salt to it. Once you bring it up to boil, lower down the heat and let it cook for 8-10 minutes (this all depends on the types of potatoes). In the meantime, soak the cashews into warm water for about 10 minutes, you will just have enough time for that while your potatoes finish with cooking. Once you drain your cooked potatoes, blend your cashews in some fresh warm water for a minute, until you get a smooth compound. Now it is time to do your last steps, add salt, pepper, coconut oil, and your cashew milk to the potatoes and start mashing (may the force be with you on this one)!!

A quick tip: if you want your mash a bit more creamy, you can always add a bit of soy milk, or make more cashew milk (it’s important that it suits your taste buds).

Thank you for reading.

Vito


For a video tutorial, check the link below:
Categories
Desserts Favourites

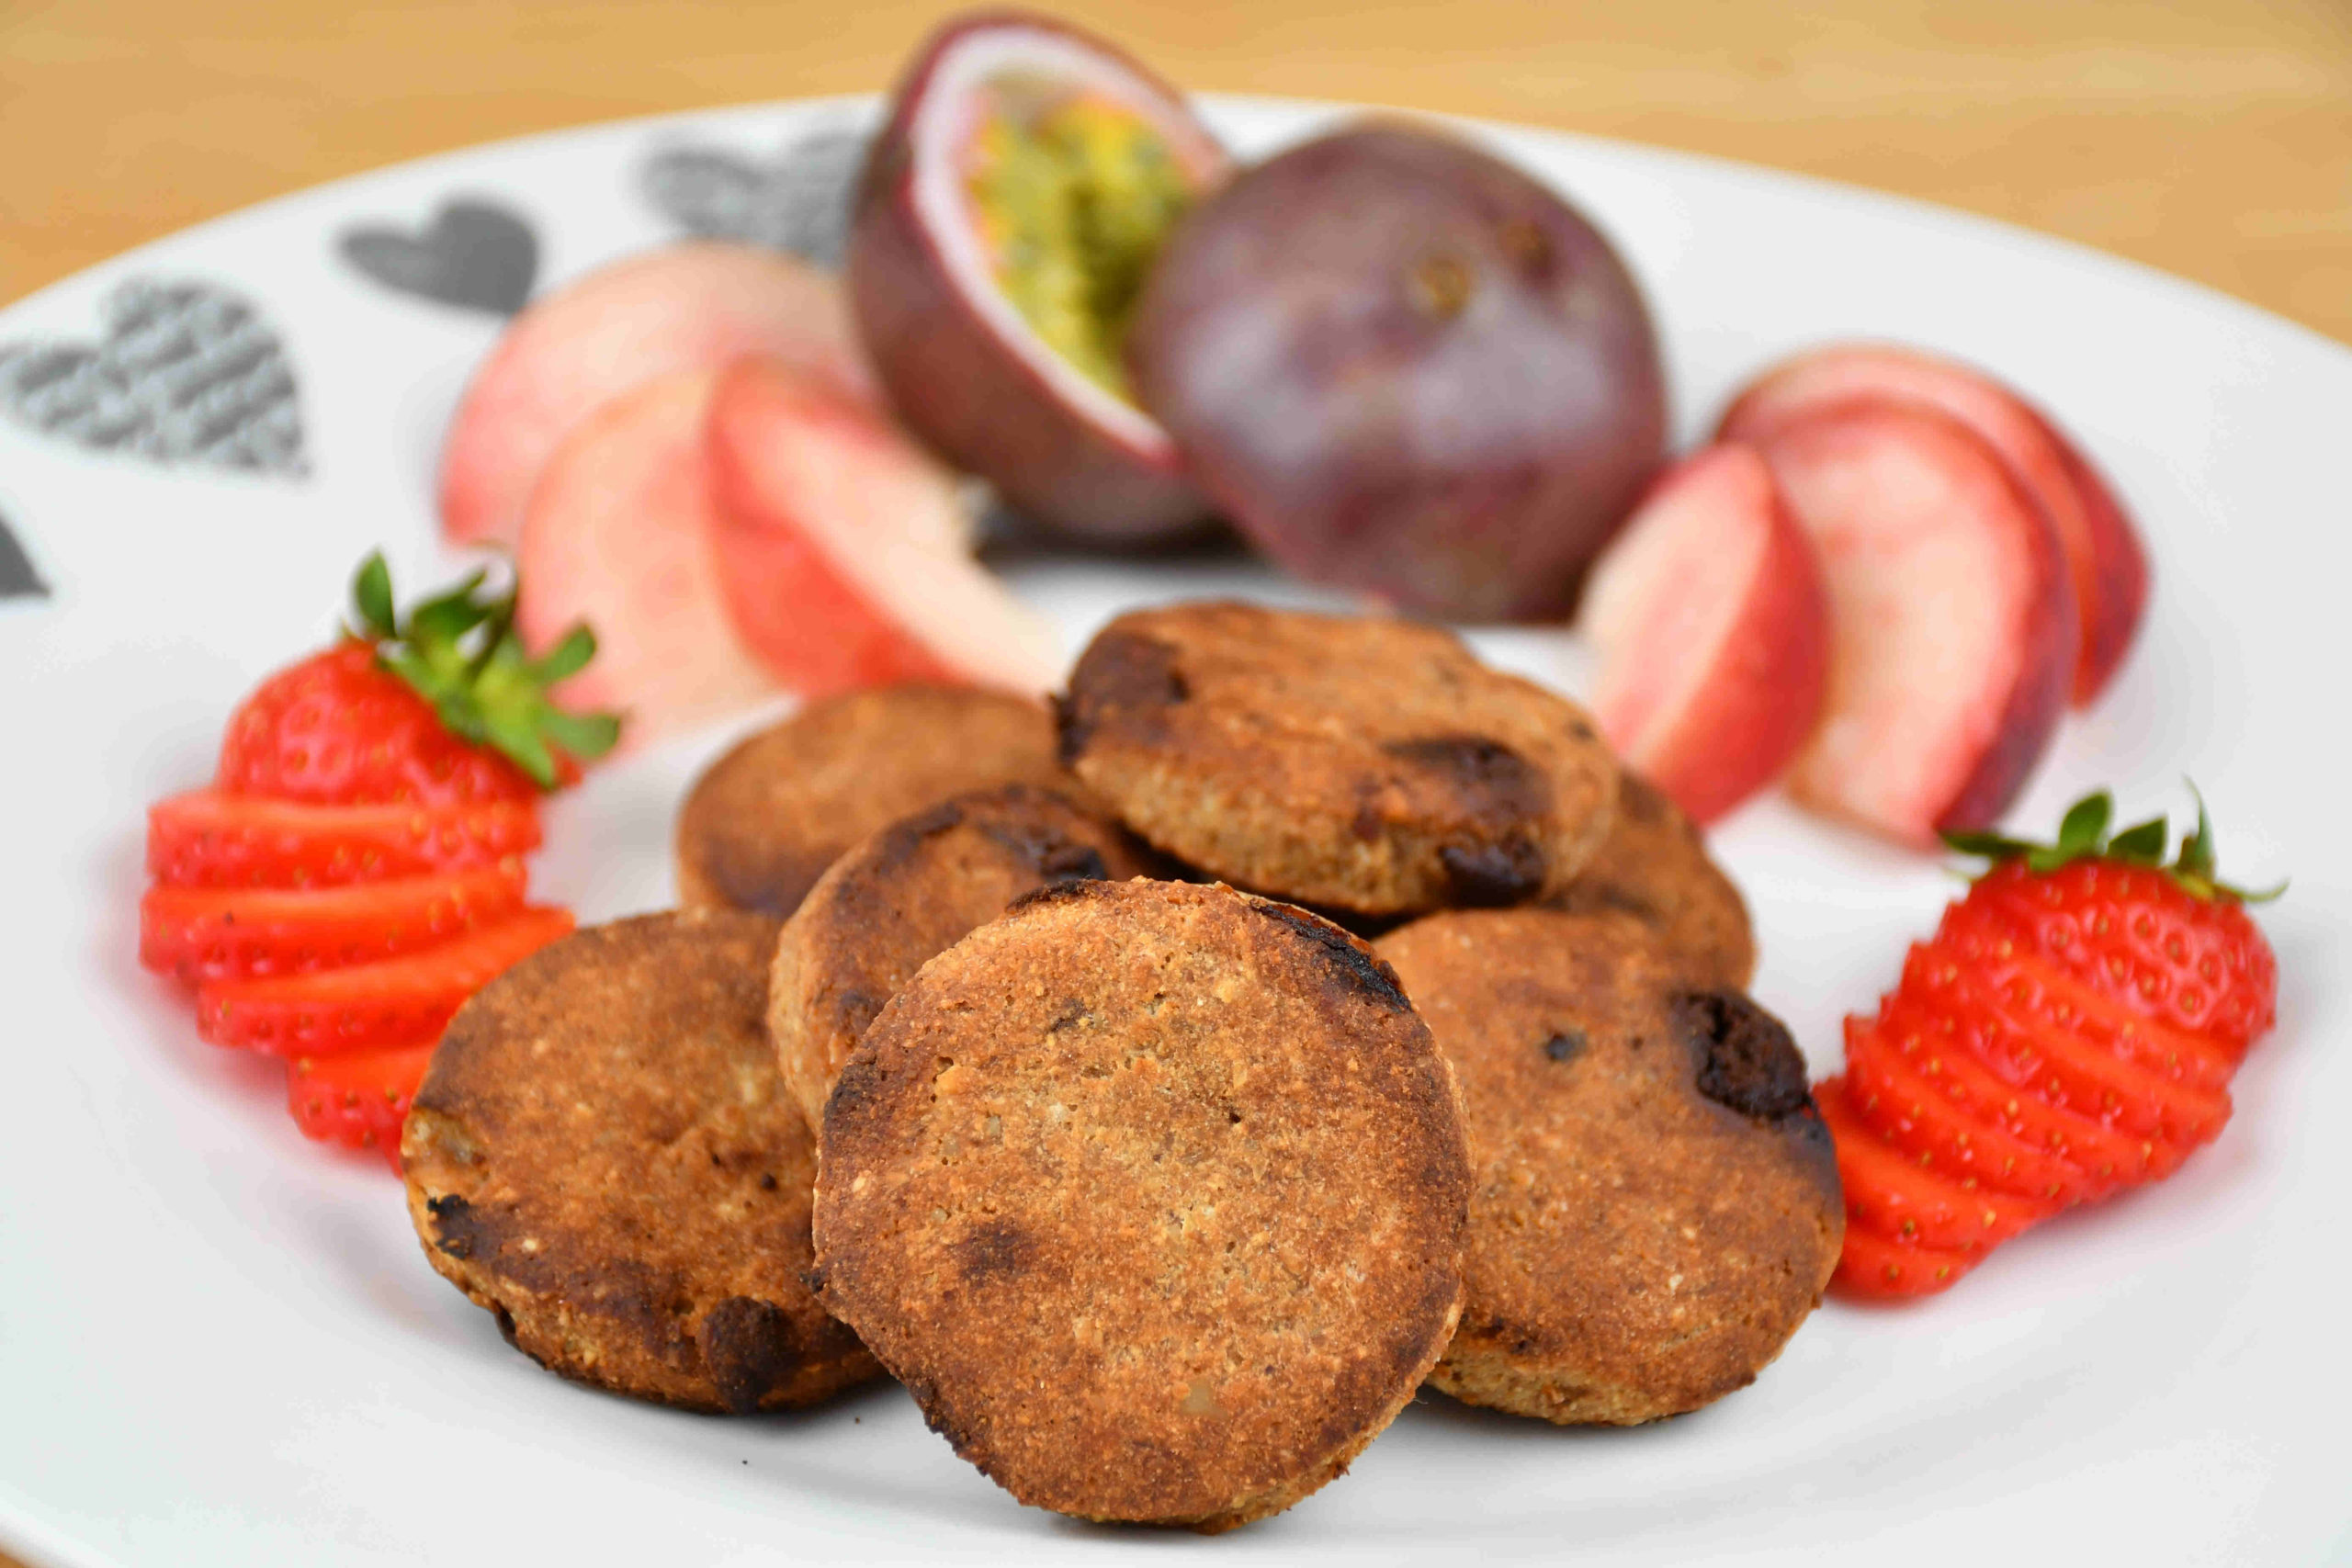
Cookies

Do you sometimes eat cookies but wish they were healthy? They exist! Follow this recipe and treat yourself with these vegan cookies.

Hi Everyone,

I have seen that a lot of people are seeking for high protein snacks, so I took a few days to make something special – I made High Protein Cookies that are also Gluten-Free and don’t contain any oil (except if you like to bake them with some vegan butter like me)!
You can eat these at any time of the day, starting from breakfast, as a quick snack through the day, or as a great high protein snack after a good workout!

INGREDIENTS:
– 80g of coconut flour
– 80g of oats
– 30g of pea protein
– 50g of peanut butter
– 30g of maca powder (optional – gives a toffee taste and is a great source of iron)
– 1 tsp of baking powder
– 1 tsp of xanthan gum
– 2 tbsp of milled chia seeds
– 50g of Brazil nuts + 50g of walnuts (or any 100g of nuts 🙂
– 3 medium-sized bananas
– 4 tbsp of maple syrup
– 1 cup of soy milk (or any other plant-based milk)

And if you want to flavor your cookies (50:50) you will need 80g of vegan chocolate chips and 60g of dried cranberries.

PREPARATION:

Let’s start this recipe with fine blending the nut and then placing them into a bowl.
You can now add the rest of the dry ingredients: coconut flour, pea protein, maca powder, baking powder, xanthan gum, milled chia seeds (except oats!) – mix it all well together!

Peel the bananas and place them in your blender together with the peanut butter, soy milk, and maple syrup – give it a good blend!
Now you can add the liquid to the dry mixture and mix it all together and then once done add the oats to it and do the same again 🙂

Divide the mixture into half and flavor them up – one with chocolate and the other one with cranberries!

To easier spread it out to take out cookie shapes, place it on some baking paper and place the paper ends to spread it out (you can see the video for a better explanation!).

In case you want to make the cookies oil-free, just place them on some baking paper and you are ready to ‘throw’ them into the oven! If you want to bake them with some butter – first spread some butter on the baking tray and then also brush the cookies with some 🙂

Preheat the oven on a 160°C (320°F) and bake them around 10 minutes.

You are ready to serve it, Enjoy!!

Vito

For a video tutorial, check the link below:
Categories
Tips & Tricks

How To Clean Garlic Cloves

Are you sometimes facing issues with cutting garlic, and it takes a lot of time? Check out this easy and quick way to clean garlic cloves.

Hi Everyone!

Welcome for another post of Tips & Tricks with Vito.

In this post, I am showing you the easiest way for me to clean garlic cloves during cooking (and to release the oils).

Take the clove, cut the bottom of it, and then place your side of the knife on top of it – give it punch (don’t cut yourself!). Now it will be very easy to peel the skin off!

It is that simple!

Vito

For a video tutorial, check the link below:

Categories
Tips & Tricks

How To Cook Rice

Do you sometimes overcook your rice or it ends up sticky? Well, here is a kitchen hack on how to cook it easy and hassle-free!

Hi Everyone,

Welcome to the first post of tips & tricks with Vito!

Today I will quickly show you how to perfectly prepare regular rice.

1 cup of rice = 1,5 cups of water.

So first wash the rice and place it in a pot, add a drop of oil & a few pinches of salt and 1,5 cup of cold water – put the stove on medium heat. Wait until all the water evaporates and you are done (it will take 15 – 20 minutes)!

It is that simple!

Check out more useful Tips & Tricks.

For a video tutorial, check the link below:

Categories
Snacks & Sides

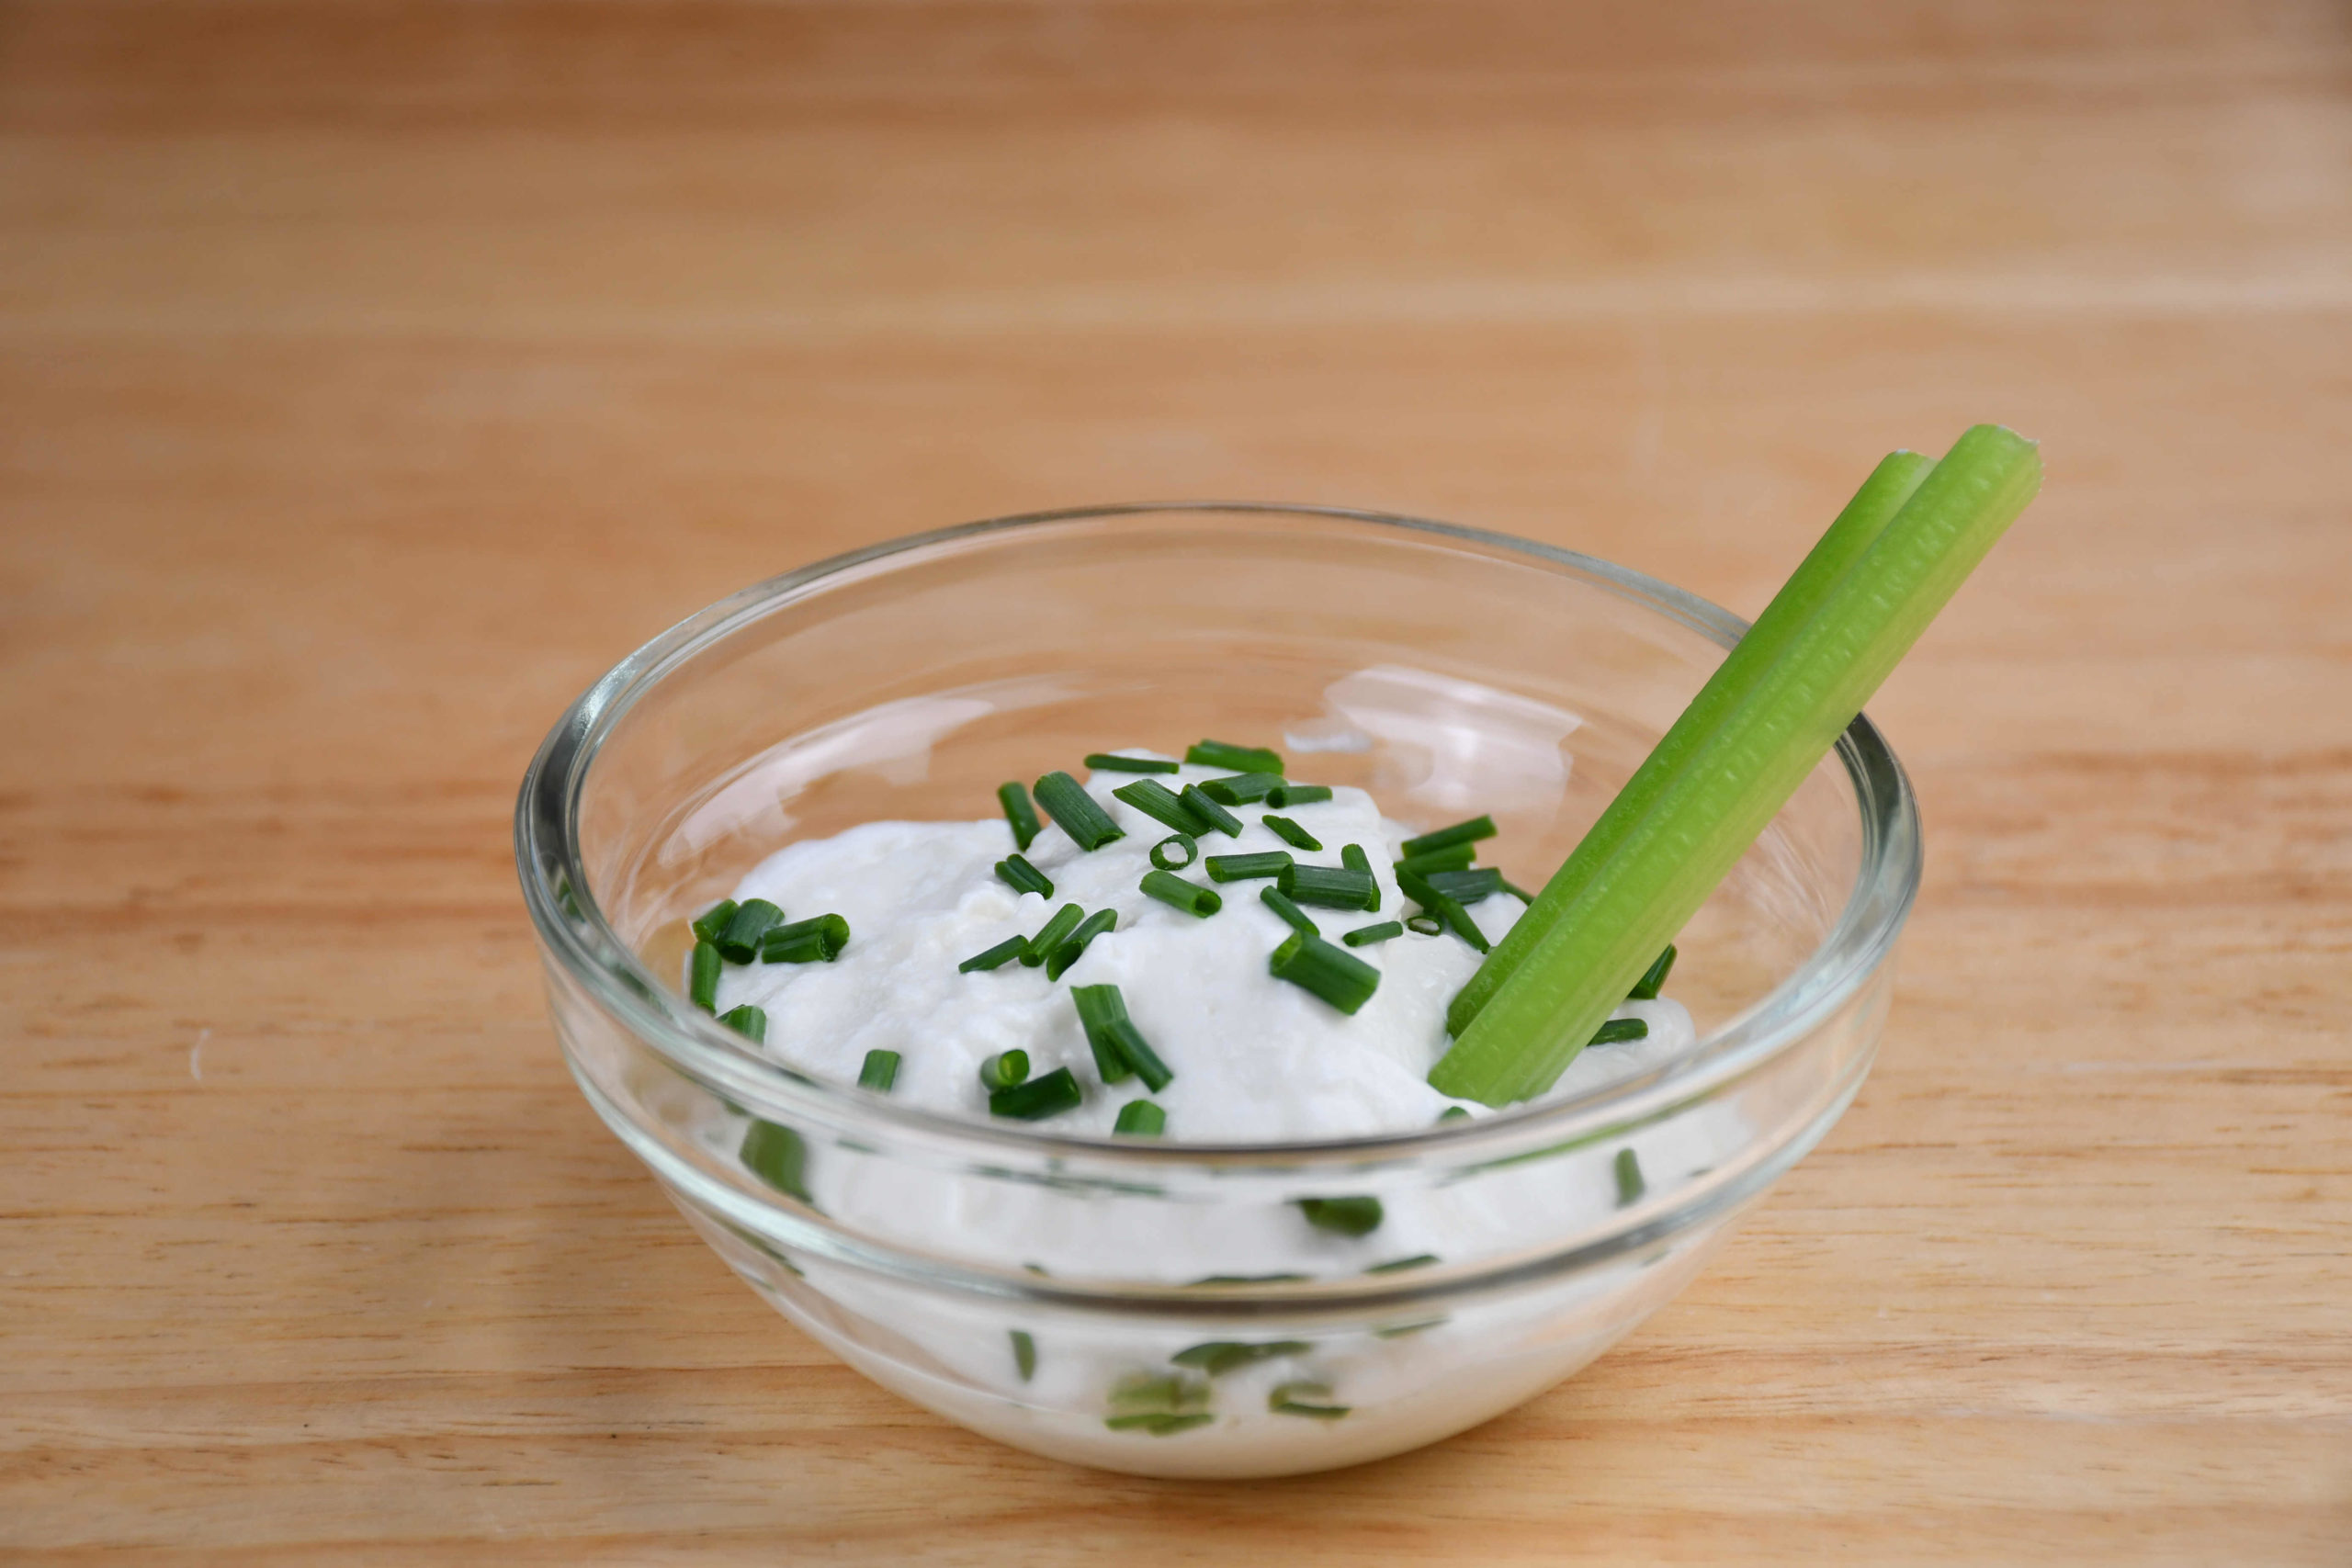
Vegan Mayonnaise

Do you like sauces but couldn’t find any replacement for mayo? Make yourself this easy and delicious vegan mayo in only 5 minutes!

Hi Everyone!

Today I am showing you a quick, easy, and cheap way to make homemade vegan mayonnaise – made in less than 5 minutes!

The ‘secret’ ingredient is black salt that you can find in most Asian stores – it gives a very similar taste to eggs (also known as Kala namak or Himalayan black salt – that gets this taste and flavor mostly because of sulfur).

INGREDIENTS:

– 100ml of soy milk

– 1/2 tsp of regular salt

– 1/2 tsp of black salt

– 1 tbsp of lemon juice

– 1 tbsp of Apple cider vinegar

– 1,5 tsp of dijon mustard

– few drops of agave syrup

– 200ml of sunflower oil

PREPARATION:

First place all of the ingredients except the oil in a bowl, and quickly blend it (hand-held blender), keep the blender on the bottom and add the oil – start blending and keep it on the bottom for around 20 seconds while it emulsifies – than you can start going up and down with the blender to finish the mayo off!

You can also flavor it up later but I wouldn’t mix anything liquidy as it won’t bind!

You are ready to serve it, Enjoy!!


For a video tutorial, check the link  below:
Categories
Desserts Favourites

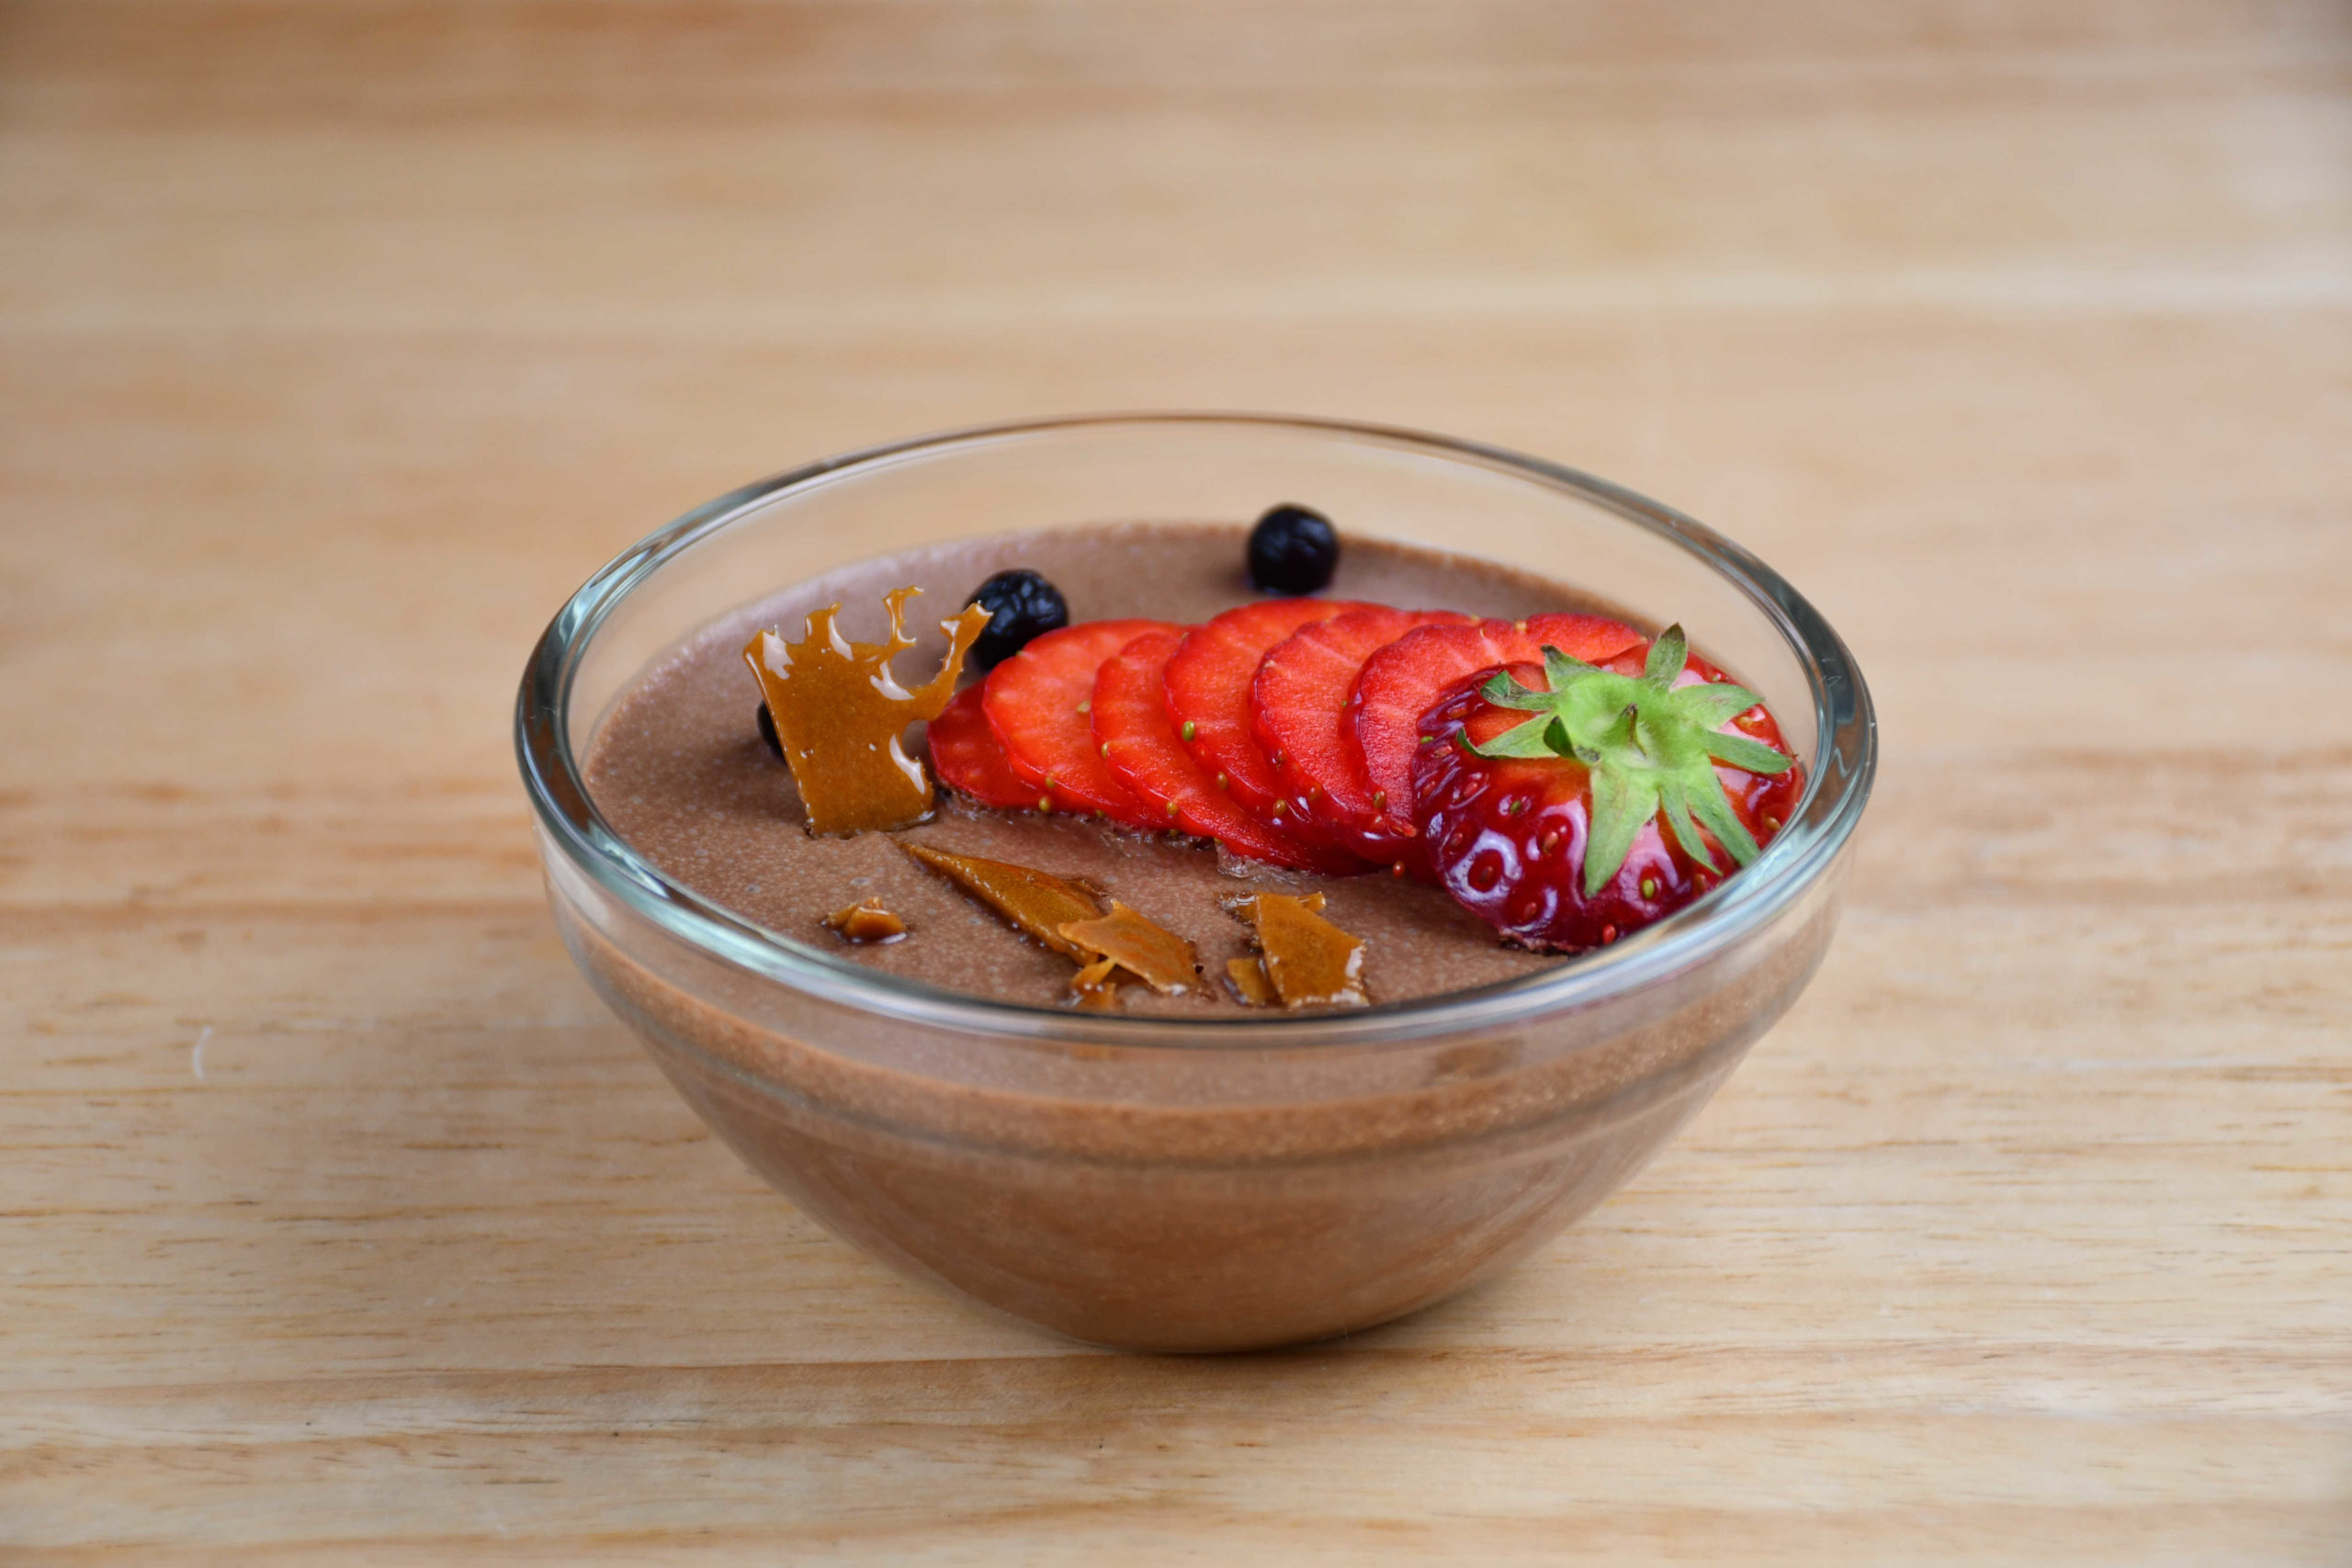
Vegan Mousse

Curious how to make an irresistible dessert? Well, you are in the right place to learn how to make a plant-based chocolate mousse!


Hi Everyone,

Today it’s time to cover up a famous recipe in a vegan way and it is Chocolate Mousse – a dessert for any occasion!

To start off, get some Aquafaba chilled in the fridge (liquid from a can of chickpeas)!

INGREDIENTS:
– 1 can of chickpeas (aquafaba) – chilled (this is a must)
– 100g of dark chocolate (should be at least 70%)
– 200ml of canned coconut milk (try to scoop out the thicker parts)
– 1 tsp of vanilla extract
– 1 tsp of strawberry extract
– 1 tbsp of agave syrup
– 3 tbsp of sugar
– 1/2 orange (zest)

PREPARATION:

To start off drain the liquid from the chickpeas (it has to be chilled!) and place it into a bowl, add the sugar, and whisk it until you get a thick ‘eggwhite’ – don’t worry, you can’t over whisk it!
Now you can melt the chocolate in a bowl on a saucepan filled with some water – medium heat on the stove.
It’s time for mixing – a lot!
Once the chocolate is melted use another bowl where you will put about 1/3 of the aquafaba and add all the chocolate to it – whisk until the chocolate nicely incorporates.
Now you can add coconut milk and keep up the good work – once you get a proper mixture add the rest of the ingredients: vanilla & strawberry extract, agave syrup, and orange zest – you know what to do now.. 🙂
Now you can start adding the rest of the aquafaba and keep mixing it.
You are probably a bit tired, but don’t give up as the only thing that is left now is to fill up the glasses with the mixture, cover it up with some cling film and let it stay in the fridge overnight (it will take at least 8 hours to get a proper texture).
Once ready you can add some fresh strawberries to it and some homemade caramel!

Enjoy!!


For a video tutorial, check the link below:
Categories
Favourites Lunch & Dinner

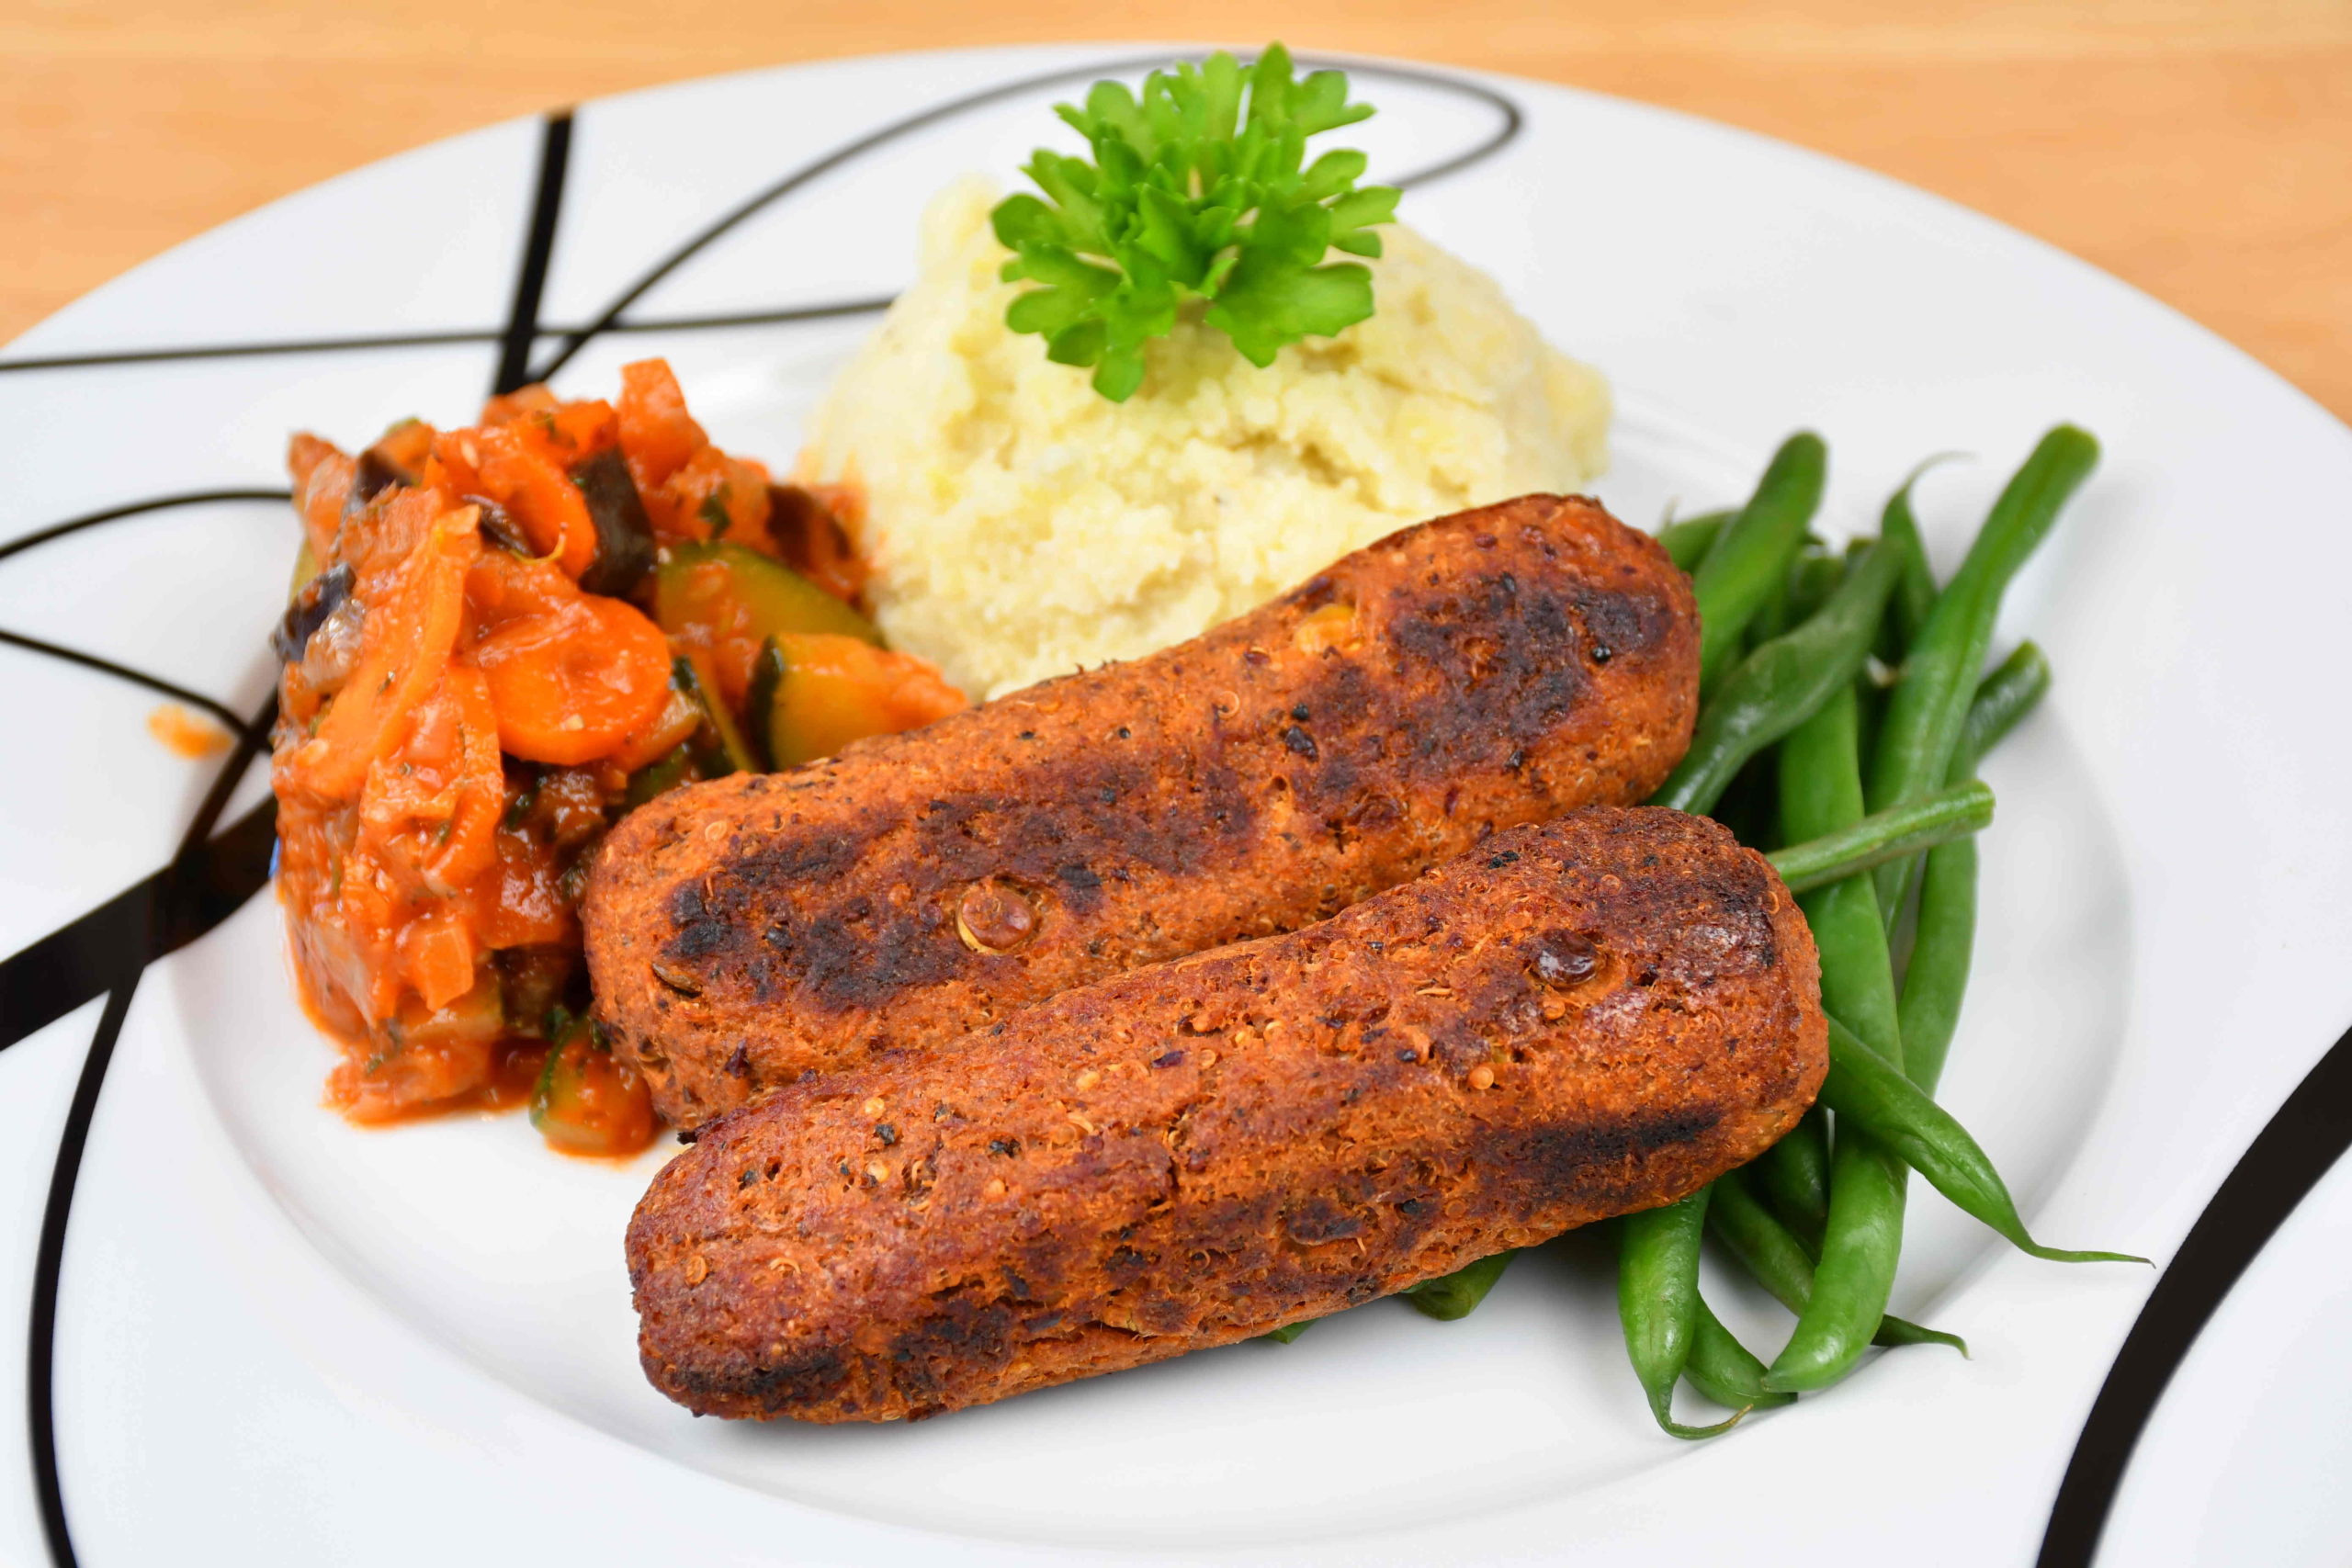
Vegan Sausages

Did you know that sausages can be made vegan, and extremely delicious at the same time? Well, they can! Check out my recipe today!

Today I am going to make yummy vegan sausages!

INGREDIENTS:
– 200g of sweet potatoes (peeled)
– 1 can of red kidney beans
– 40g of green lentils
– 40g of mixed quinoa (cook both for 10 min once up to boiling)
– 2 tsp of salt
– 2 tsp of pepper
– 1,5 tsp of dried paprika
– 1,5 tsp of garlic powder
– 1,5 tsp of onion powder
– 2,5 tbsp of nutritional yeast
– 2 tbsp of tomato paste
– 150g of vital gluten flour

PREPARATION:

To start off, cook the sweet potatoes (they will need about 8-10 min once the water is boiling), and also cook the lentils and quinoa (for 10 minutes once the water is boiling).
Place the beans into your blender with about half of the liquid out of the can together with the sweet potato and blend it well!
Once done, place the mixture into a bowl and add all the rest of the ingredients besides vital gluten flour and mix it well
Now you can add the flour and kneed it until it nicely incorporates.

The next step is to wrap them tightly into some cling film – you will see this step best in the video itself!

Leave them in the fridge for at least 1 hour, then you can unwrap them and put them into a preheated oven on 140 – 160C for about 20-25 minutes (turn them over after 10 minutes)

To get and extra crispy skin, you can dissolve some sodium alginate in water with a bit of sugar and dip the sausages in it before cooking.

Enjoy!

For a video tutorial, check the link below:
Categories
Snacks & Sides

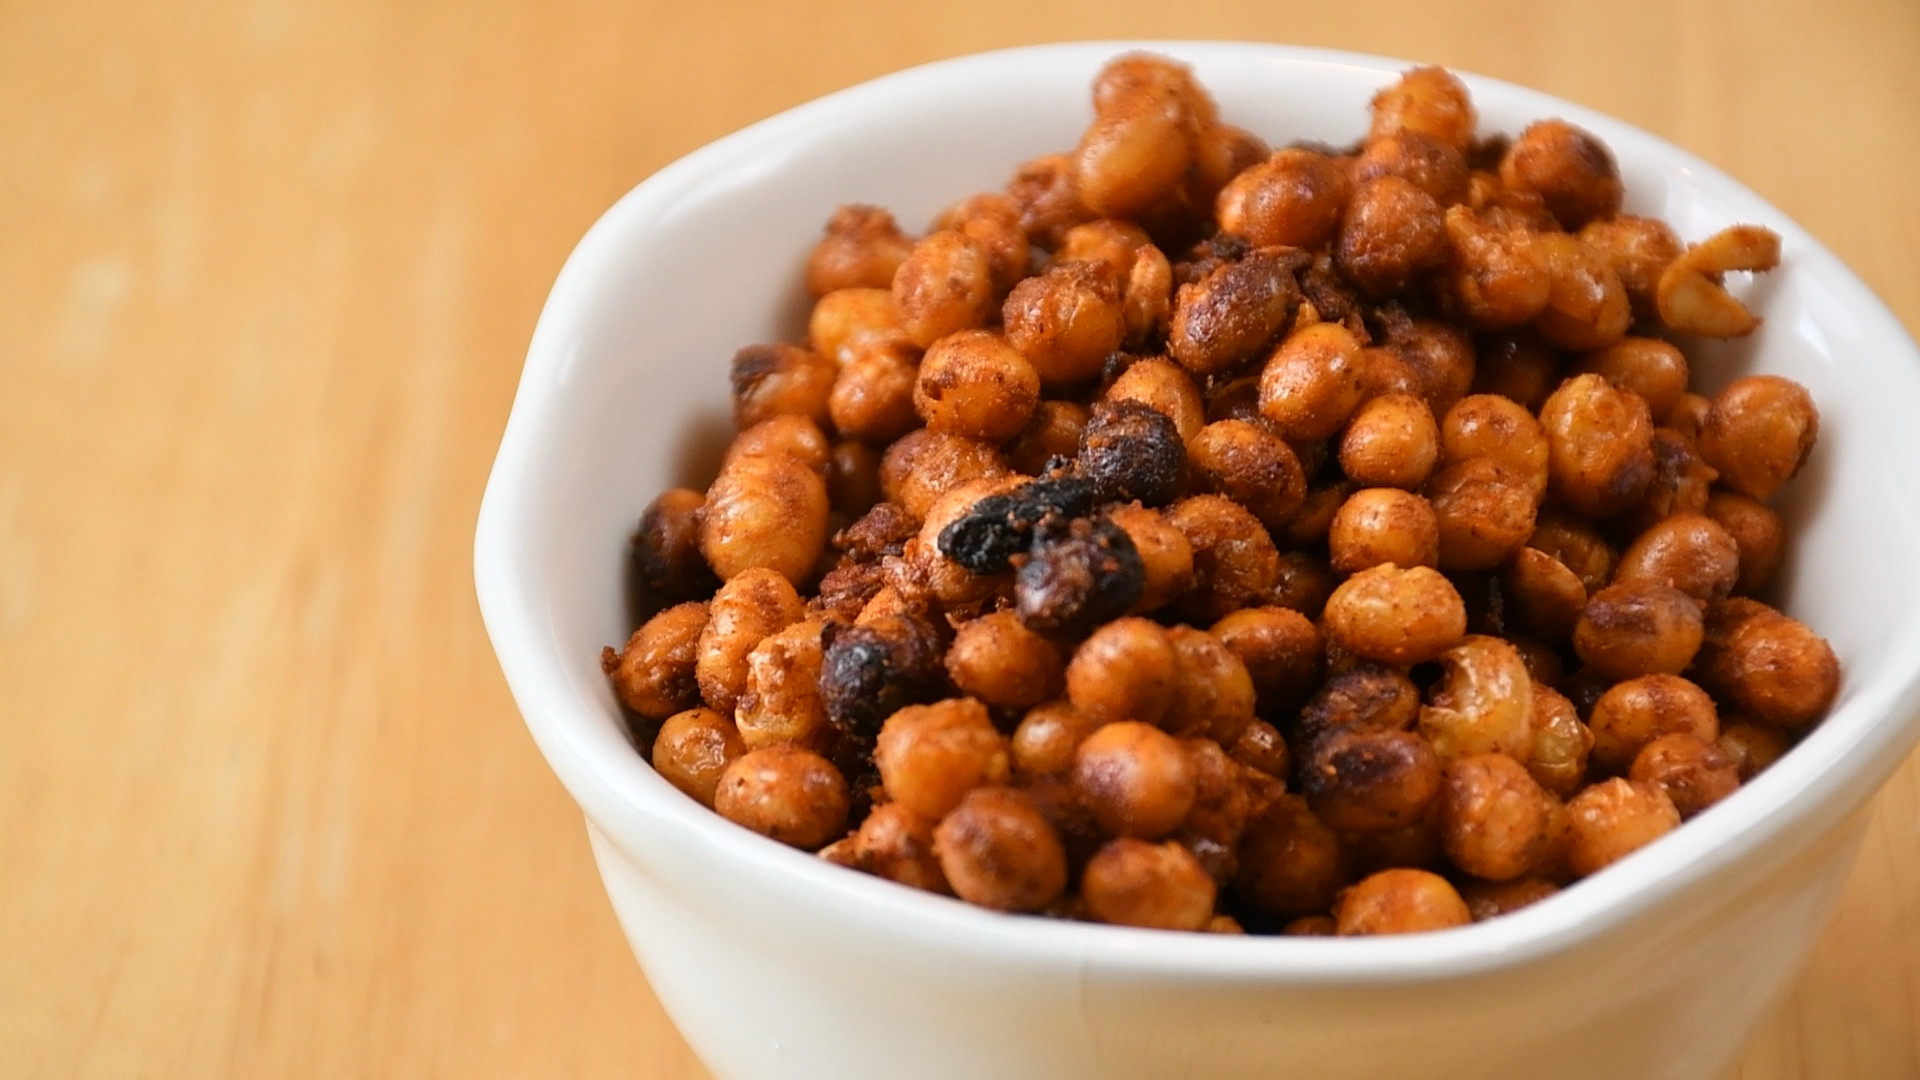
Soybean Snack

Ever wondered what to do with dried soybeans? This is the perfect occasion to find out what to make when your friends come over!!

Hello everybody,

It’s nice to have you back!

In this post, I will show you a simple yet delicious snack made out of soya beans. It will be both crunchy and spicy, sounds good right? 🙂

The preparation will start a day prior, where you will have to soak 2 cups of dried soybeans in a bowl of water. This will make them bigger, so count for some extra water in that bowl.

INGREDIENTS:

– 3 tbsp of oil (I made a mixture of sunflower and sesame for an extra punch)

– 3 tsp salt

– 2 tsp of chili (this really depends on how spicy YOU like it)

– 2 tsp of seasonal cajun and fennel mix (you can find these in almost any grocery store)

PREPARATION:

To start off the day of snacking, drain the soya beans and give them a good wash (take out the separated skins and the ‘not so good lookin’ ones’). After that, place them back in the bowl and add all the seasoning to it – give it a good mix. If you do this by hand, don’t be touching your eyes – trust me on this one!

Preheat your oven to 160°C (320°F) on the FAN option. Take some baking paper and place it on a baking tray and nicely spread all the soya beans on it. Now it’s roasting time! The baking will take around 30 minutes, but take them out every 7-8 minutes to give them a mix, so they don’t burn that quickly.

At last, once you take them out of the oven, you can give them some extra flavor with 2 tsp of dried paprika and then transfer them to some kitchen paper so it soaks out the extra oil.

Enjoy!!


For a video tutorial, check the link below:
Categories
Desserts Favourites

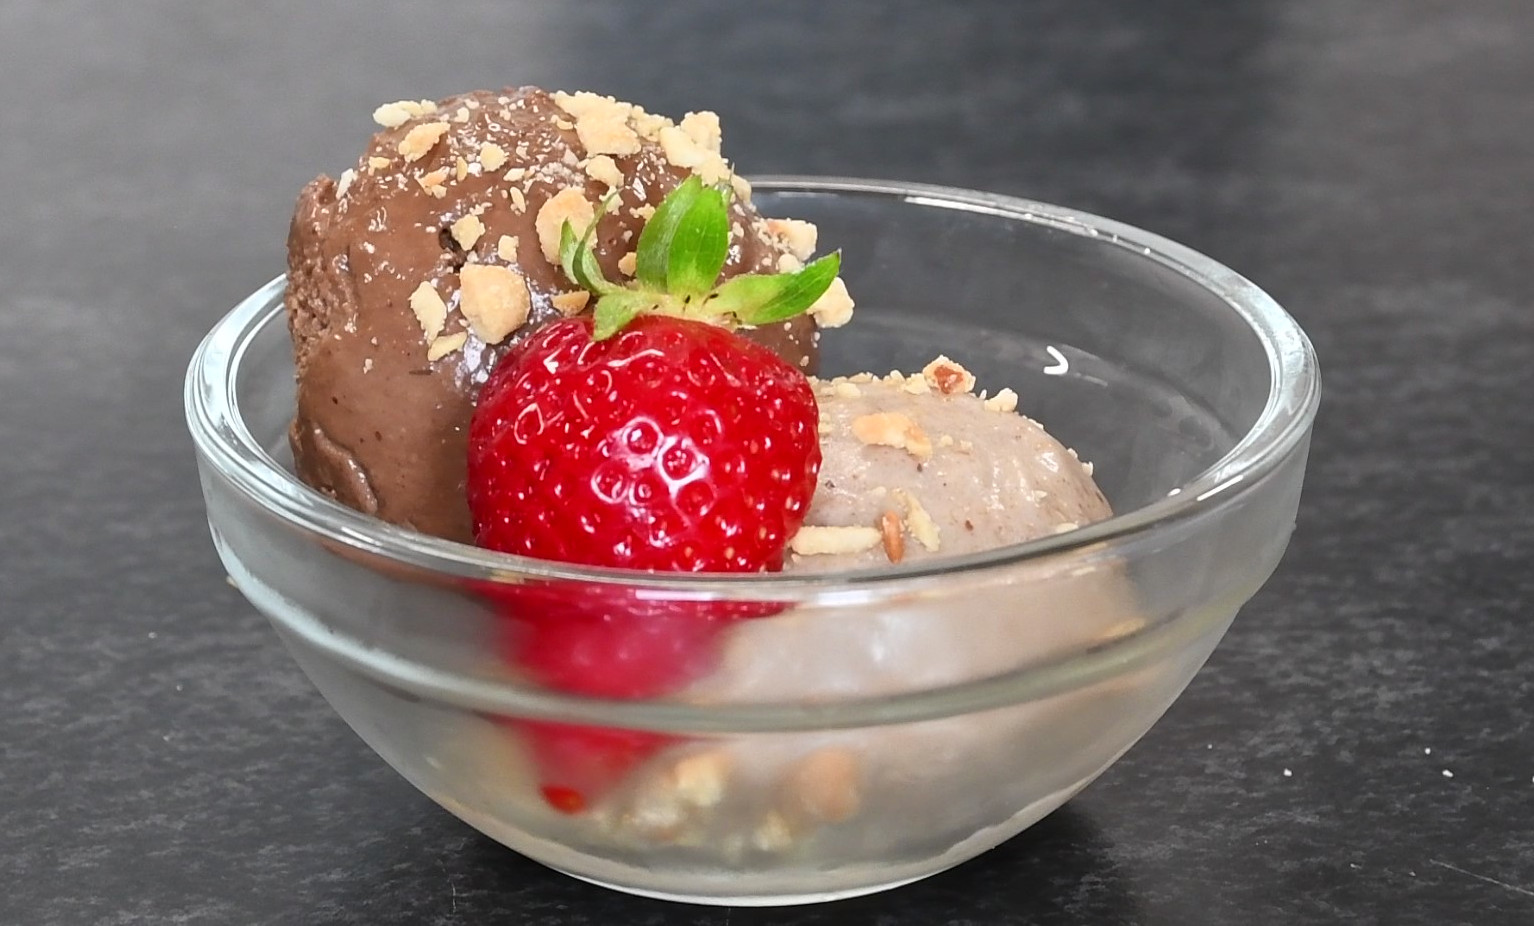
Ice Cream

Fan of ice cream, but not dairy? Go try this delicious vegan ice cream with peanut butter and chocolate, that is high in protein!

Hi Everyone,

For these warmer days, I’ve been experimenting with different flavors of ice cream, and in my humble opinion I came up with 2 flavors that are phenomenal, but also high in protein, so are very good for muscle growth also 🙂
One of the flavors is banana & peanut butter and the other is infused with dark chocolate!

INGREDIENTS:
– 500g of peeled bananas – the riper the better, as the ice cream is gonna be sweeter 🙂
– 300g of peanut butter (I use 100% peanuts for ultimate flavor)
– can of coconut milk (high fat)
– 7 tbsp sugar
– 100g dark chocolate
– 1,5 tbsp coconut oil
– 1 tsp vanilla extract

PREPARATION:

It’s best to prepare the peeled bananas the night before by cutting them into smaller pieces and rolling them into some baking paper (so they don’t stick together) and leaving them in the freezer overnight – also leave the can of coconut milk in the fridge.

The next day you can start off by placing the bananas into a blender, together with the can of coconut milk and blend it well together – now add the peanut butter, sugar and vanilla extract, and blend/stir it all well together – you got your first flavor so take HALF of the batch and place it into a container and place it in the freezer.

Now you can make your second flavor!

Place a saucepan on the stove on medium heat with some water and place a bowl with the chocolate and the coconut oil in it and let it start melting, stir occasionally. Once the chocolate is properly melted you can add it to the mixture and blend it once more, and you have the second flavor also!

You will get the perfect texture by leaving it in the freezer for 6 – 7 hours and then you are ready to serve it as a perfect dessert after dinner!

If you are leaving it for another day you can put it in the fridge for a few hours before serving.

It’s great to serve it with slightly blended up salted peanuts!

You are ready to serve it, Enjoy!!


For a video tutorial, check the link below: